
Method
How to paint a wall without marks: the complete 7-step method
A wall without marks comes down to four moves: a clean, primed surface; a room between 15 and 25 °C with no draught; one-metre vertical bands rolled top to bottom while always keeping a wet edge; and a final laying-off of each band in a single direction, never going back over an area that has begun to dull. Two thin coats, 3 to 4 hours apart, a whole wall corner to corner without a break. The rest is equipment.
Page updated September 2026 · by the Mylands France technical team
Understand
Why a matt paint demands this discipline
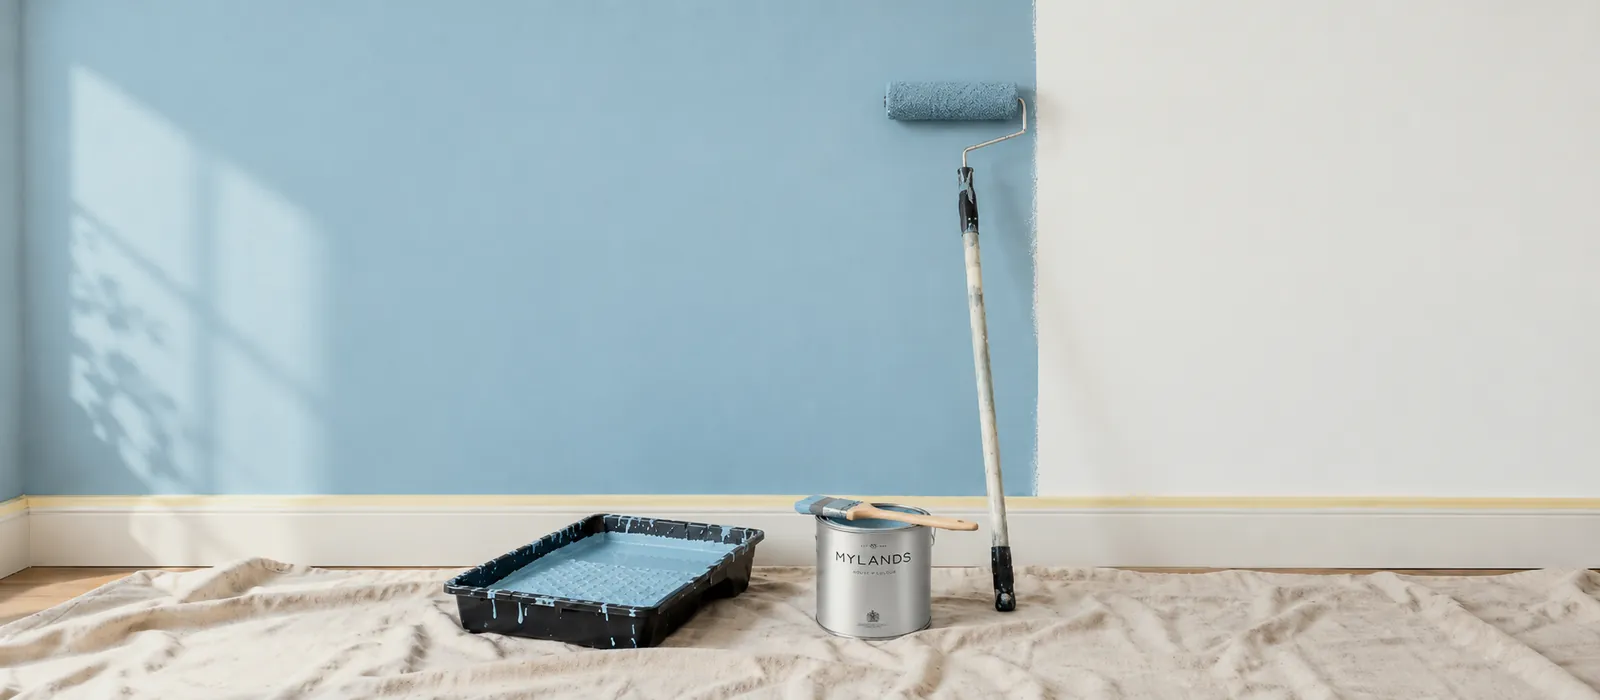
A very matt finish reflects almost no light: that is what gives Mylands colours their depth and what hides a wall's defects. But the same property makes any difference in film thickness visible. A roller pass over an area that has started to dry lays down a second thickness which, once dry, catches the light differently: that is the "mark".
The method below has one aim, to keep the film even and to touch it only while wet. It is written for Marble Matt Emulsion, the wall finish, and applies to every other.
Equipment
What you need before opening the tin
- A 10–12 mm pile roller for wall matts (5–8 mm for satins and glosses), an extension pole, a tray with a grid.
- A 40–50 mm cutting-in brush, masking tape, a dust sheet, a sponge.
- 180 and 240 grit paper.
- The right primer and the finish. Marble Matt Emulsion covers up to 15 m² per litre per coat; our calculator gives the litres and tins to order.
Rollers, brushes and accessories are in our tools.
The method
The 7 steps
-
01
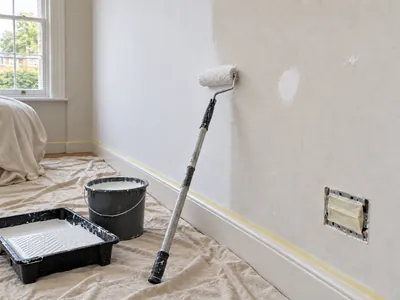
Prepare the wall as if you were going to varnish it
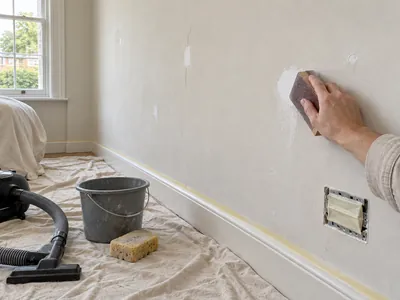
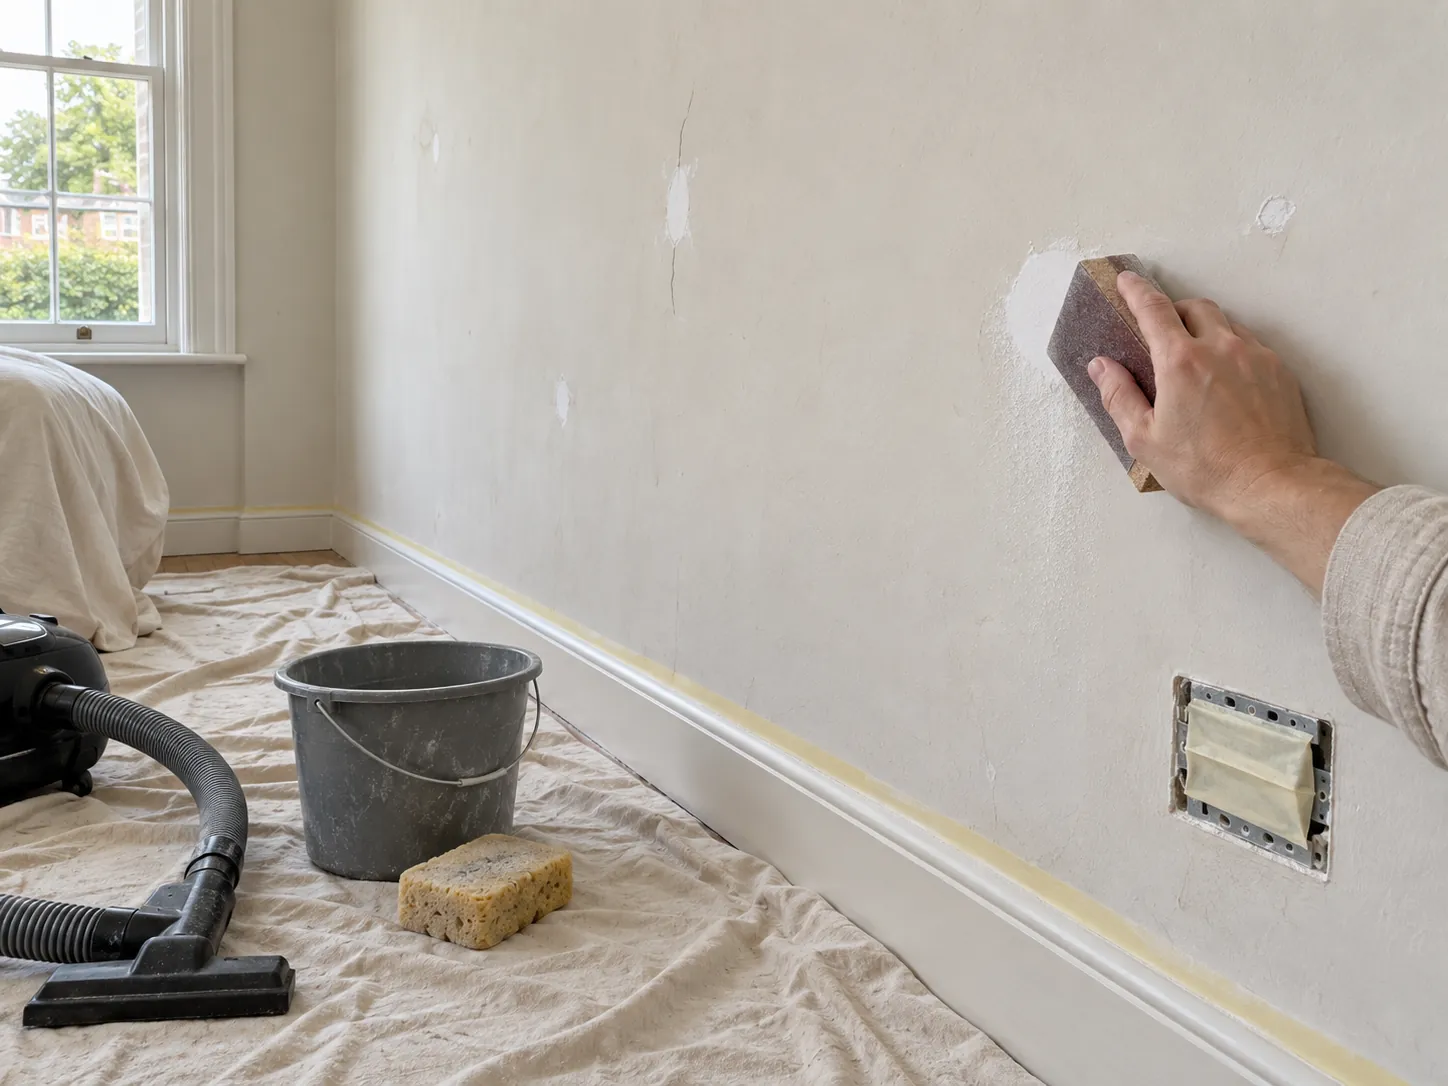
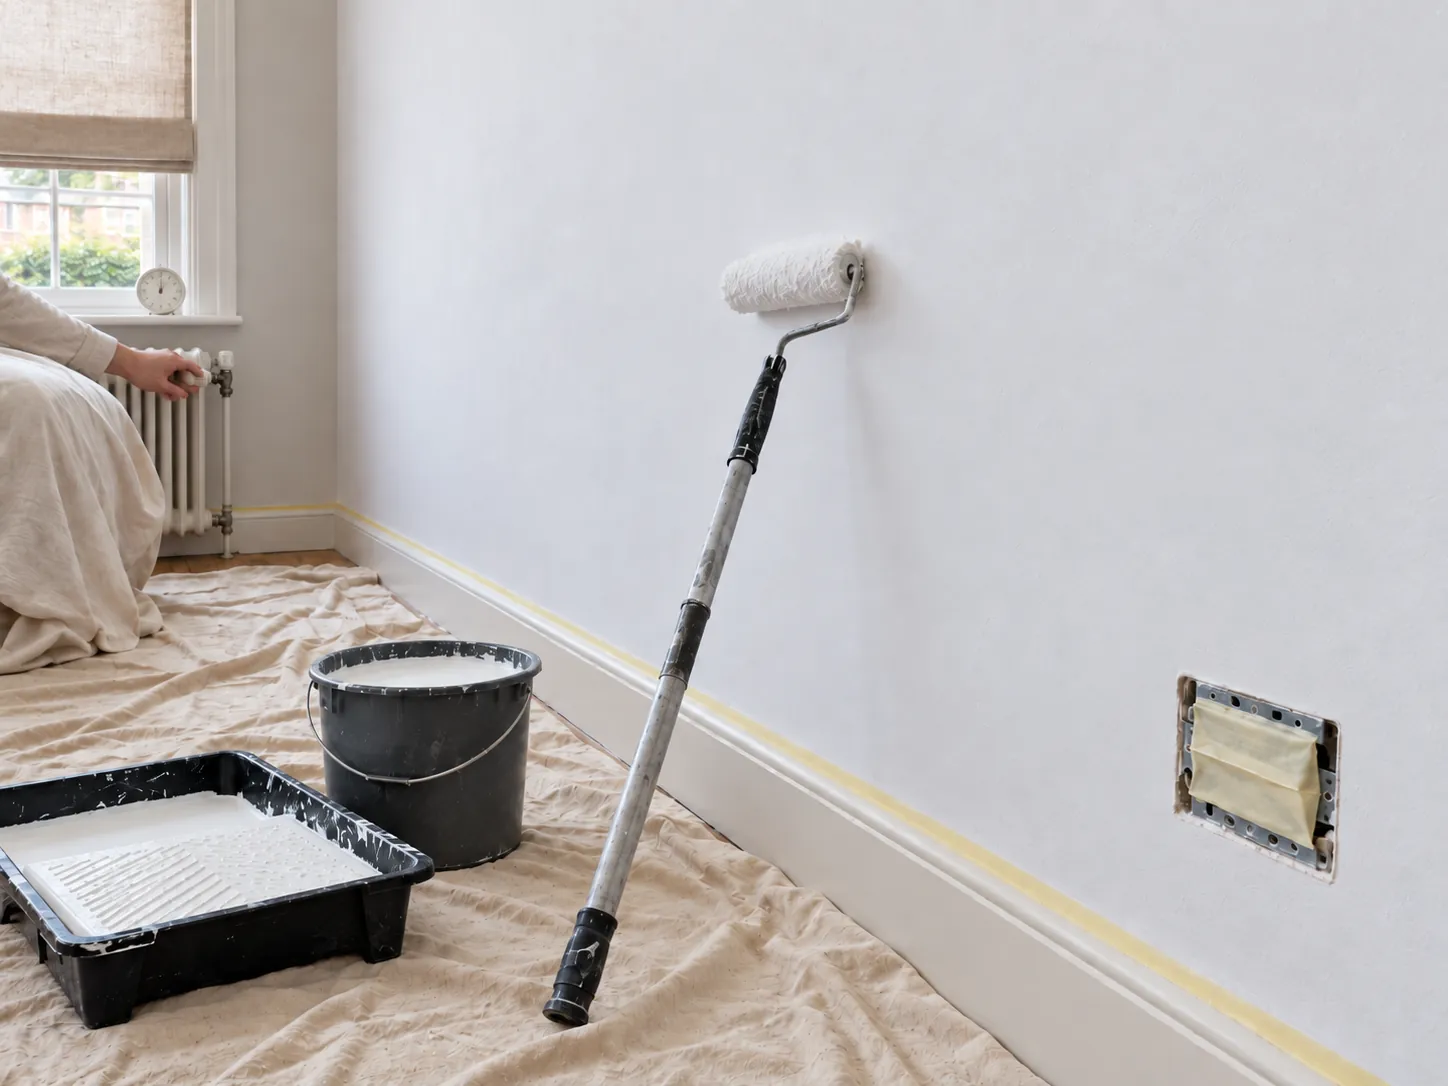
Empty or cover the room, remove socket covers. Vacuum the wall and skirtings, then wipe with a damp sponge; in a kitchen, degrease. Fill cracks and holes, sand the fillers with 180 grit, dust off again. A smooth, clean, dry wall is half the result.
-
02
Prime whenever the ground is not perfect
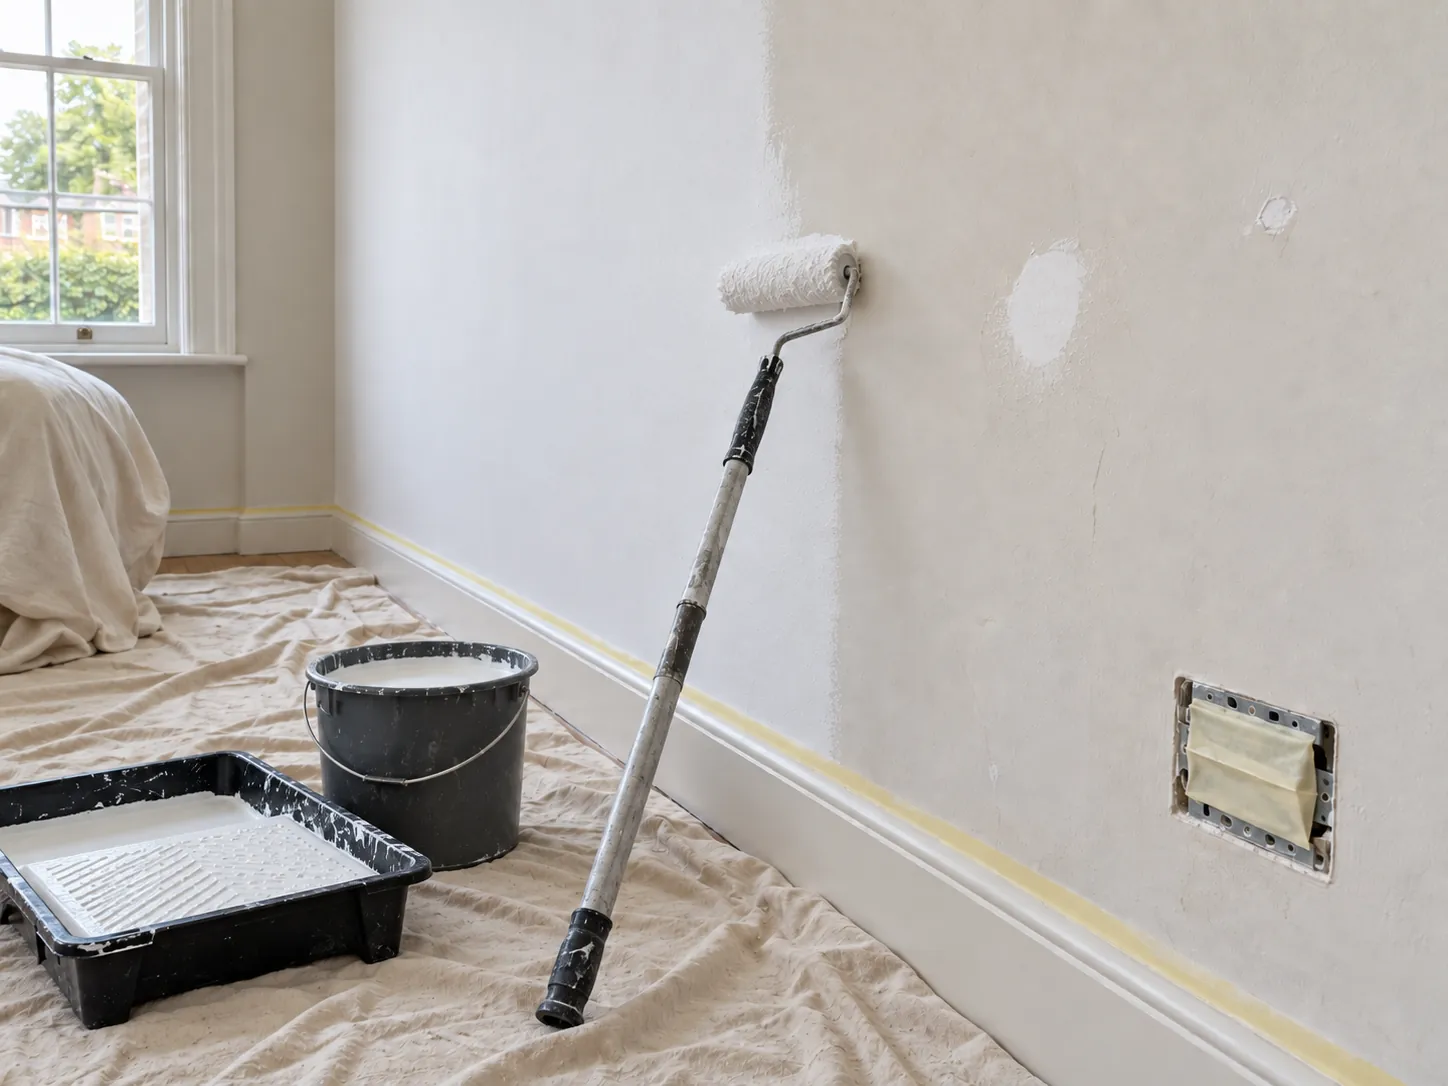
New plaster, filler, patches, old chalking paint, a change from a dark colour to a light one, or saturated reds and yellows: a primer over the whole surface evens out absorption and prevents duller patches. Allow 0.5 L of primer per 1 L of finish; our tinted primers go under deep colours.
-
03
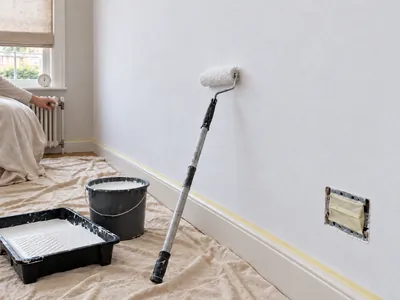
Set the room, not just the paint
Between 15 and 25 °C, heating off, windows closed while you paint, no direct sun on the wall. A warm, ventilated room sets the paint before you have finished the band: it is the first cause of joins.
-
04
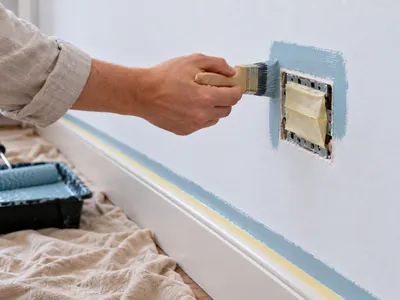
Cut in, then roll straight away
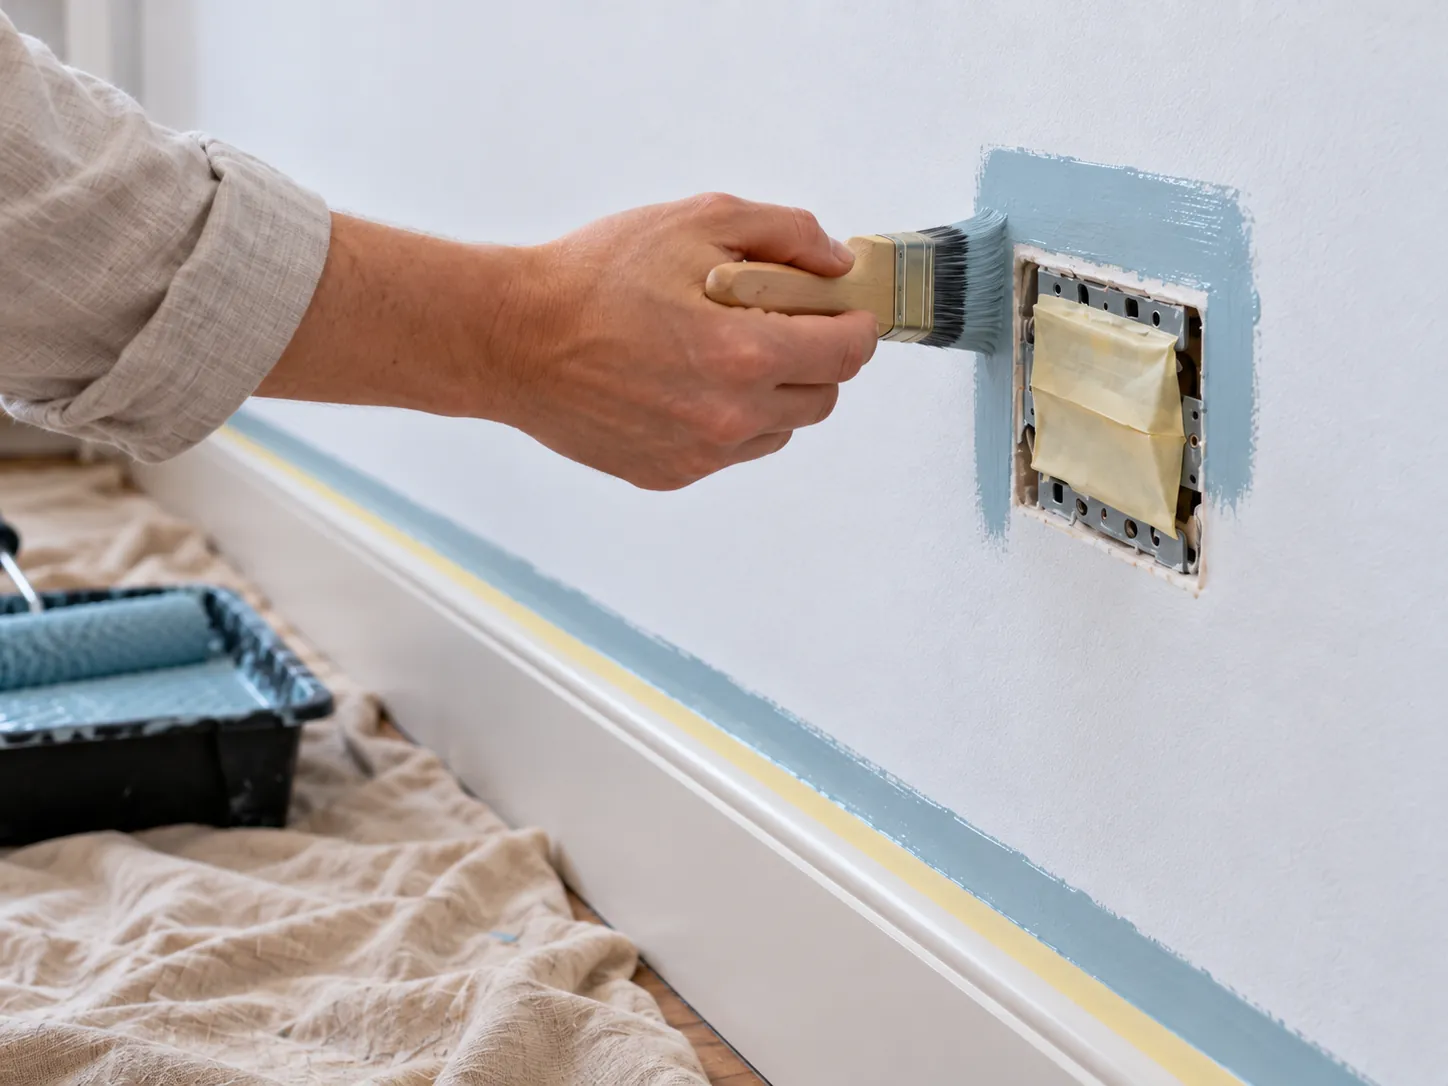
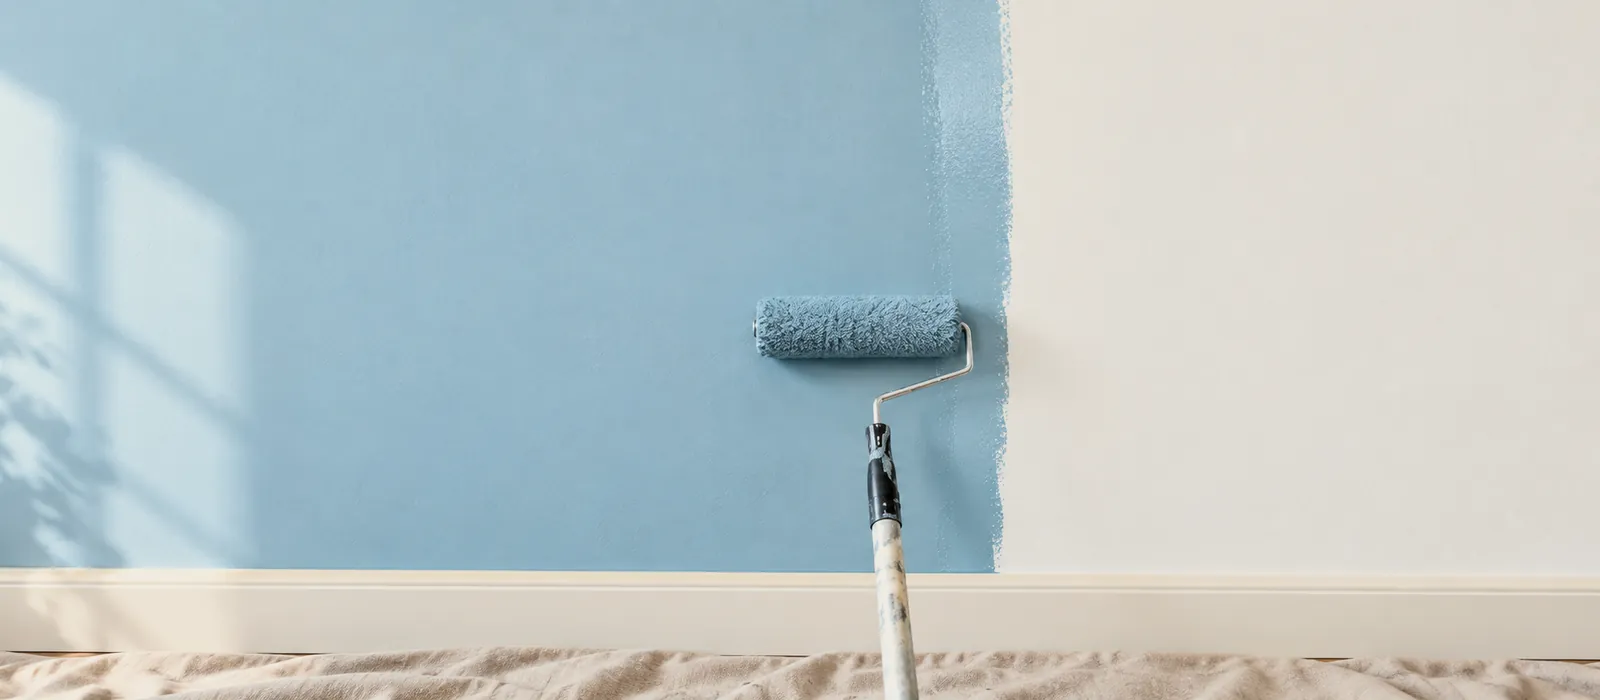
With the brush, paint a 5 cm band along the ceiling, corners, skirtings and frames — a metre or two ahead only, not all round the room. Then immediately roll the neighbouring band of wall, biting into that still-wet border: the brush-to-roller join disappears.
-
05
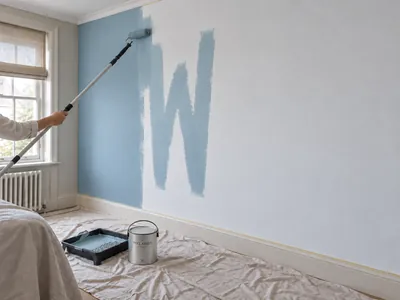
Roll in vertical bands, top to bottom
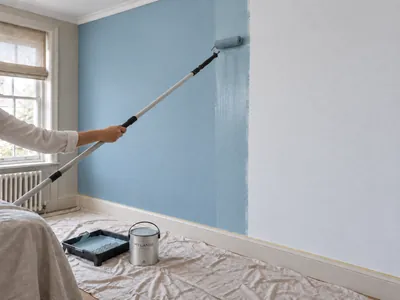
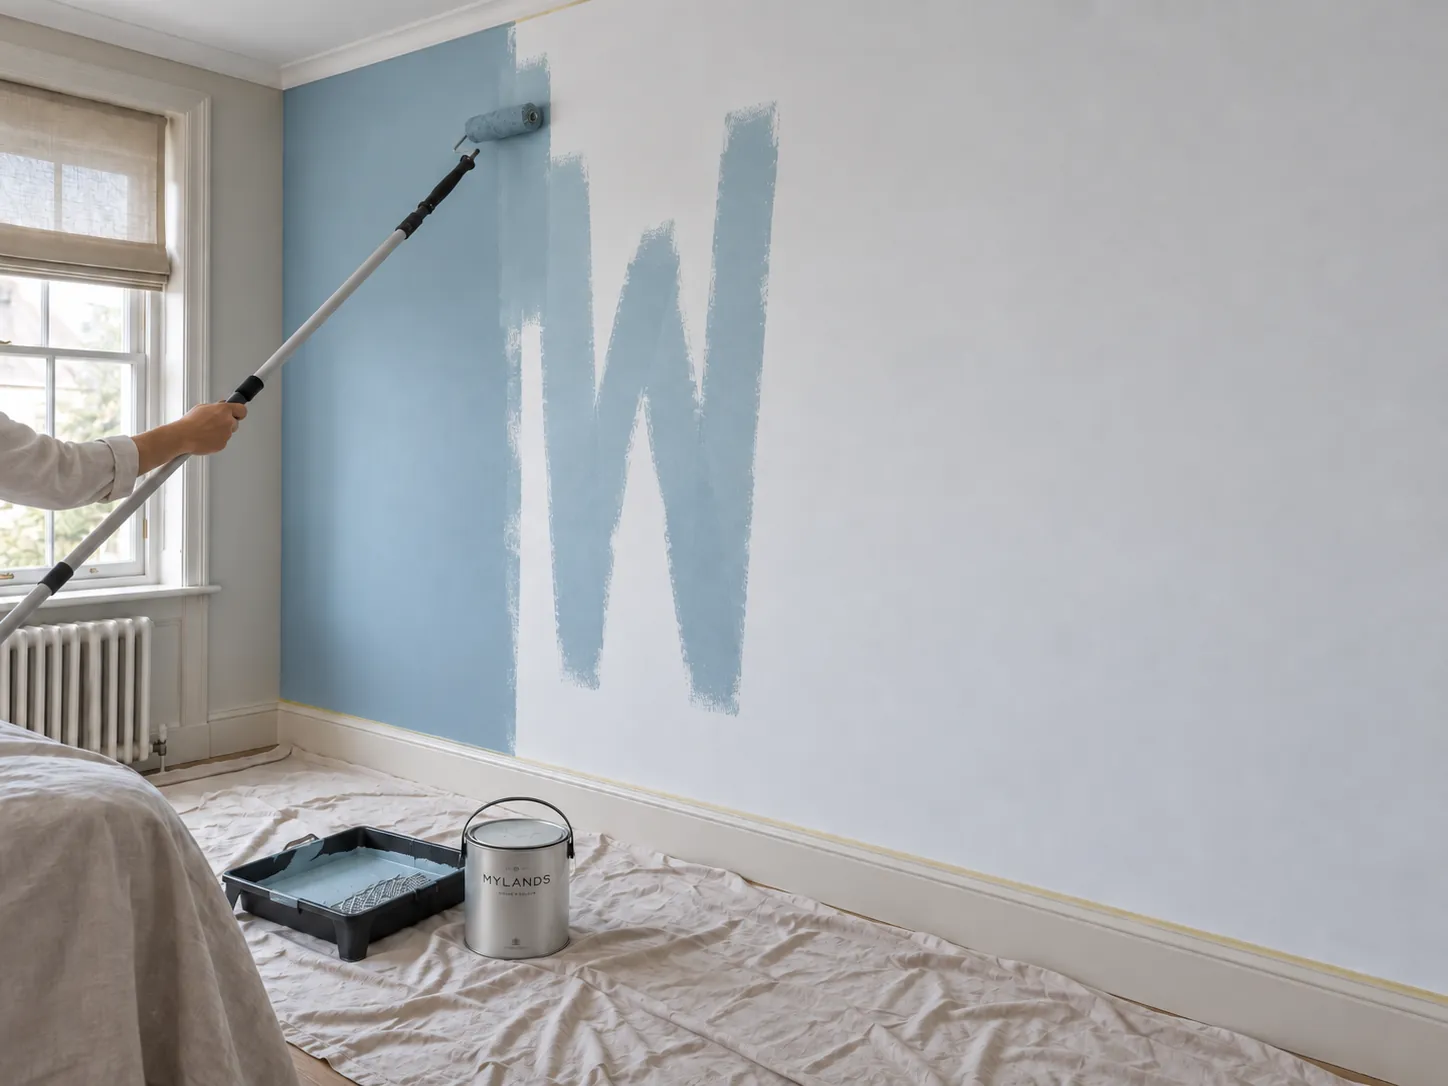
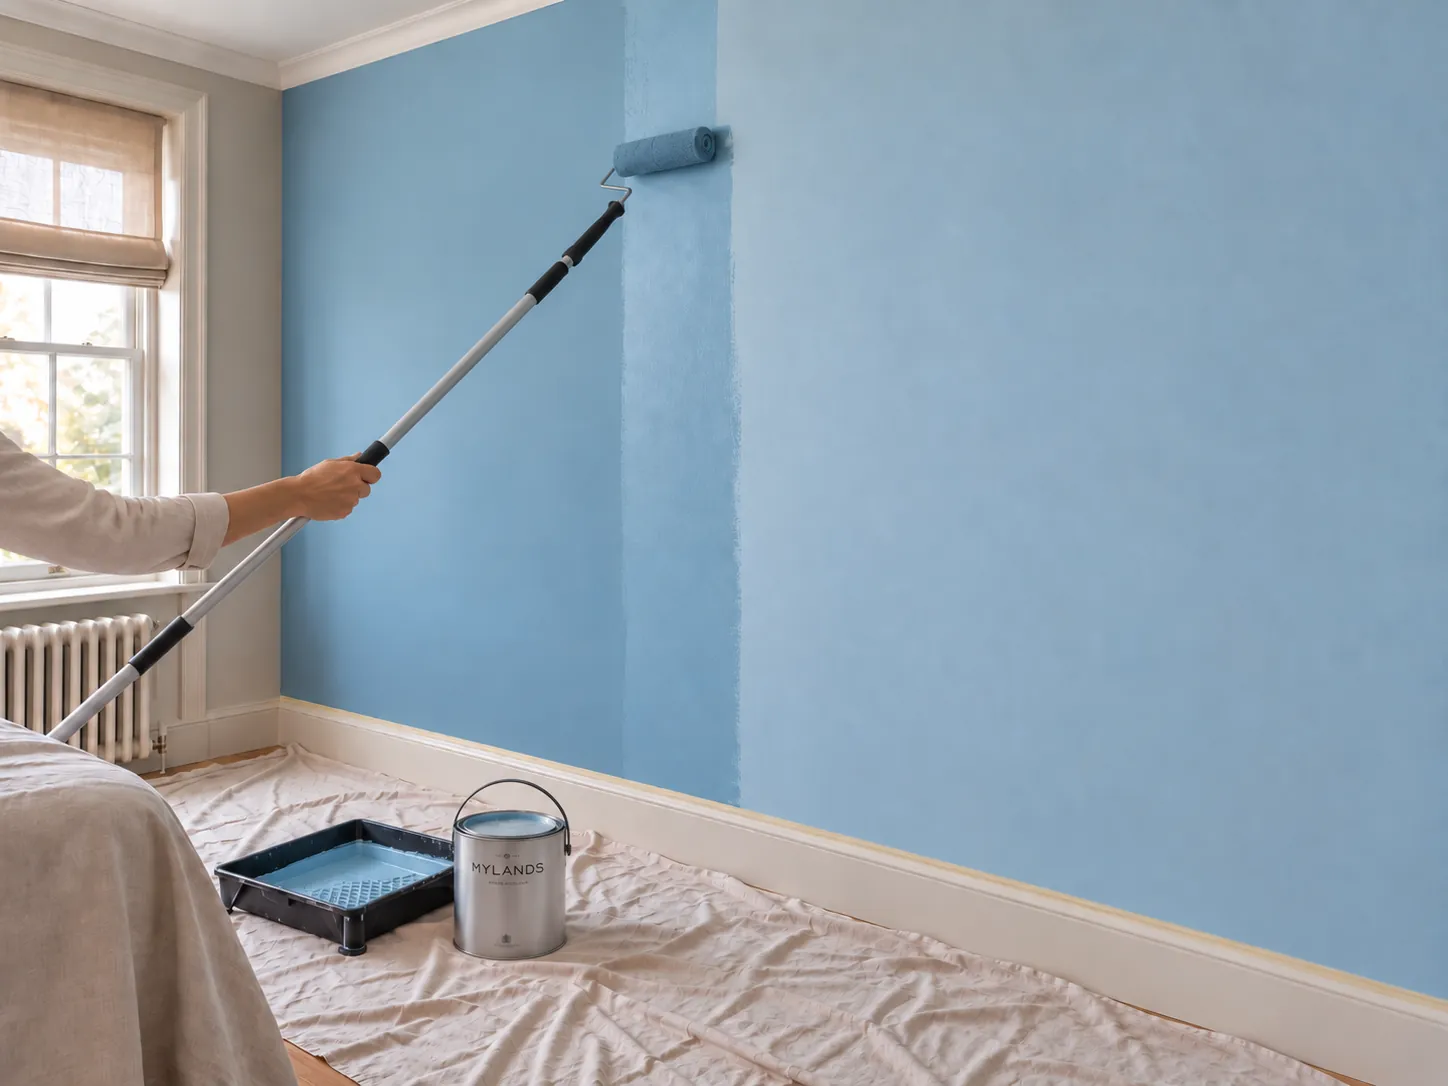
Load the roller evenly on the grid without soaking it. Start 30 cm from a corner, draw a large W about a metre wide and the full height, then fill it in without reloading. Move to the next band, overlapping the previous one's still-wet edge by 10 cm. Reload only for a new band, never in the middle of one.
-
06
Lay off each band in one direction — and do not go back
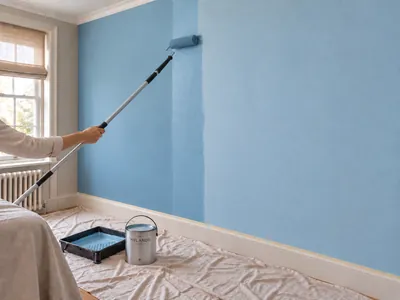
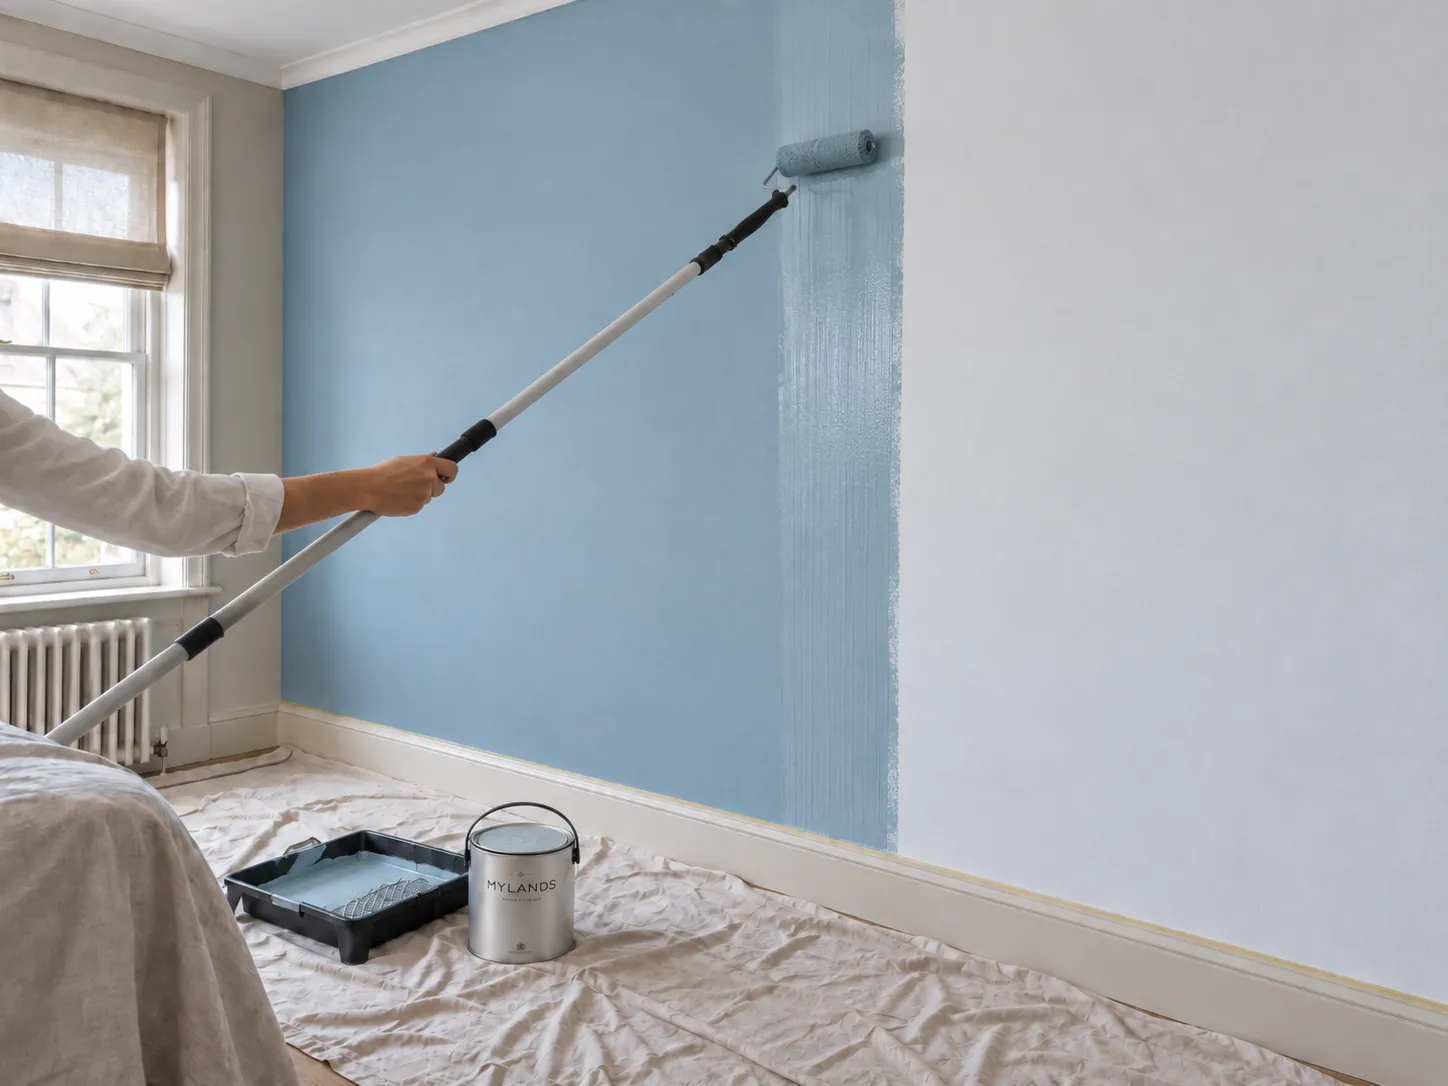
Band filled, pass the roller one last time from ceiling to skirting, without pressure, without reloading, in parallel touching vertical strokes. This laying-off is what evens the thickness. Then forget that band: a missed spot is caught on the second coat, not now. Finish the whole wall, corner to corner, before any break.
-
07
Second coat, same method
After 3 to 4 hours at 20 °C (longer if cool or damp), check no nib stands proud — a light touch of 240 grit if needed — and repeat steps 4 to 6. Remove masking tape when the paint is touch-dry but not yet hardened, pulling at 45°. The film hardens over 2 to 4 weeks: wash gently until then.
Special case
Deep colours
A night blue, a bottle green, a crimson red ask for the same method and a little more rigour: a tinted primer is essential (Dark Grey, Dark Red, Green…), a well-loaded roller so the film is not stretched, and sometimes a third coat. On a dark wall a mark shows twice as much: room temperature and the wet edge matter even more. To wrap walls, woodwork and ceiling in one shade, see colour drenching.
Roller, brush or spray?
The right tool for each surface
The roller remains the tool for walls: even, quick, no brush marks. The brush is for cutting in and woodwork. Spraying gives the most uniform film but demands full masking of the room and slight thinning with water; our paints take to it, following the equipment maker's settings and after a test on an offcut.
FAQ
Coats, thinning, radiators
Should I sand between the two coats?
No, except to remove a nib or a roller fibre, with 240 grit and a light hand. Routine sanding adds nothing on an emulsion.
Can I roll in horizontal bands?
On a wall, no: gravity and light work vertically, and horizontal joins show. Horizontal bands suit a ceiling, following the main light.
How long for a 12 m² wall?
About twenty minutes per coat of rolling once preparation is done. Preparation and primer take the rest of the day; the second coat waits 3 to 4 hours.
Should I thin the paint?
Very slightly with water if it drags or in hot weather; beyond that you lose coverage and durability. Permitted rates are on the product advice sheets.
How do I paint behind a radiator?
With a slim long-handled roller, after vacuuming behind it. If the radiator comes off easily, take it off: the result is better and you can paint it too, in a Multi-Surface finish, while cold.
What if the wall already has marks?
Let it dry, lightly sand the ridges, apply one full coat corner to corner with the method above. The other defects — blisters, peeling, a colour that differs from the card — are in Paint problems: causes and fixes.
"Matt forgives the wall's flaws, not the hand's."