
01
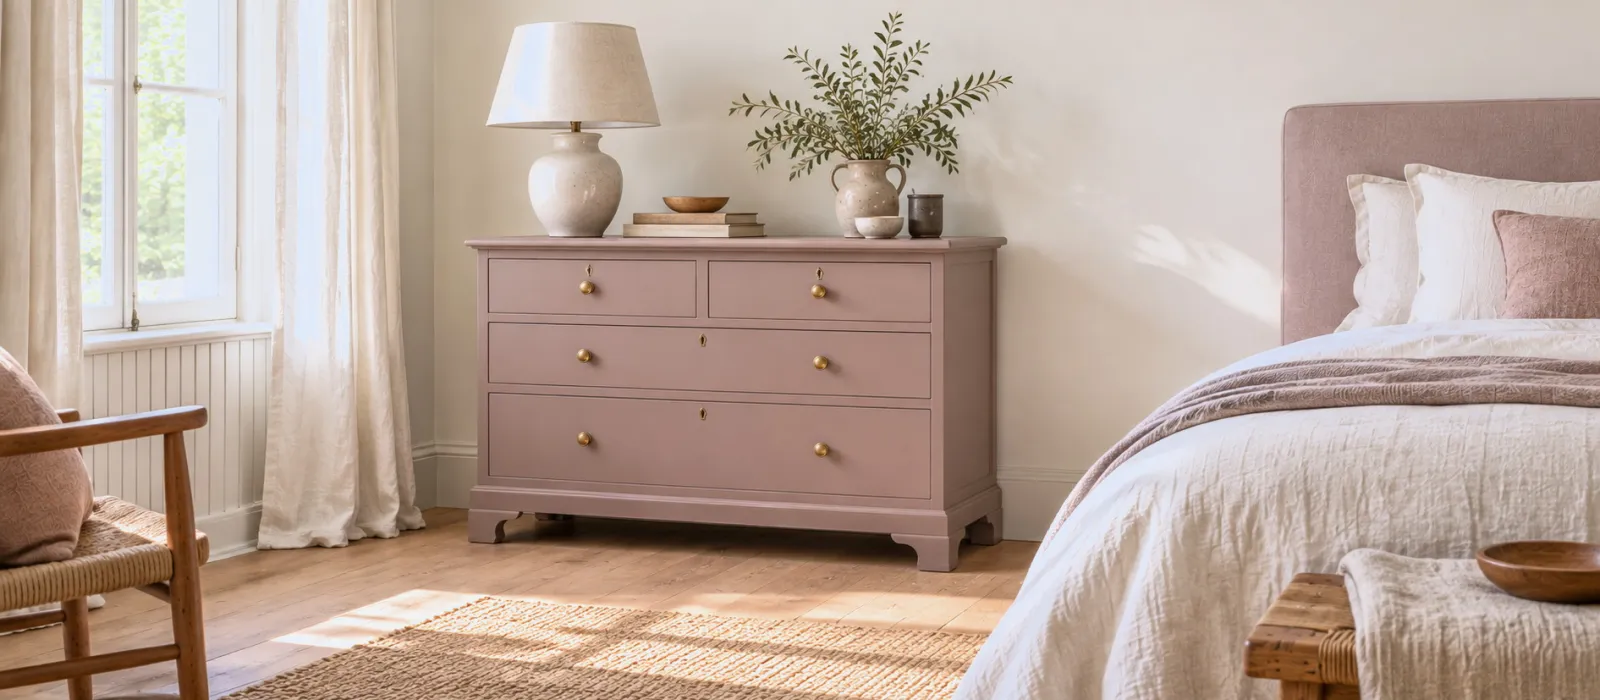
The pink-brown chest
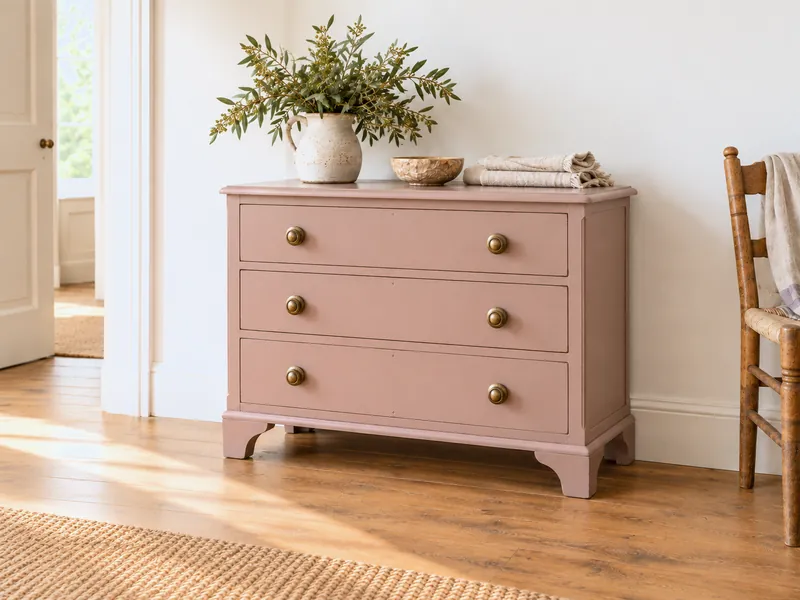
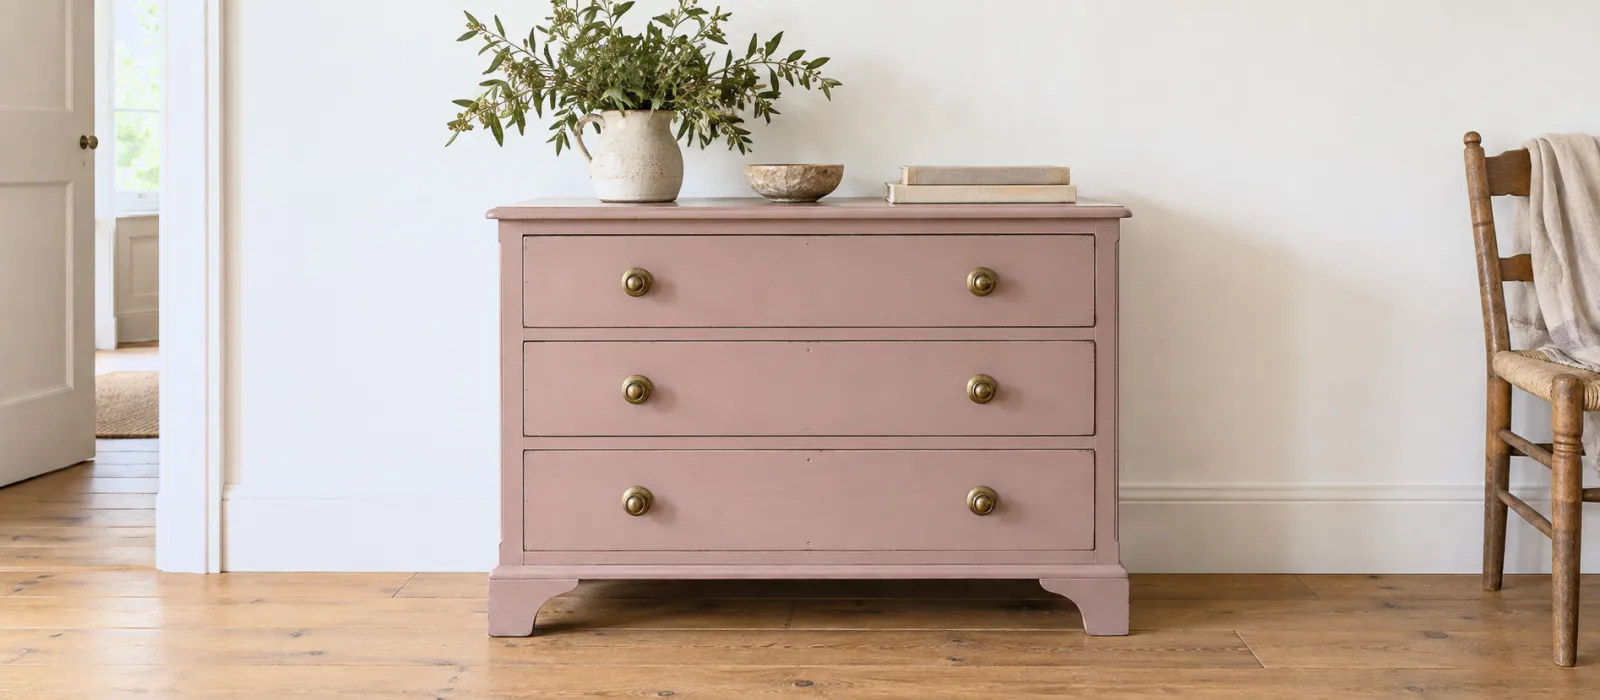
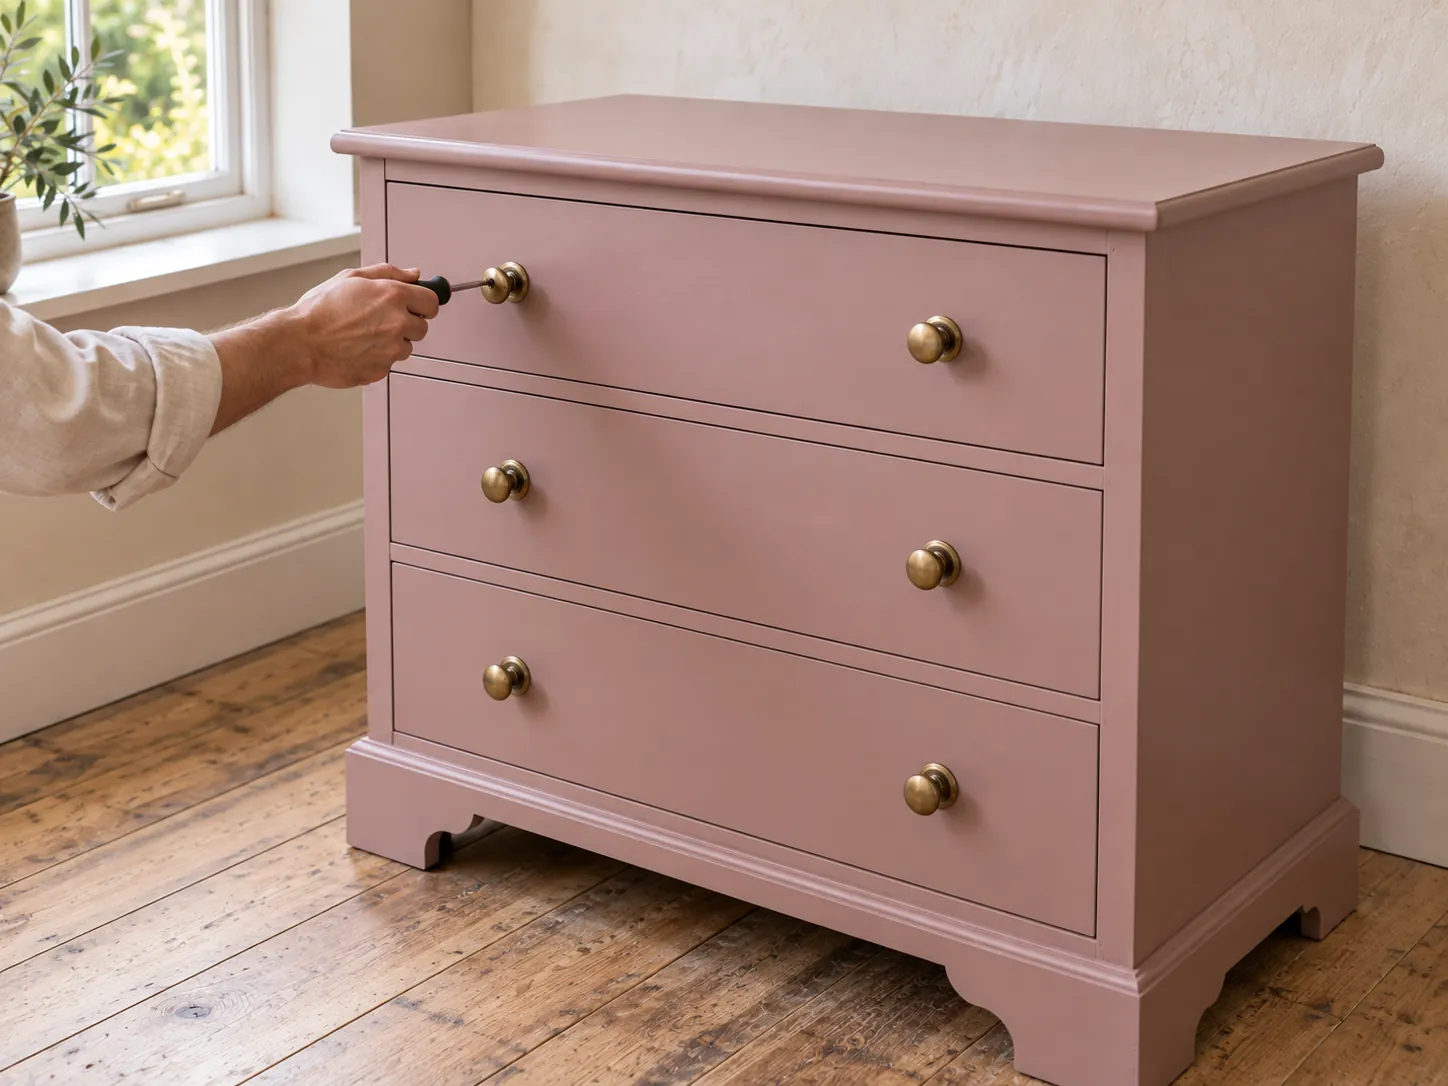
A muted, very grown-up powder pink on an old chest with brass knobs, against a warm white.
Menu
How To
Design Advice
Customer Service
My account
Help with paint How-to guides
A piece of wooden furniture is refreshed in four stages: clean and remove the wax, sand, prime the bare wood, then two thin coats of finish — Multi-Surface Eggshell for a soft sheen, Dead Matt for a chalky matt. If the wood is beautiful, do not paint it: a Mylands oil, wax or stain revives it in an afternoon. Allow a weekend for a chest of drawers, and a week of care before loading it.
Page updated September 2026 · by the Mylands France colour team
Deciding
Before opening a tin, look at the piece. A thin veneer, a tired oak, a junk-shop pine: paint gives them a second life and brings them into a palette. A walnut, a mahogany, a sound oak with good grain: do not paint them; a wax, an oil or a stain revives them and you keep the wood. Mylands makes both — paints for the first case, wood finishes for the second: oils, waxes, stains, varnishes.
If you paint, two multi-surface finishes suit. Eggshell, at about 15 % sheen, is the safe choice: washable, soft under the light, resistant to hands. Dead Matt, at about 5 %, gives the chalky look of an old painted piece; more delicate on a table top, perfect on a chest or a wardrobe. For a chair or a kitchen table, Satin resists more.
The method
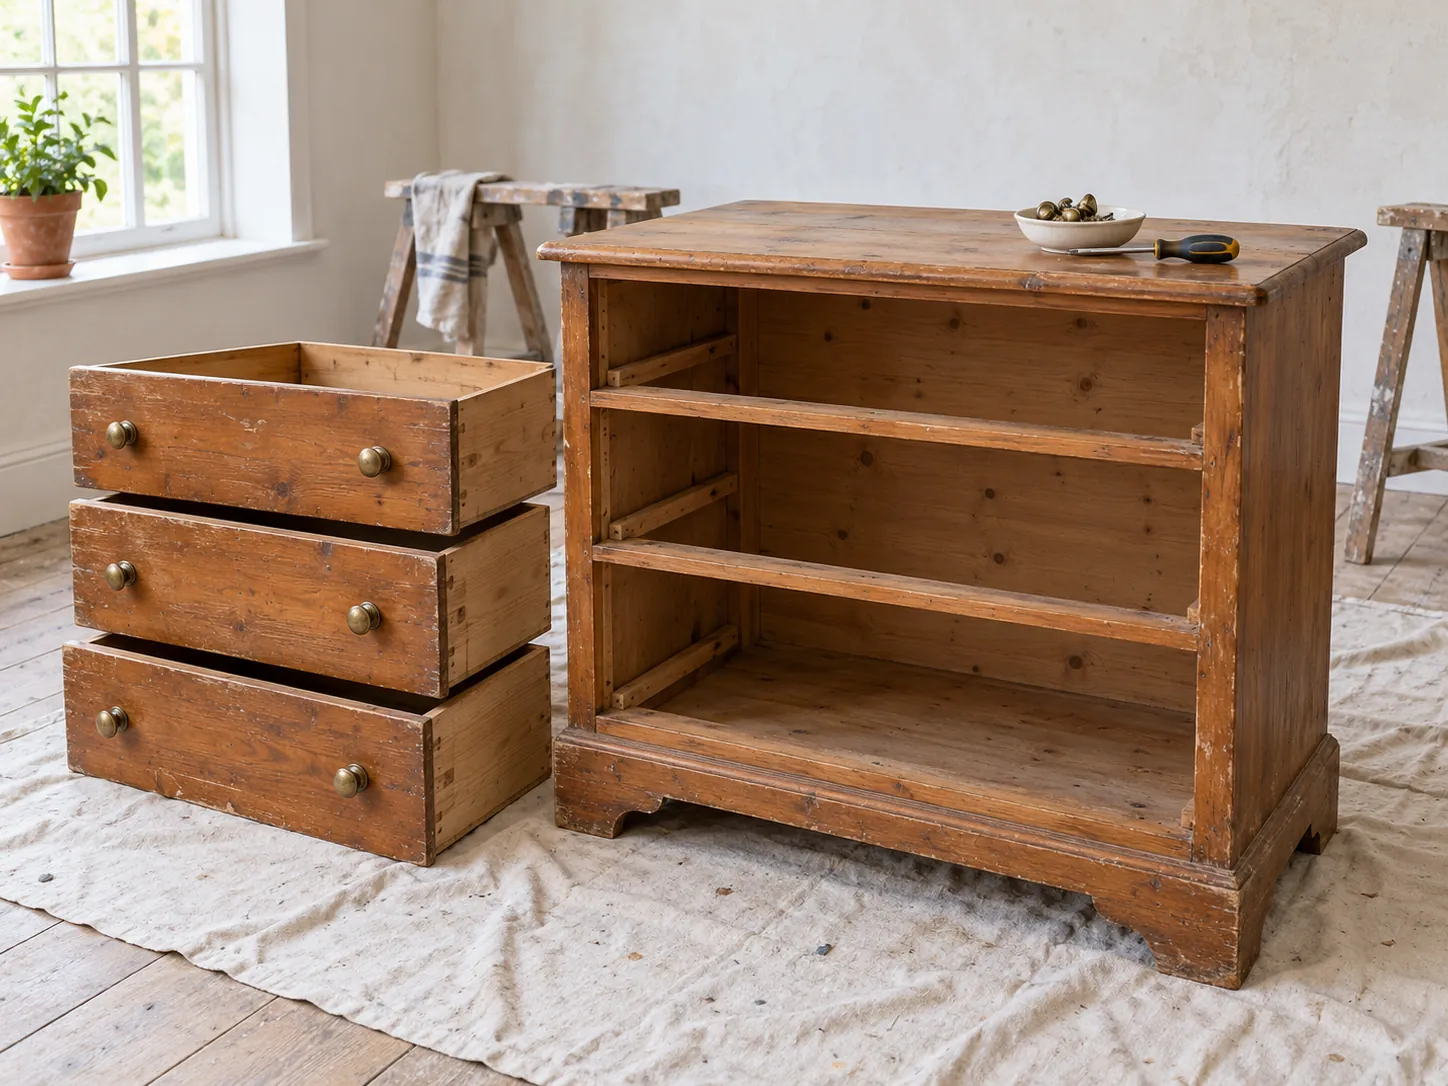
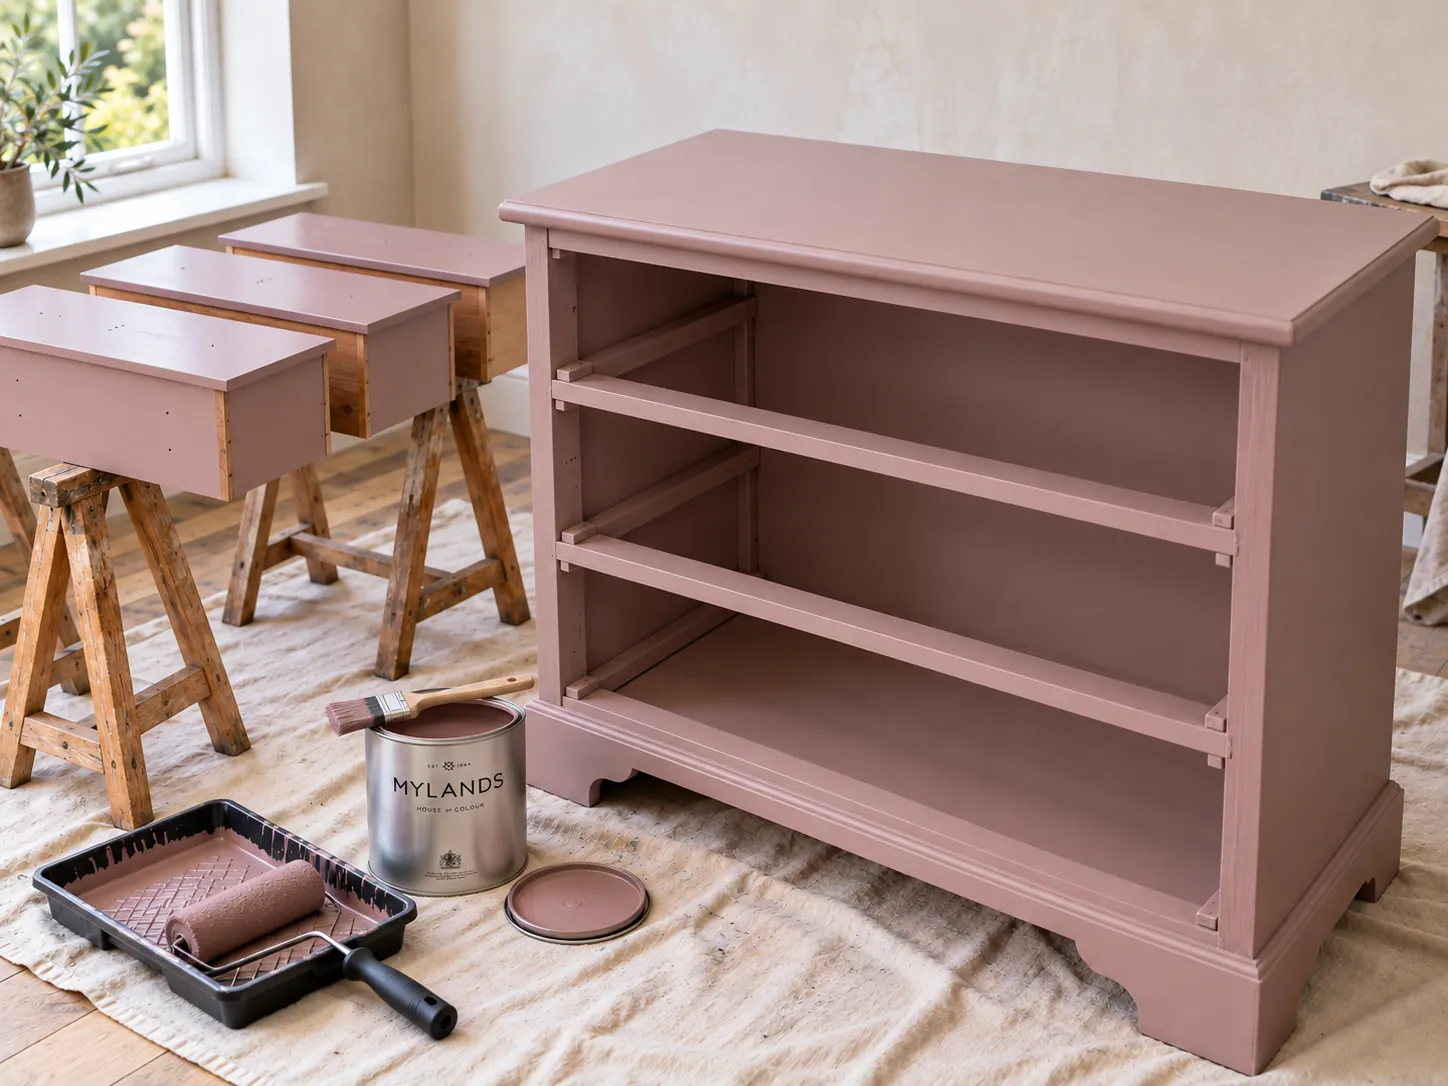
Handles, knobs, hinges, doors and drawers: whatever unscrews, unscrews. A drawer is painted on its front only, never on its runners. Put the piece on trestles or a dust sheet, in a ventilated room, above 10 °C.
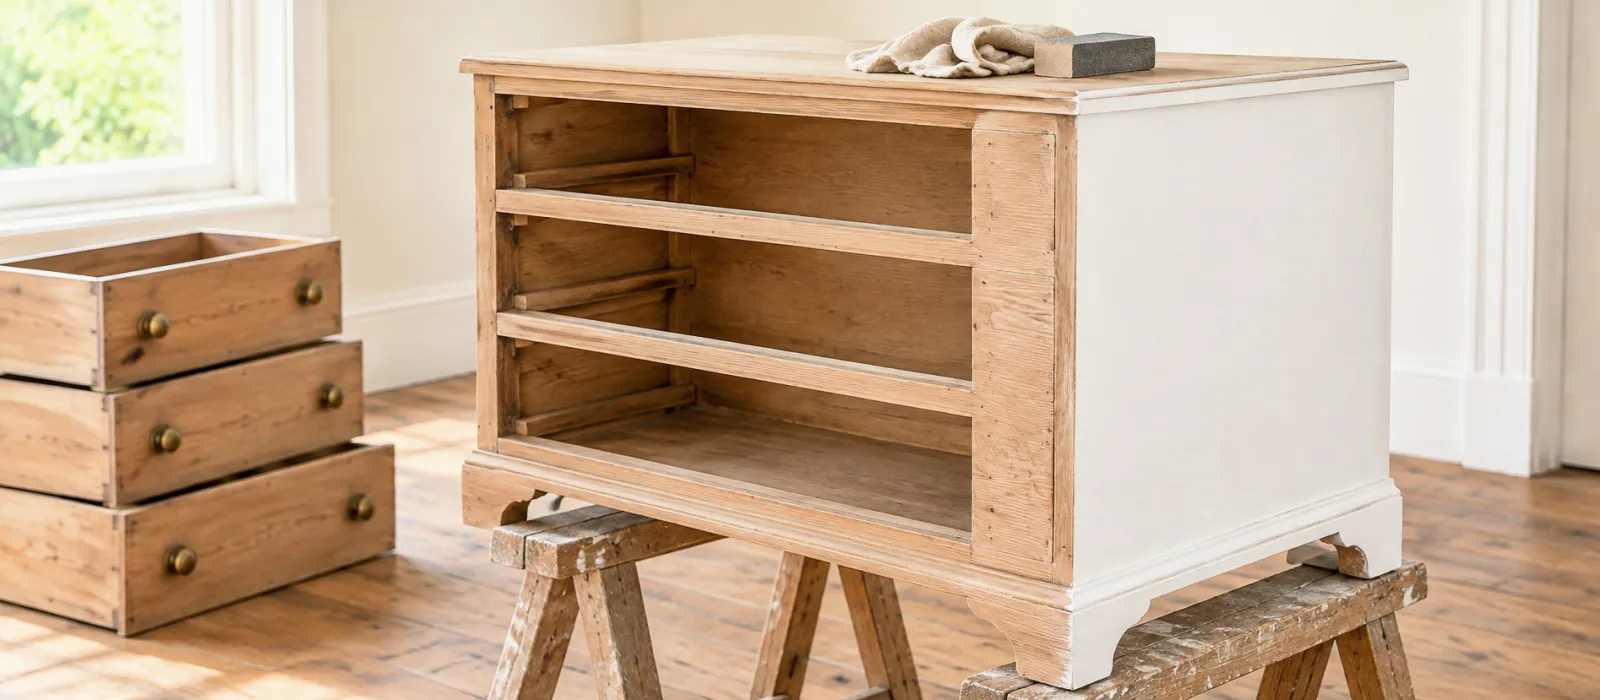
An old piece is almost always waxed, and nothing holds on wax. Wax remover (or furniture cleaner for light grime), with a cloth, until the cloth comes away clean; then a rinse. On a varnished or already-painted piece, a wash with mild detergent is enough.
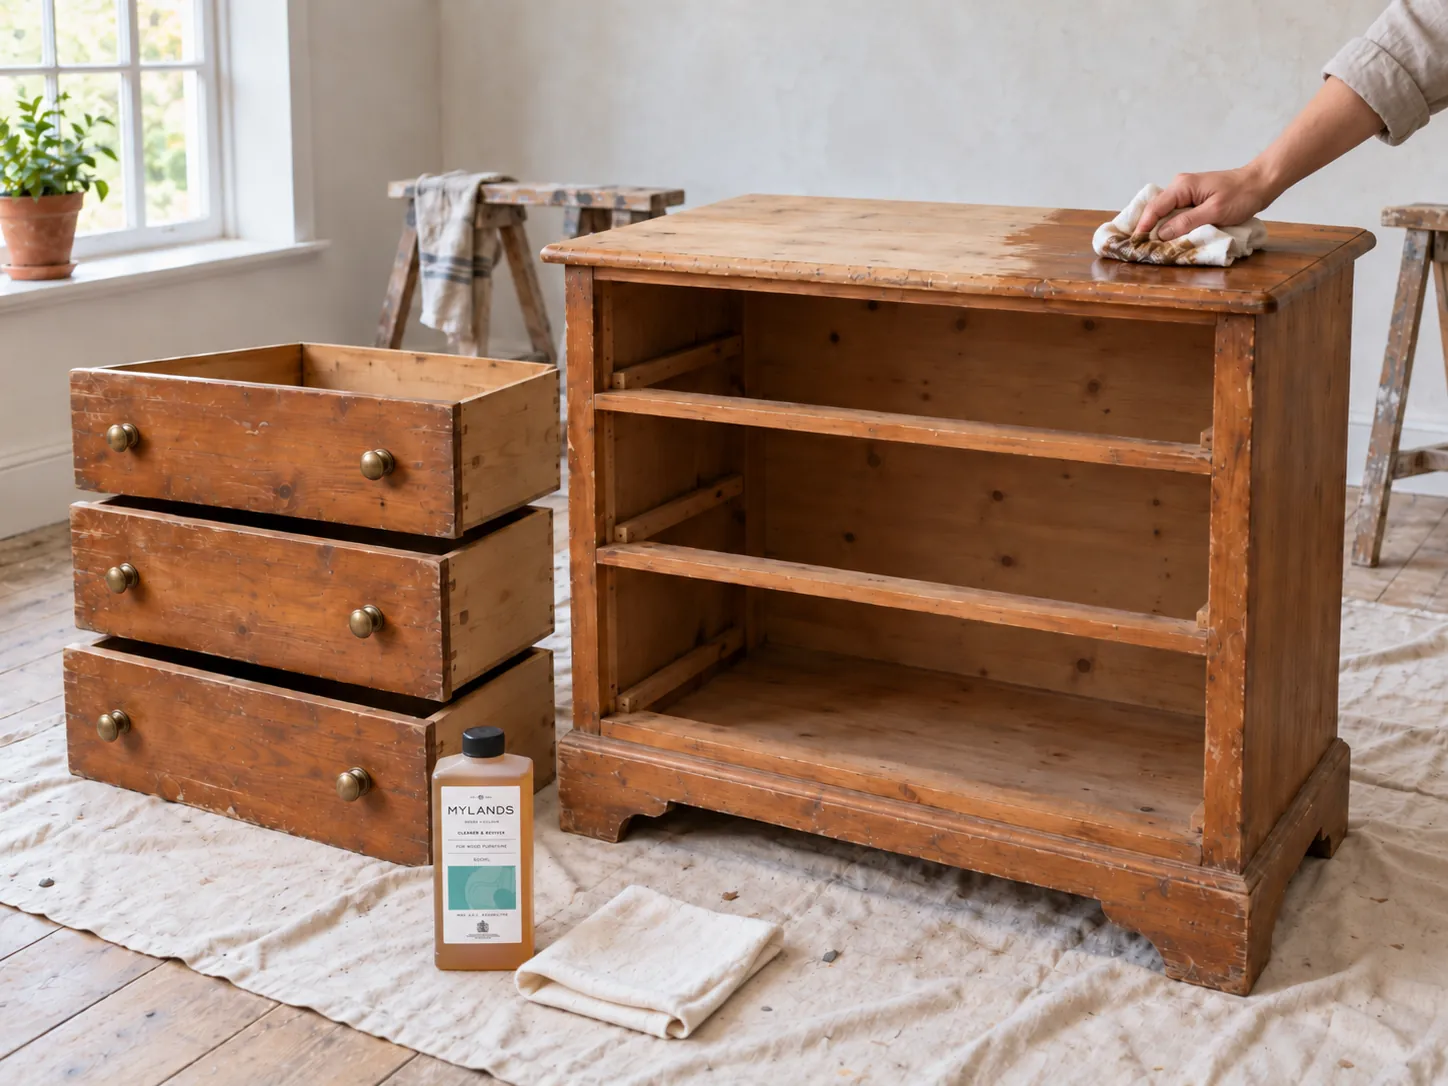
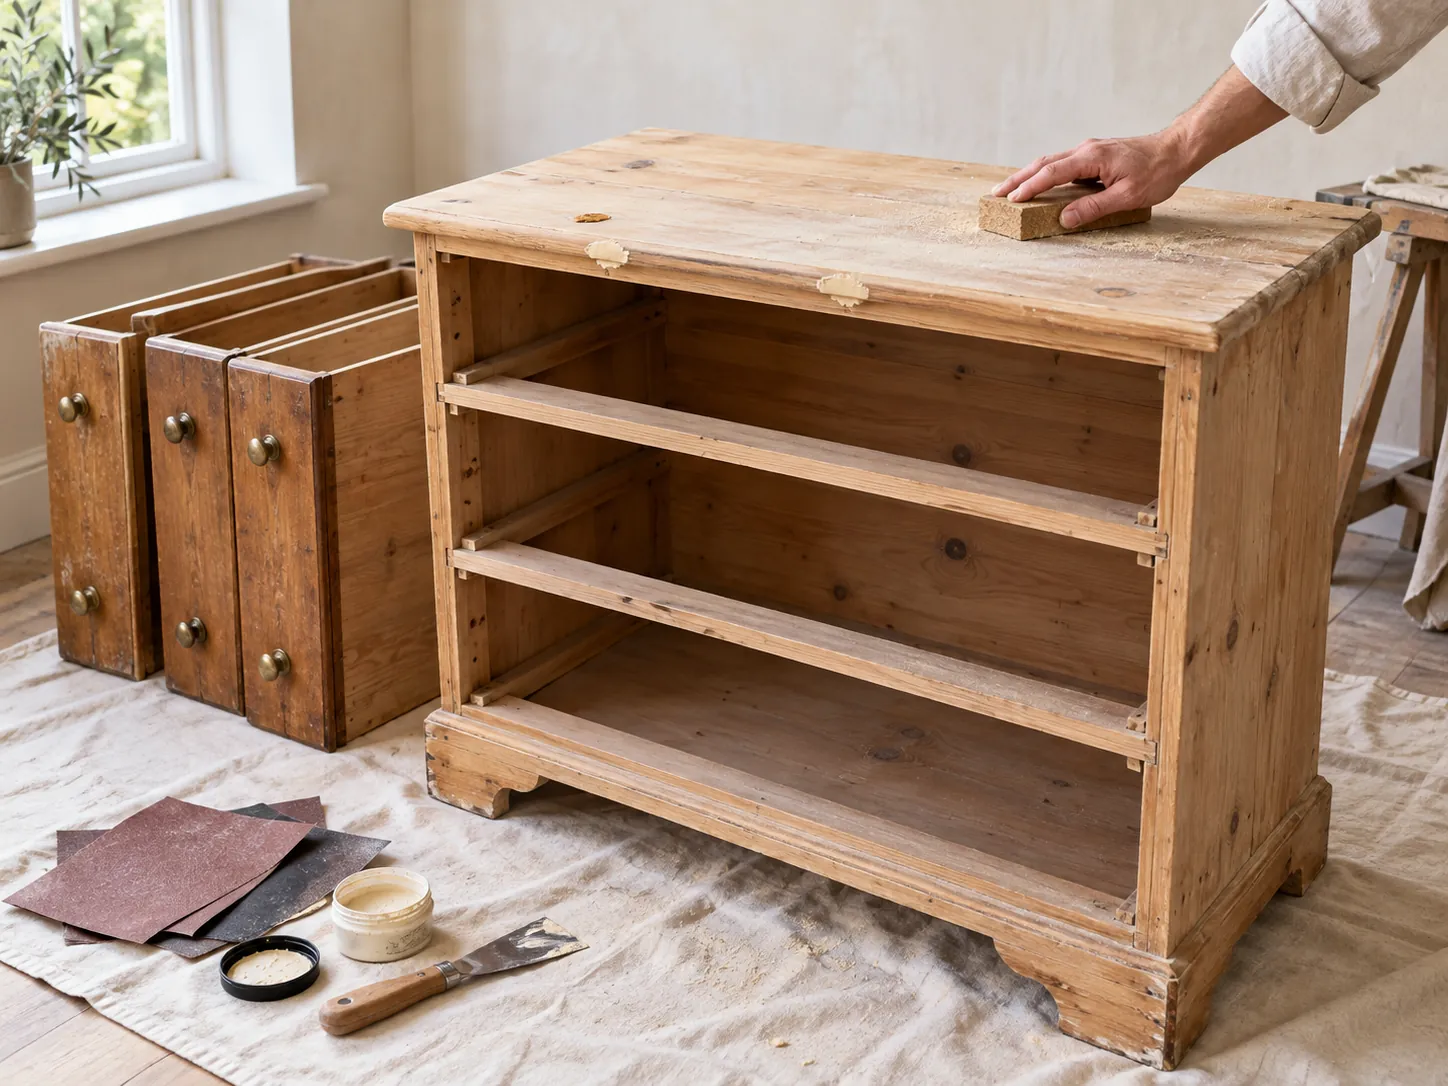
With 120 to dull a varnish or an old paint, with 180 on bare wood, always along the grain. Fill chips and holes with wood filler; sand again once dry. On pine or any resinous wood, seal the knots with knotting solution, or they will bleed yellow through the paint within six months. Vacuum, then a damp cloth.
One coat of Multi-Surface Primer wherever wood shows, and everywhere if the colour changes a lot. On an old painted piece in sound condition, primer only serves for a big jump in shade. Let it dry 3 to 4 hours, then rub down with 240: that sanding is what makes the piece smooth to the touch.
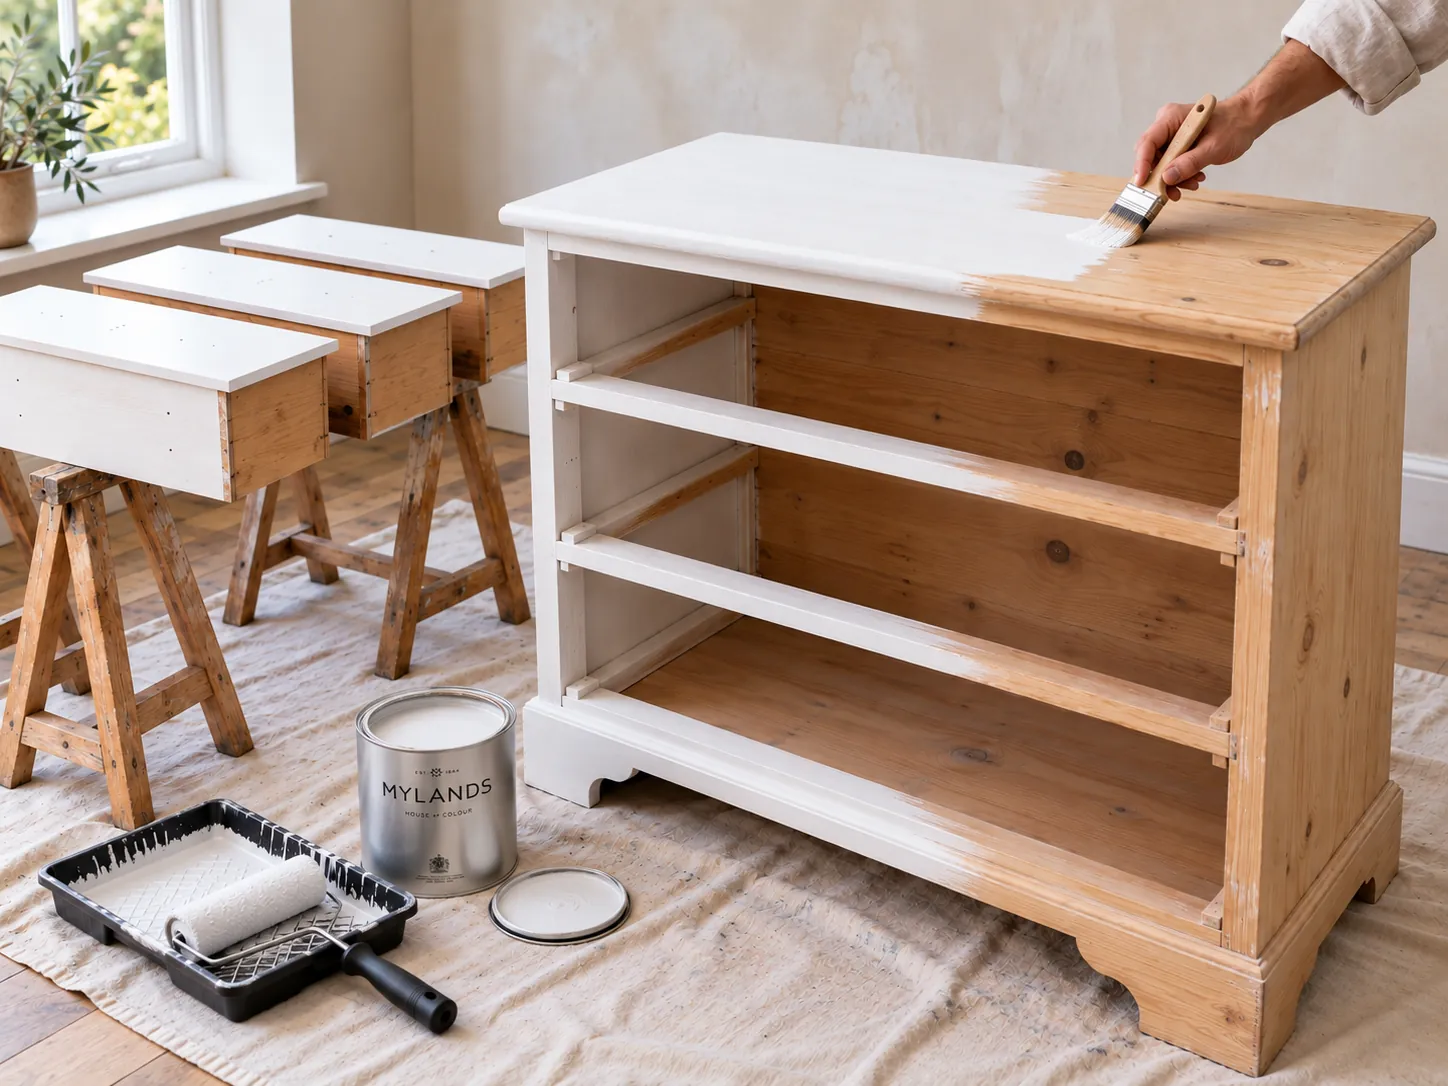
Flat brush on the large surfaces, cutting-in brush in the mouldings and corners, small foam roller on a top if you want it perfectly smooth — then one pass of the brush to erase the roller's texture. Thin coat, laid off in one direction, without going back over what is drying. Touch-dry in 2 to 3 hours.
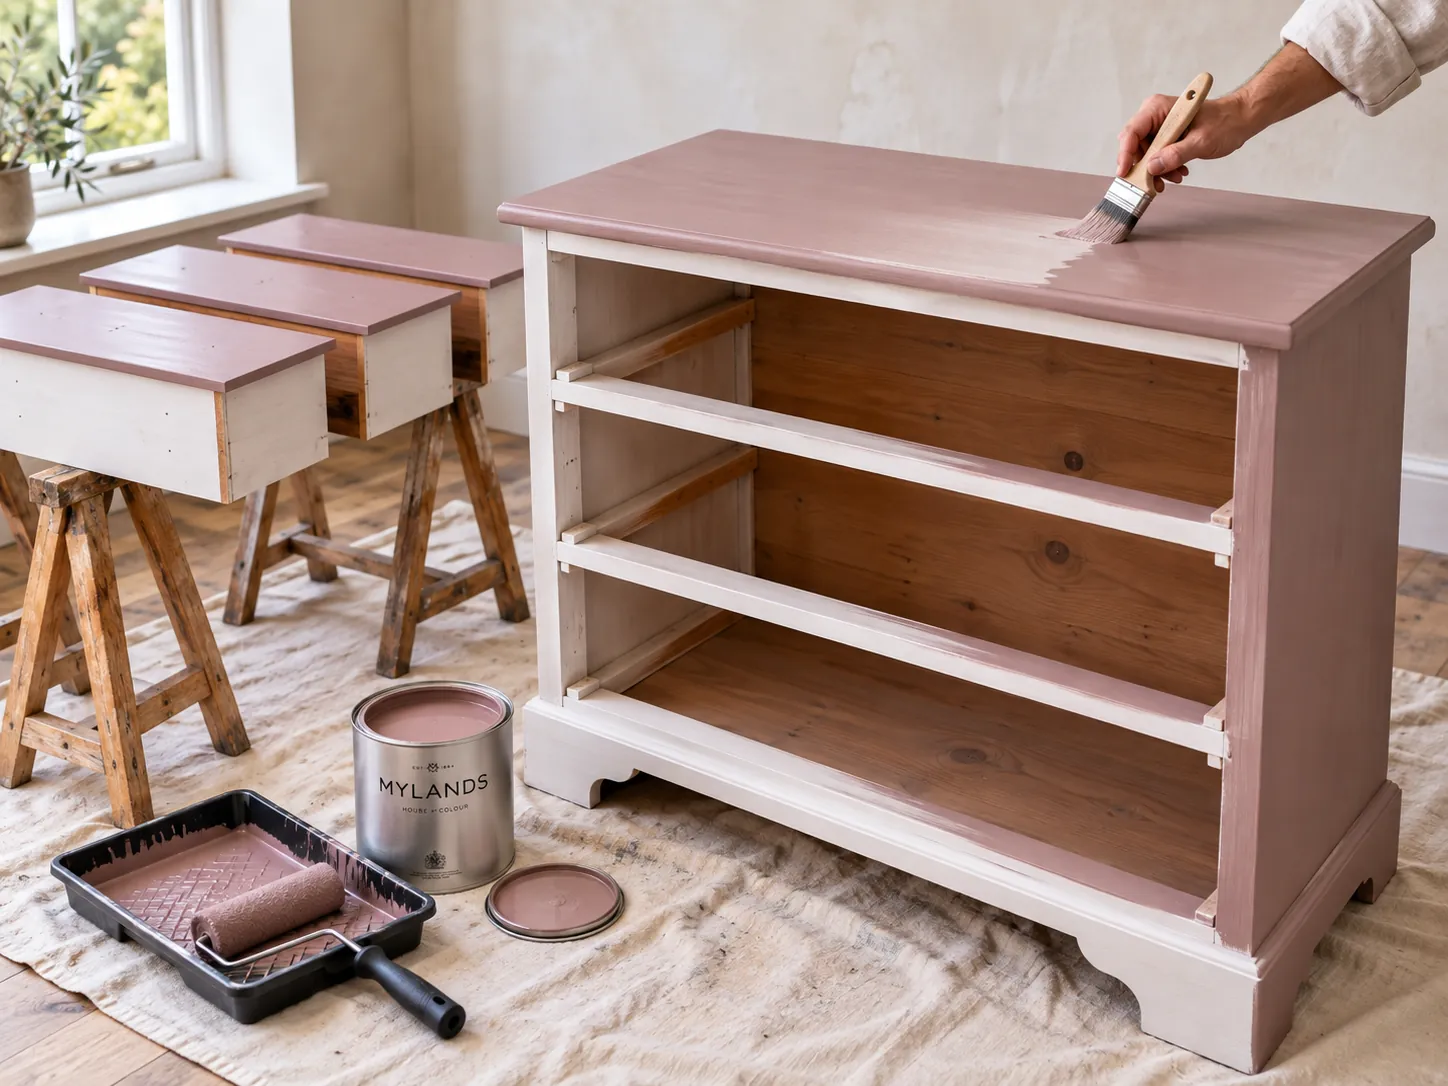
After 3 to 4 hours, the same movement. Two coats are enough over a well-brushed primer; a red or a bright yellow may ask for a third, thin. Let it dry overnight before refitting the drawers and handling the piece.
Handles and doors the next day. The film is dry, not hard: no heavy vase on the top, no books pressed against the sides for two to four weeks. After that, a soft sponge and mild detergent keep the finish for years.
Not painting
For wood you want to keep on show, the Mylands wood finishes — made since 1884 for cabinetmakers and film sets — give you the choice. Always on wood that is cleaned, stripped of its wax and sanded.
| The piece | What it needs | The result |
|---|---|---|
| Dulled, sound walnut chest | Furniture cleaner, then a wax (clear or tinted) | The wood gets its depth back, soft sheen, renewed once a year |
| Oak or beech kitchen table | Hard wax oil or finishing oil, two thin coats | Natural matt, resists water and glasses, repairs locally |
| Pale pine you find too yellow | Water stain or earth stain (grey, oak, white), then oil or wax | The wood changes tone and keeps its grain |
| Scratched top, flaking varnish | Strip, sand, quick-dry varnish, matt or satin | Hard protection, looks new, colour unchanged |
| Junk-shop bare pine | Liming wax or paint, your choice | Liming wax keeps the grain; paint erases it |
Oils and waxes cannot be painted over; if you change your mind later, you will have to strip. Each product's page gives its drying times.
The colours
A painted piece is a movable touch of colour: you can dare more than on a wall. Six pairings, with the colour of the wall behind.
01
A muted, very grown-up powder pink on an old chest with brass knobs, against a warm white.
02
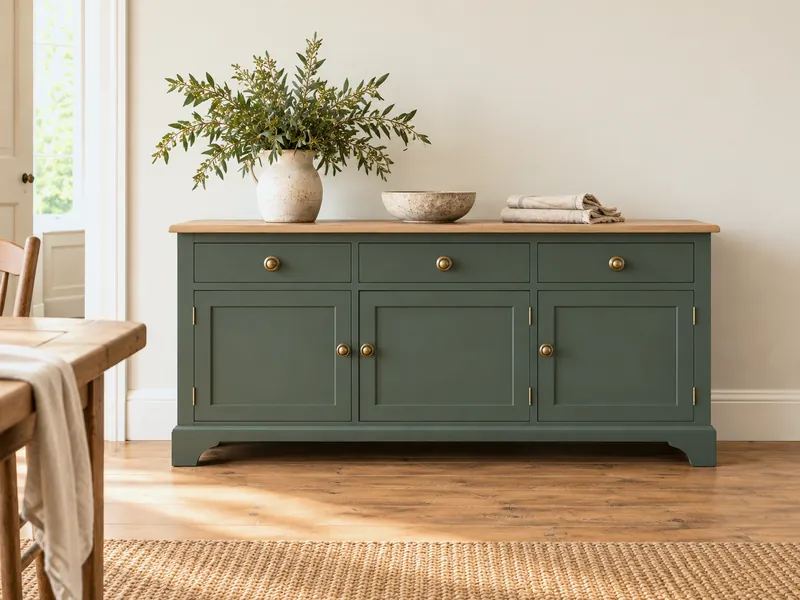
A bottle green on a low sideboard, wooden top kept oiled, stone wall: the piece becomes the dining room's focal point.
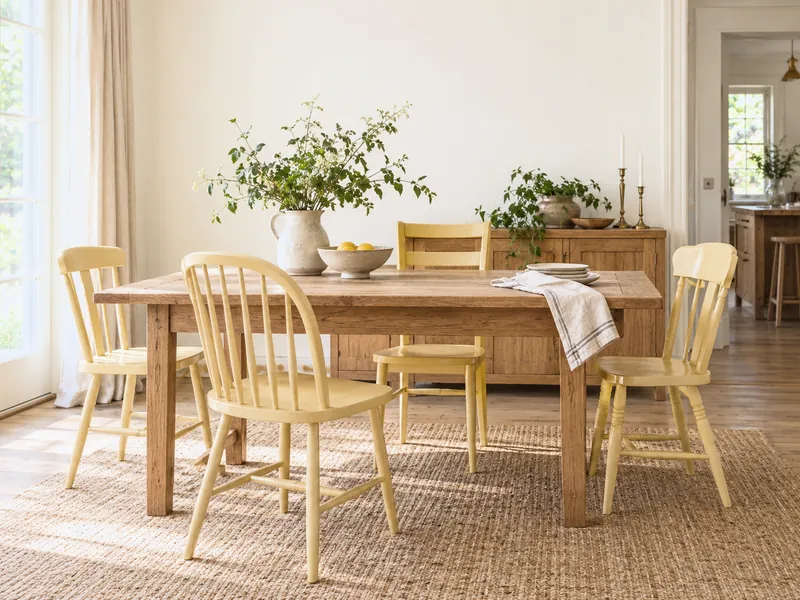
03
Four mismatched chairs unified by a honey yellow in Satin, around an oak table, off-white walls.
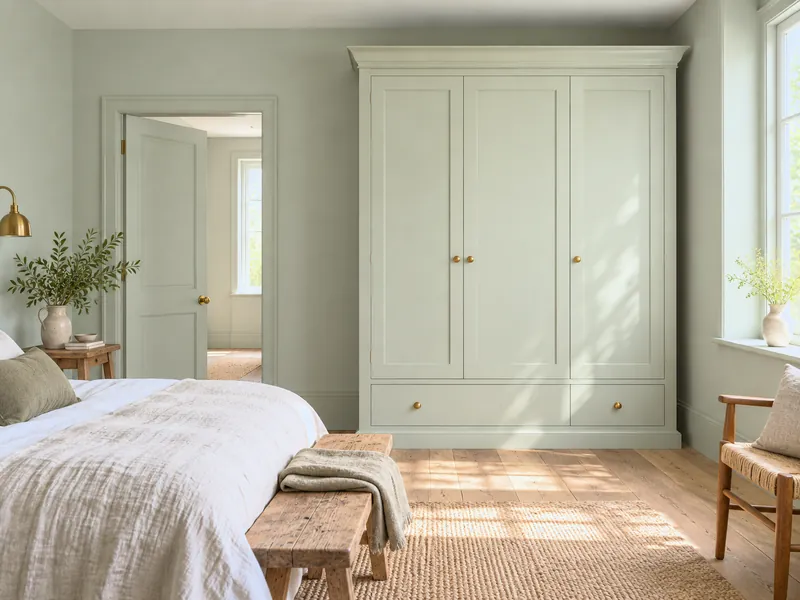
04
A wardrobe in the exact shade of the wall, in Dead Matt: it melts away and the bedroom looks bigger. The rule of colour drenching.

05
A deep blue on two small bedside tables, very pale blue walls: a contrast of value, within one family.
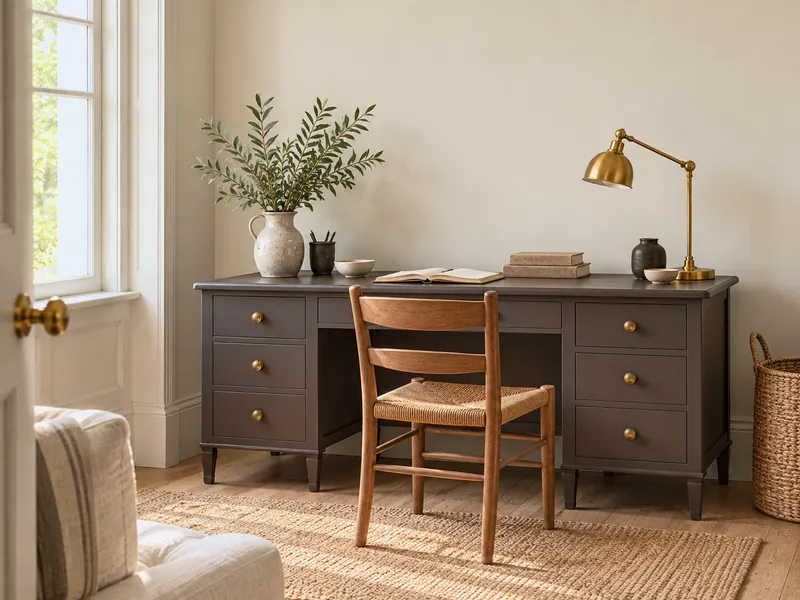
06
An old pine desk, painted an almost-black brown in Eggshell, top included: the colour gives the presence the wood never had.
To avoid
Frequently asked questions
No, if it is holding: sanding with 120 to dull and even it is enough. Strip only what flakes, down to sound wood, and prime those areas. A piece painted before 1990 may carry lead paint: do not dry-sand; dampen and wear a mask.
Yes: careful degreasing, dulling with 180, Multi-Surface Primer, two coats of finish. It is the same method as for kitchen cabinets.
A 100 × 80 × 50 cm chest is 2 to 3 m² of visible surface: a 250 ml tin of multi-surface finish is enough for two coats, or a 250 ml sample pot to try the shade on one drawer before deciding.
Yes. Every Mylands paint is water-based, low in VOCs and compliant with the EN 71-3 toy standard. See Upcycling children's bedroom furniture.
Two coats of close colours — the darker underneath — then a light sand with 240 on the edges and mouldings once dry: the coat beneath reappears where the piece would wear naturally. Seal with a clear wax if you like.
See also
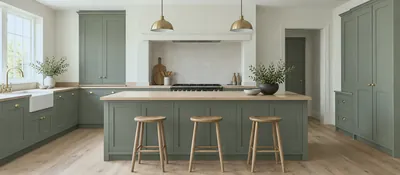 A new kitchen for the price of two tins: the method door by door, the finish that washes, and six colours.
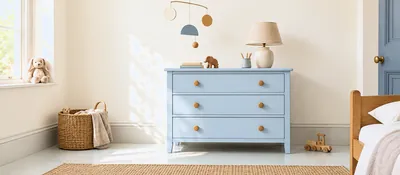 A junk-shop piece, a tin of colour, a Sunday: six ideas for a child's room, with paints that meet the toy stan...
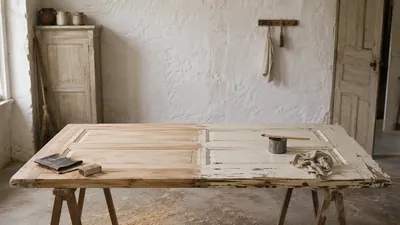 How to prepare your woodwork before painting, for a flawless, long-lasting finish.
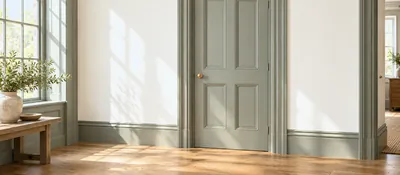 The quickest project that changes a room the most: six colour ideas for doors, skirting and windows.
“Furniture is not thrown away: it changes colour.”
Thanks for signing up to our newsletter!
Sign in to save items to your wishlist. Sign in to save your basket, so you can continue shopping later.
Don't have an account? Create one
Share this link and friends can buy items from your list. Anything bought disappears from it automatically. Anyone with this link can see your selection.
Moving in, redecorating, or dropping hints? A free account turns this selection into a gift list — add or remove colours whenever you like, and we'll email you when someone buys something from your shared list.
Free · Delivered to your door
Get a free colour card posted to you, showing our complete Colours of London range, with swatches made from the real paint for a true representation of our award-winning colours.