01
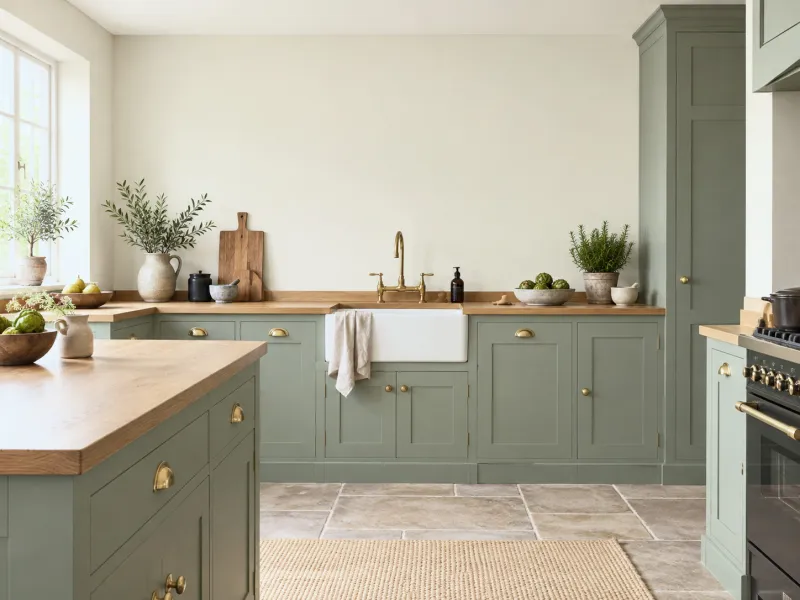
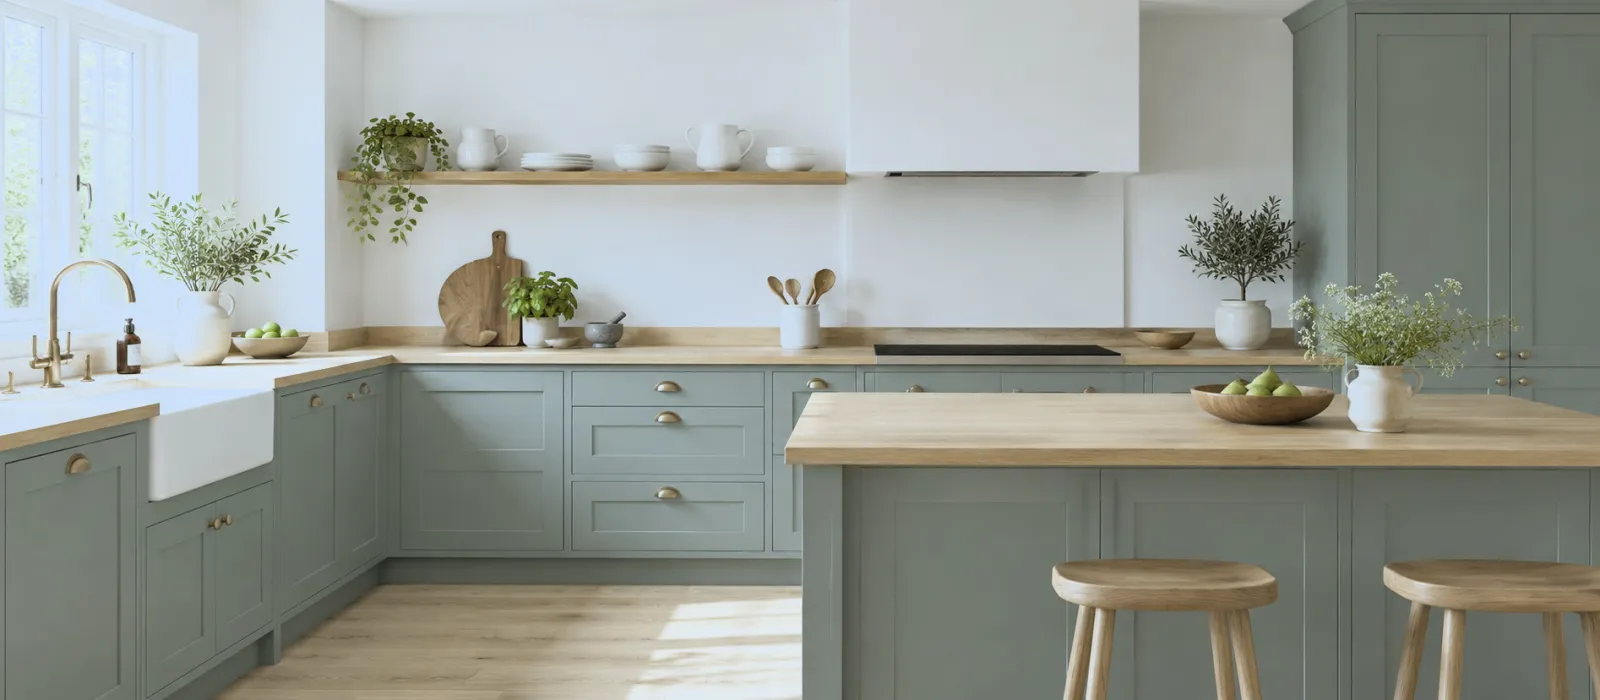
The muted grey-green
With an oak worktop and brass handles: the English classic that does not date. Walls in a stone white.
Menu
How To
Design Advice
Customer Service
My account
Help with paint How-to guides
Take off the doors and handles, degrease thoroughly, sand, prime with Multi-Surface Primer, then apply two thin coats of Multi-Surface Satin or Eggshell — brush along the grain, small roller on the flat panels. Allow a weekend for a ten-door kitchen, and two to four weeks of curing before treating it roughly. Wood, MDF, melamine, laminate: everything takes paint; the primer makes the difference.
Page updated September 2026 · by the Mylands France colour team
Why it works
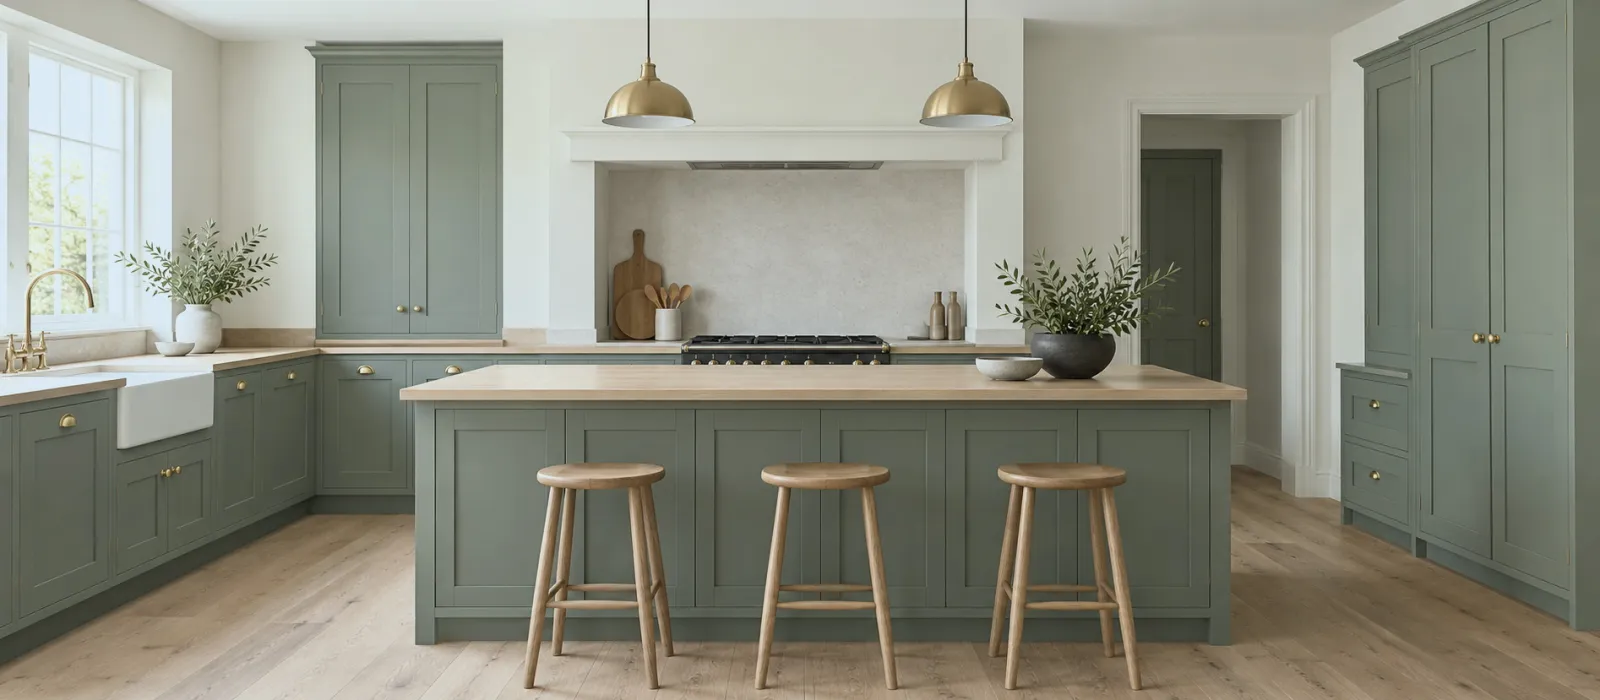
Kitchen fronts are doors: flat or moulded panels, removable, painted flat on trestles in good conditions. What makes the result last is not the colour but three things: the degreasing, because a kitchen is covered in an invisible film of grease; the primer, which grips melamine and laminate where nothing else holds; and the finish, which has to be washed every day without polishing up.
For that, two Mylands finishes: Multi-Surface Satin, the most resistant to hands, knocks and the sponge, and Multi-Surface Eggshell, a little more matt, moisture-resistant, the one to choose when you want the fronts to stay soft under the light. Both are water-based, low in VOCs, and exist in every colour on the card. The finishes in detail: which finish for kitchen cabinets.
The method
Unscrew the handles, then the hinges on the door side; put a numbered piece of tape inside each door and on its position. Drawers come out whole. What remains — the carcasses — is painted in place, visible parts only. On trestles, in a ventilated room, the doors are painted on both sides, inside first.
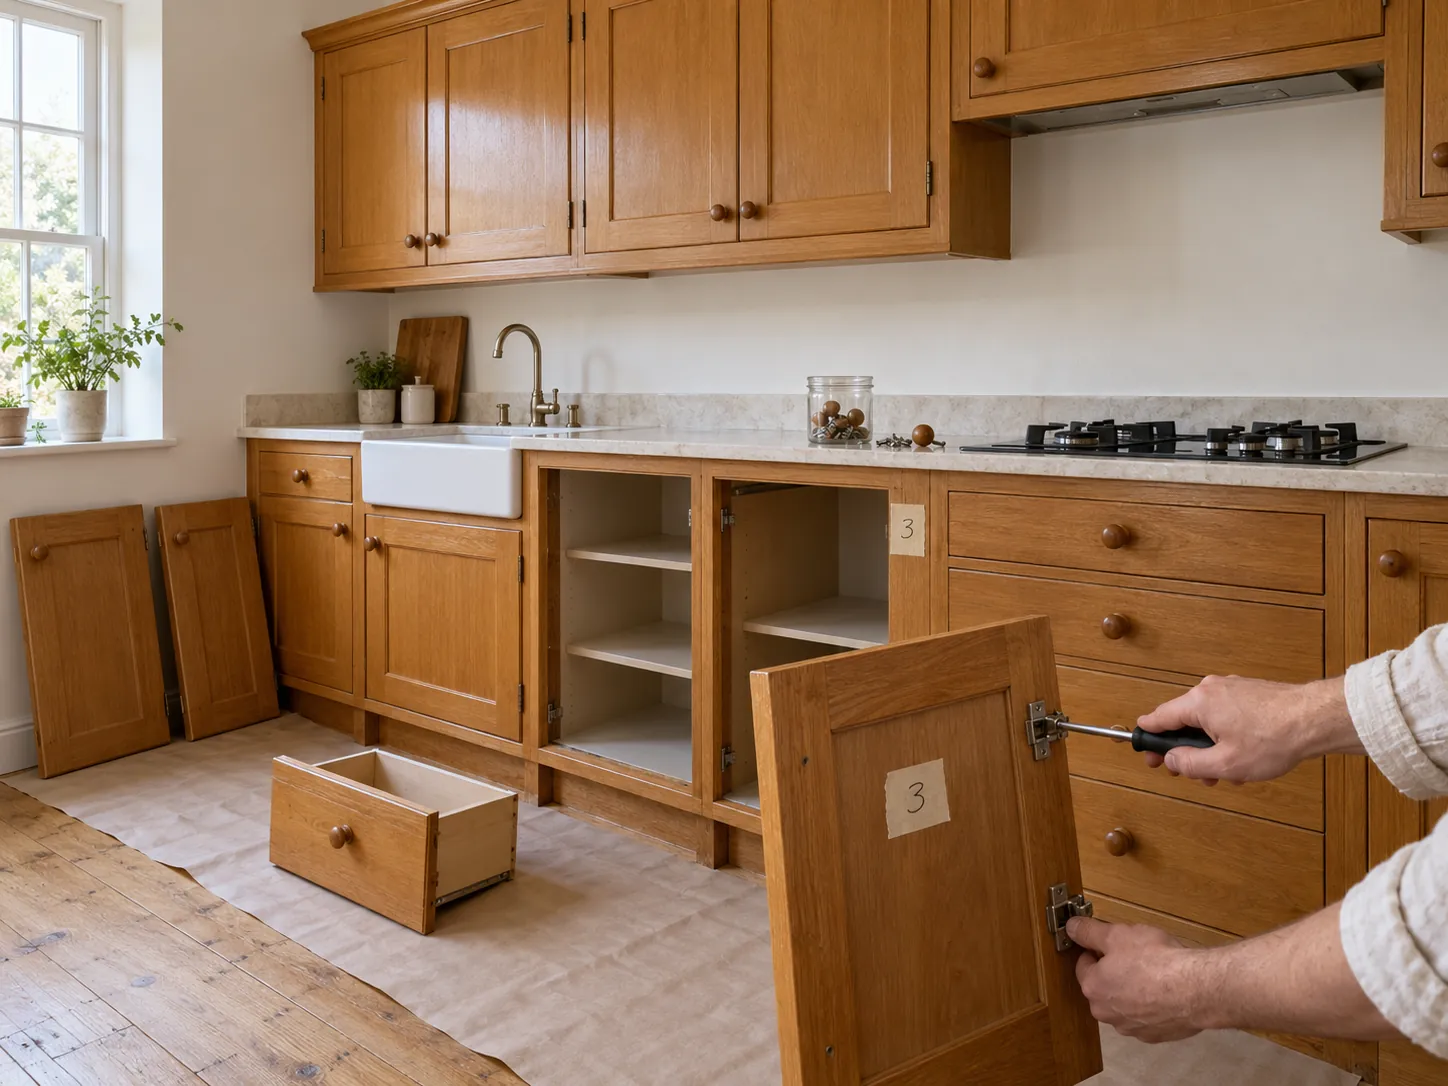
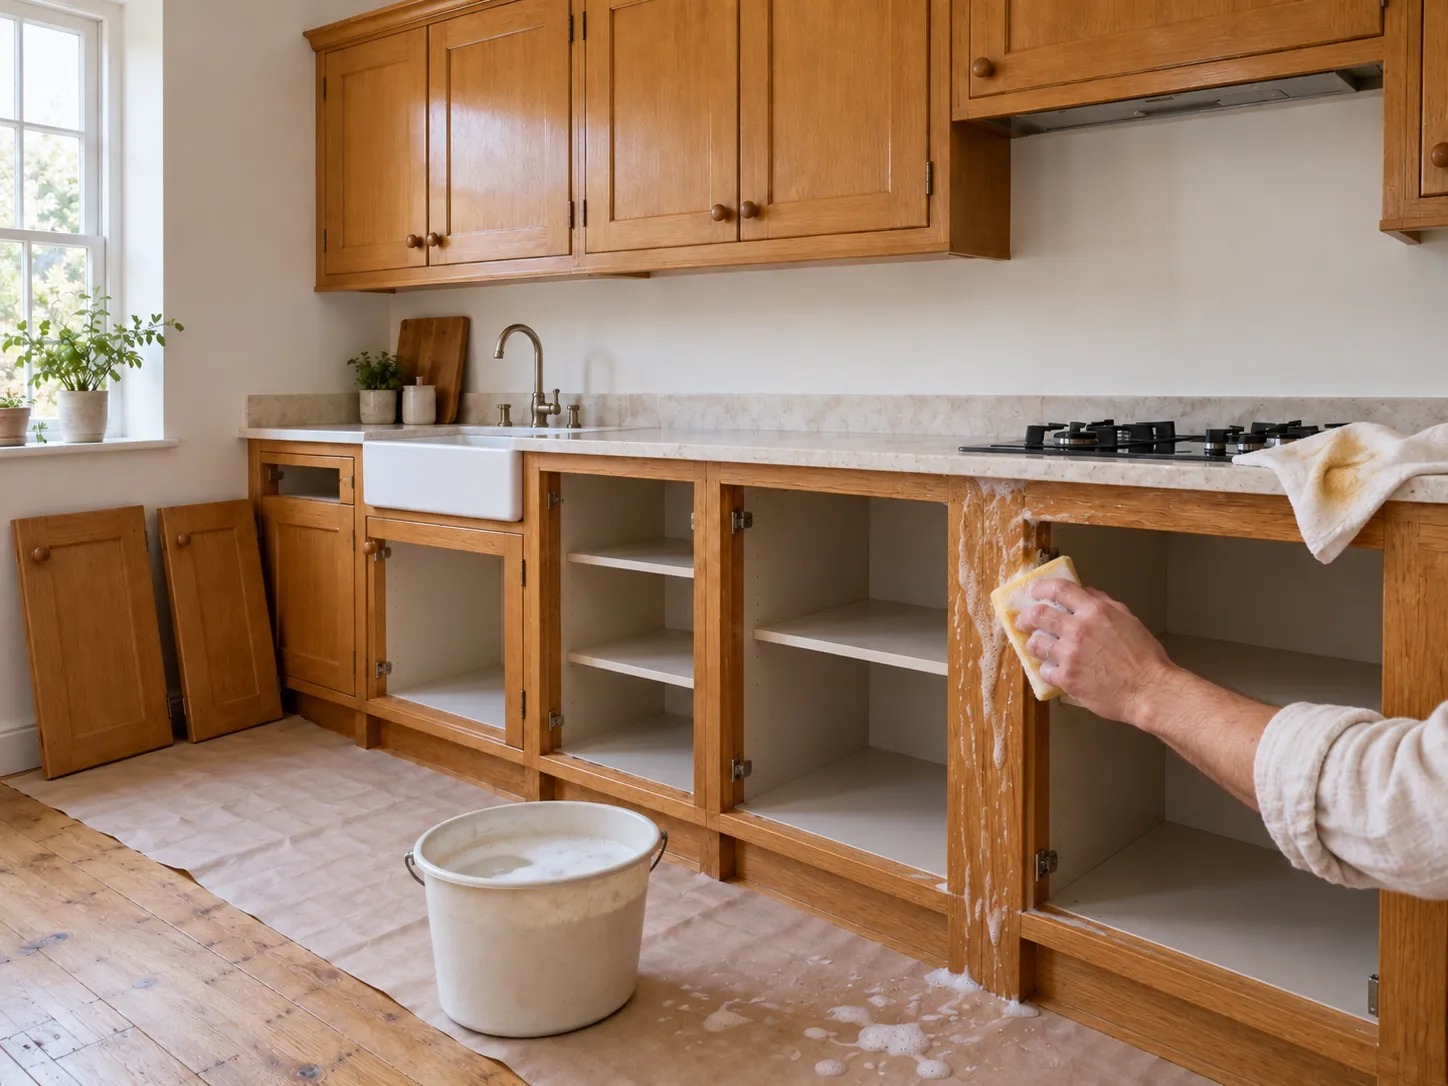
Sugar soap or degreaser, sponge, two passes, rinse with clean water, dry. Concentrate around the handles and above the hob. The damp white cloth test: if it comes away yellow, start again. Any water-based paint beads on grease; it is the number-one cause of repainted kitchens that flake.
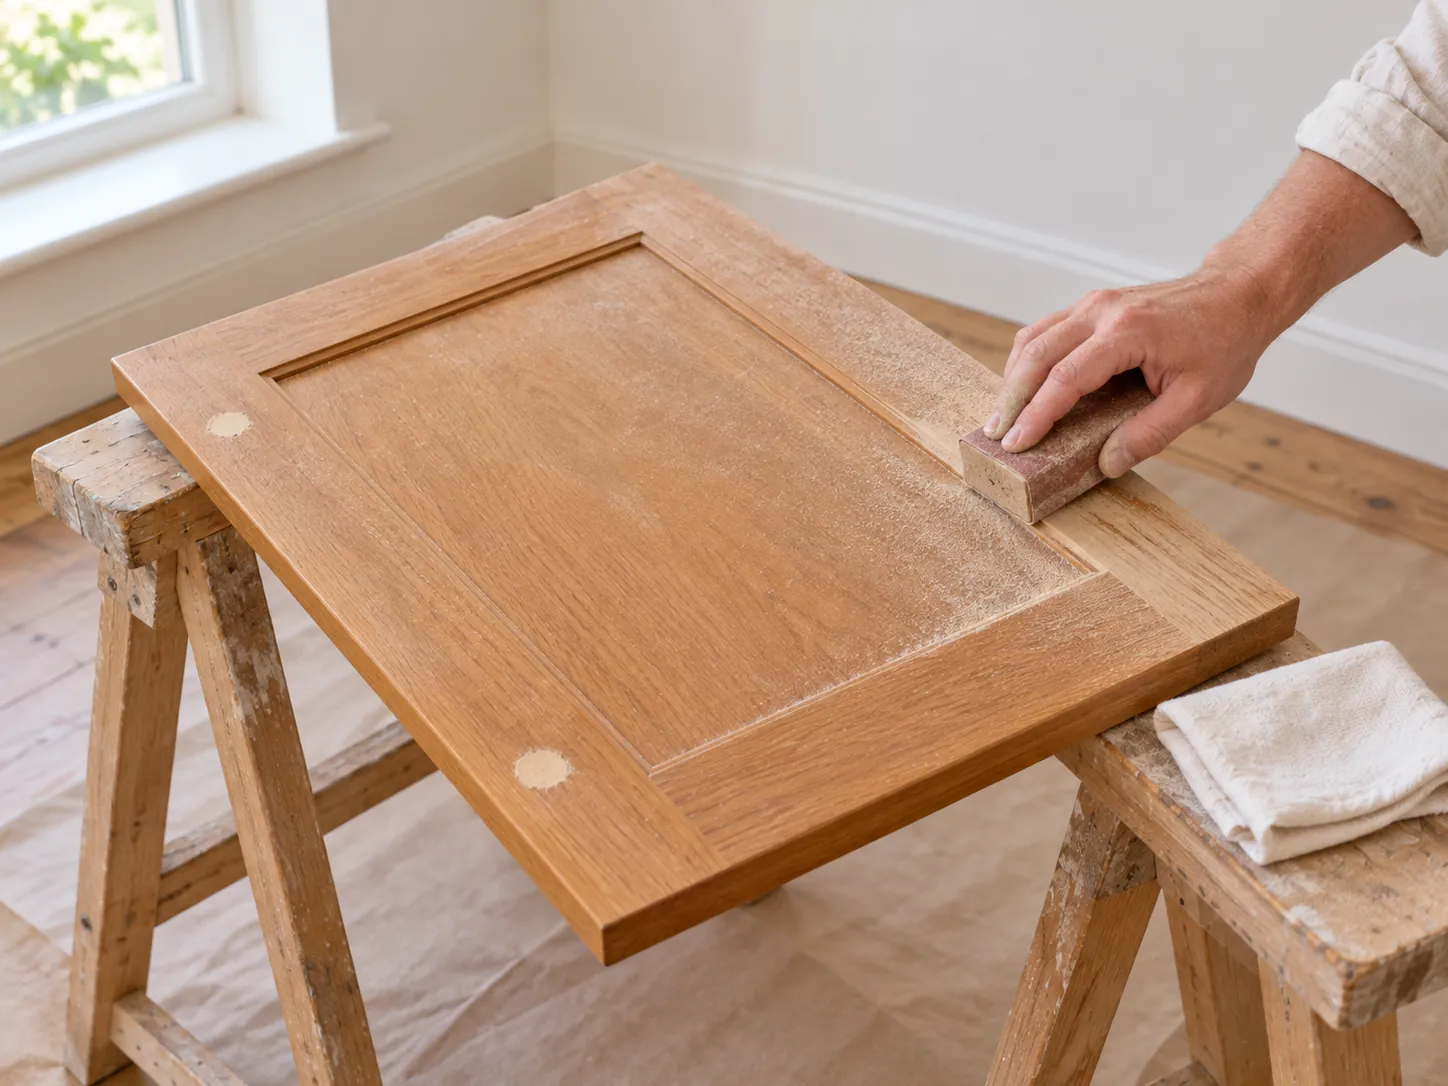
Sand with 180 grit over the whole surface, without pressing, to break the sheen — on melamine or laminate that is a simple dulling, and indispensable. Old handle holes and chips with fine filler, MDF edges with grain filler (they drink paint otherwise). Vacuum, then a damp lint-free cloth.
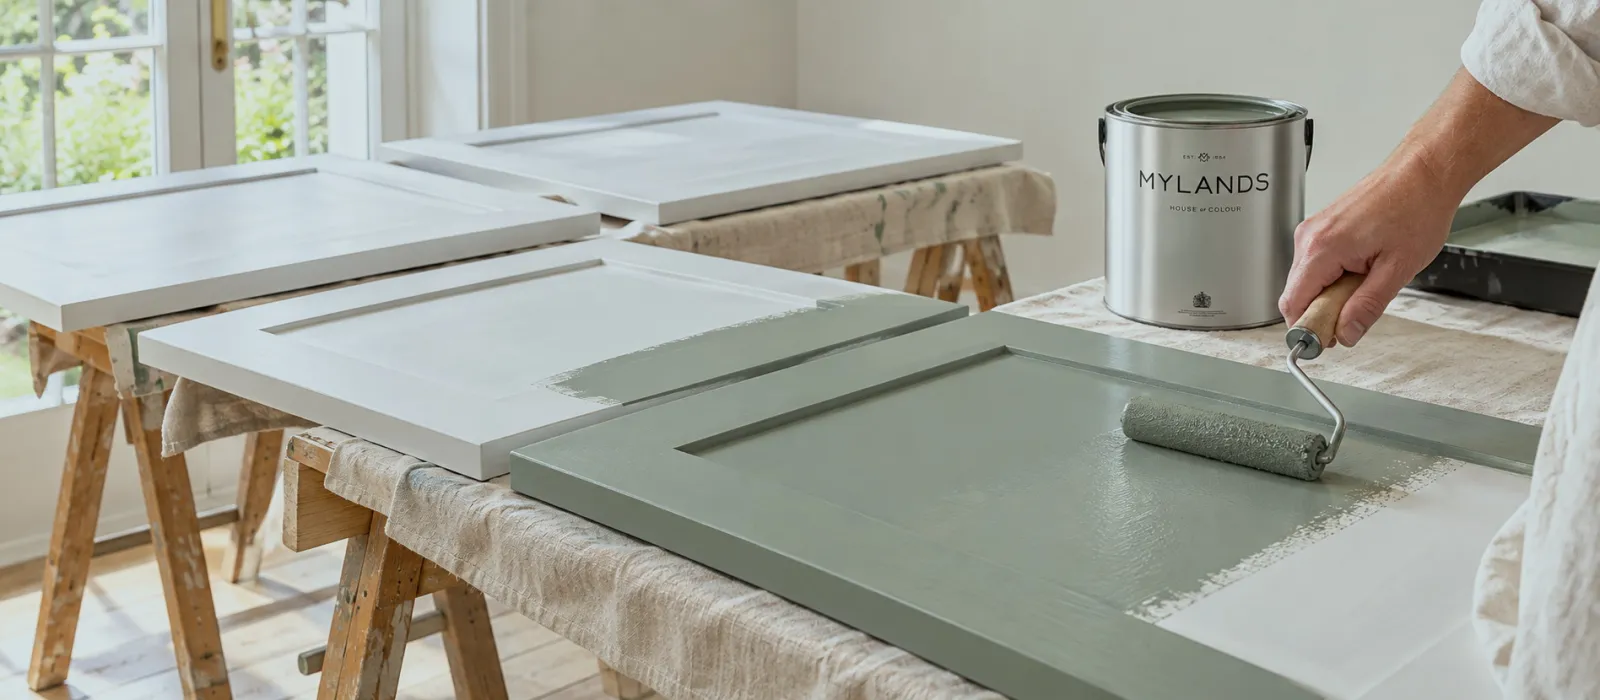
On bare wood, MDF, melamine, laminate and any marked change of colour, one coat of Multi-Surface Primer, brushed out thin. On resinous wood, seal the knots with knotting solution first. A very light sand with 240 after drying (3 to 4 hours) takes off the raised grain and gives the final smoothness. On an already-painted, sound, well-sanded front, primer is only needed for a large jump in colour.
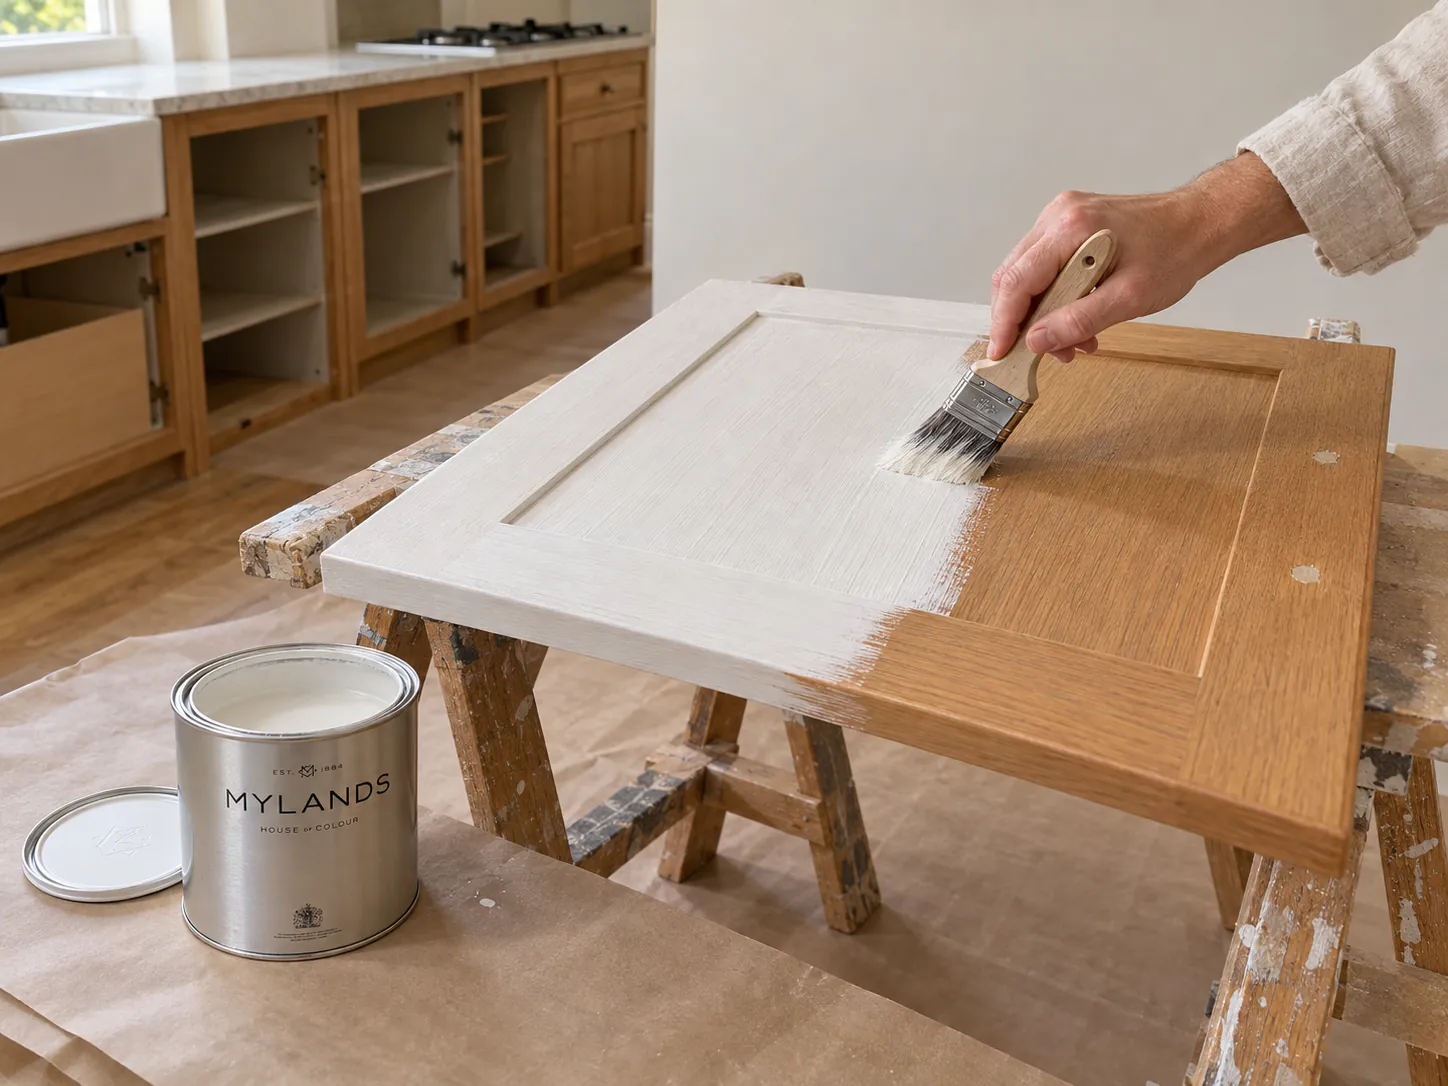
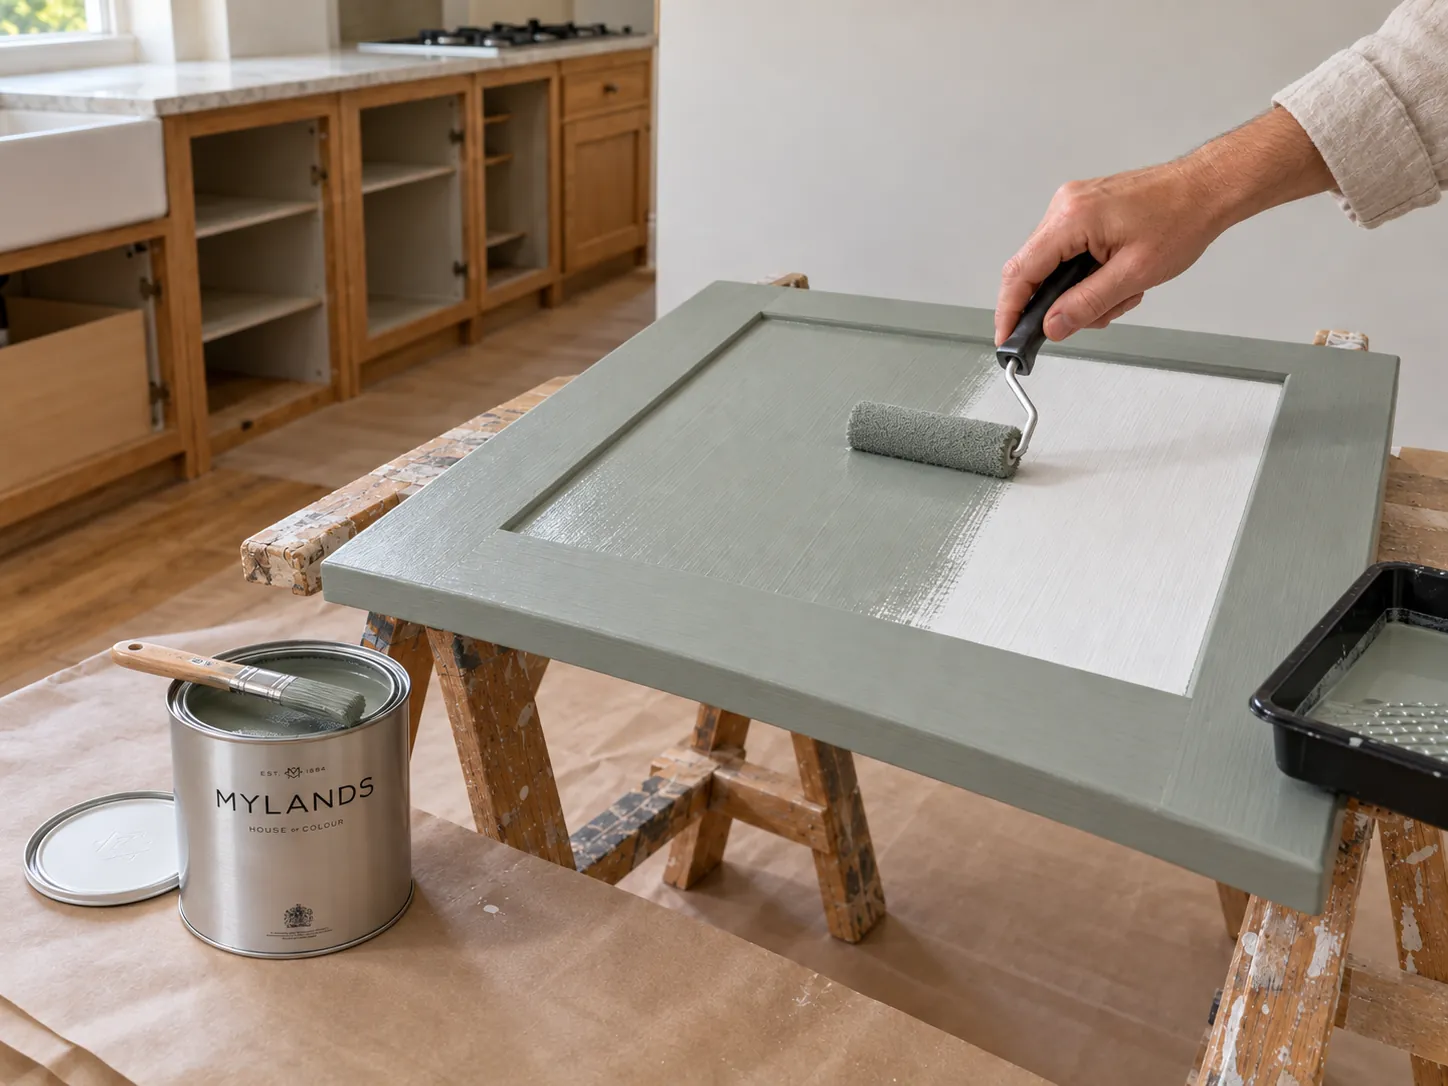
Brush in the mouldings and on the frames, along the grain; small roller on the flat panels, then one pass of the brush to lay off in a single direction while still wet. Thin coat: a thick one runs over the edges and takes days to harden. Never go back over an area that has started to dry. Touch-dry in 2 to 3 hours.
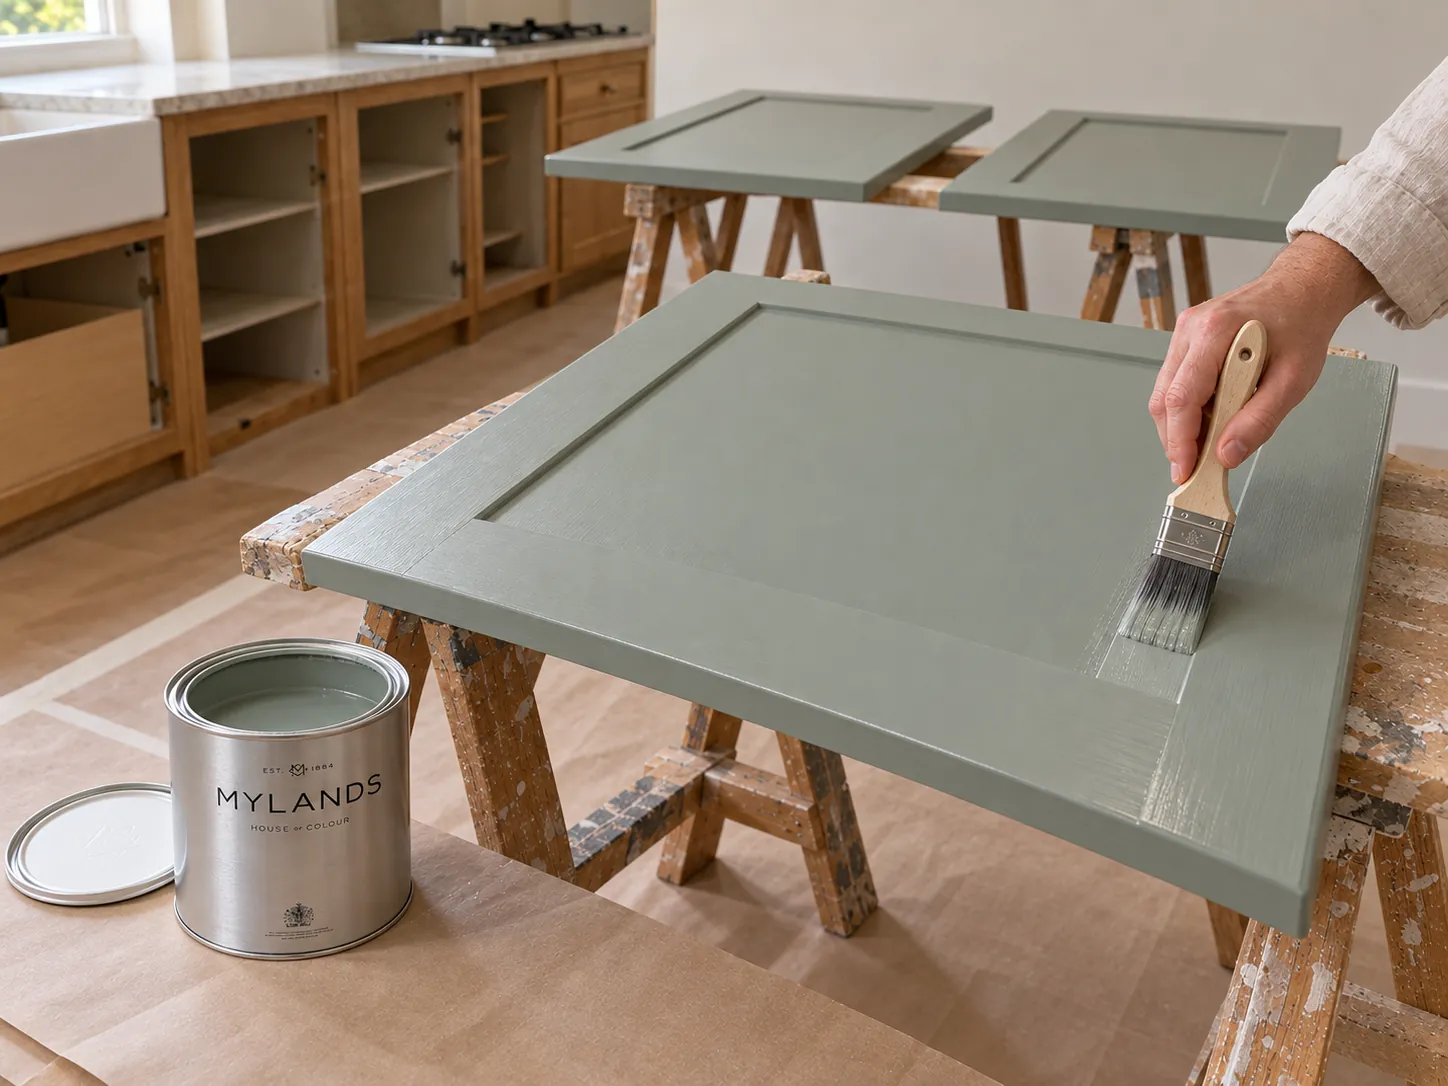
Same movement. Two thin coats cover and resist better than one thick one. On a red, a bright yellow or an extreme change of colour, a third thin coat may be needed — a primer tinted to the shade often makes it unnecessary. Let the doors dry flat overnight before handling them.
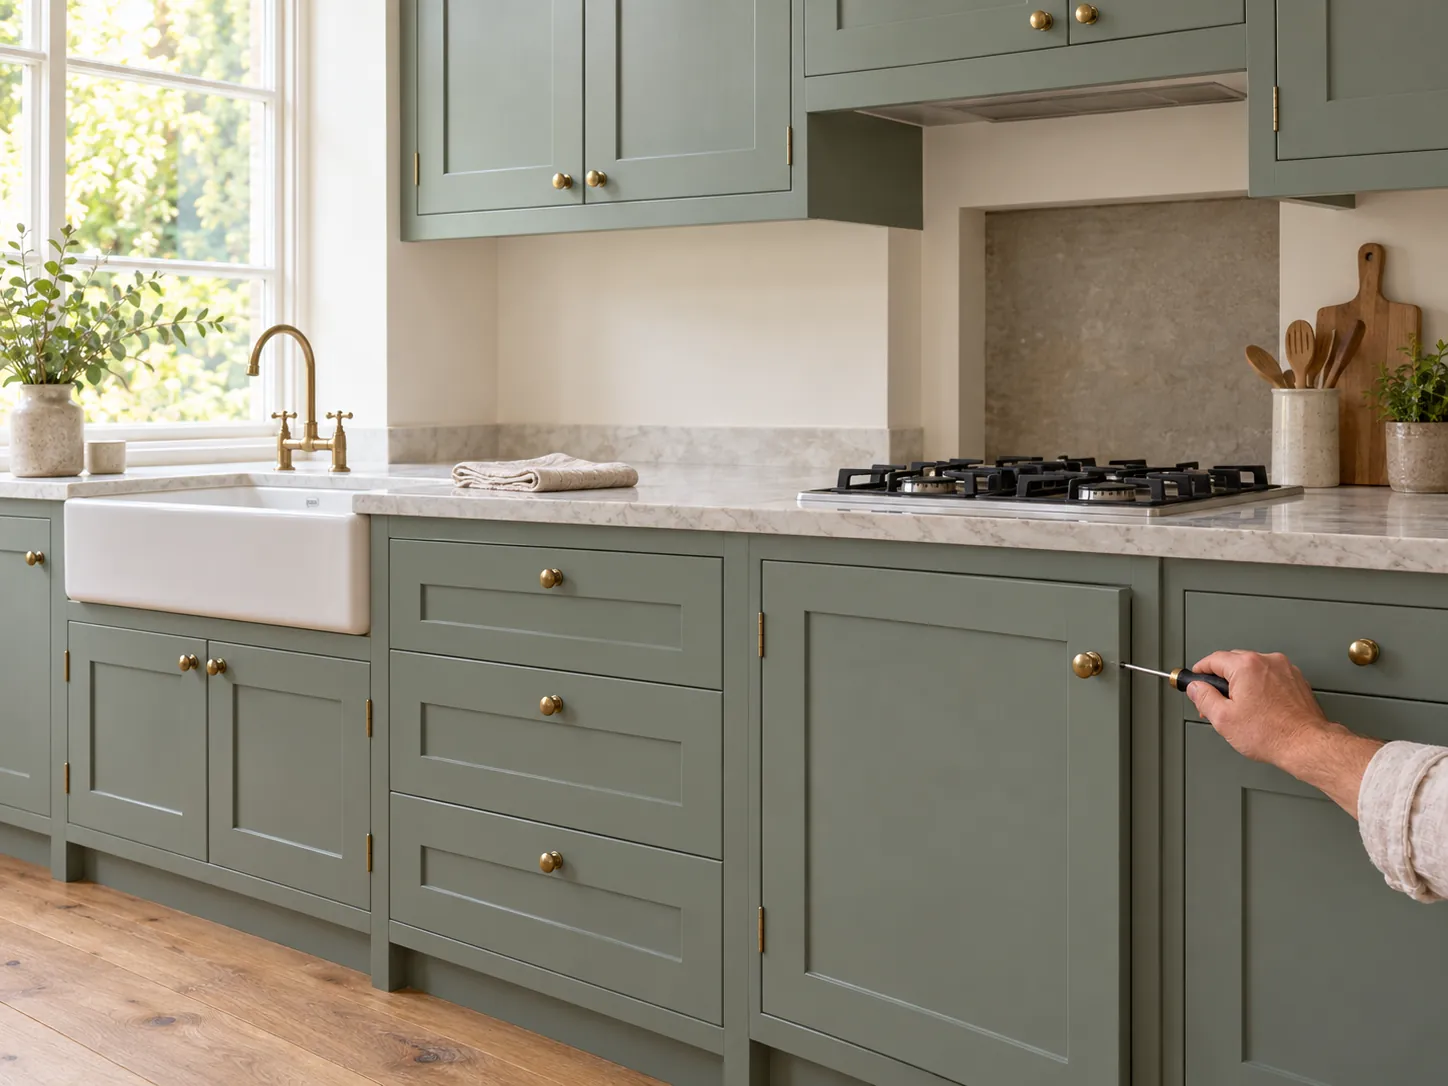
Refit the doors the next day, the handles after. The film is dry but not hard: avoid the scouring sponge, knocks and greasy hands for two to four weeks, the time of full curing. After that, the finish washes with mild detergent for years.
Reference
| Front | Preparation | Primer | Watch out for |
|---|---|---|---|
| Painted solid wood | Degrease, sand 180 | Only for a large change of colour | An old gloss is sanded thoroughly |
| Bare or varnished solid wood | Sand 120 then 180, knots sealed | Multi-Surface Primer throughout | The varnish must be fully dulled |
| Painted or bare MDF | Light sand, edges grain-filled | Multi-Surface Primer, two coats on the edges | The edges drink: they mark if forgotten |
| Melamine, laminate | Degrease ×2, dull with 180 | Multi-Surface Primer, indispensable | Do not scratch deeply; let it cure before use |
| Open-grained oak | Sand, grain filler if you want it smooth | Multi-Surface Primer | The grain stays visible under paint — a choice |
| Damaged, blistered veneer | Re-glue, fill, sand | Multi-Surface Primer | If the veneer lifts everywhere, replace the door |
Worktops, tiled splashbacks and appliances are not painted with these finishes. For the kitchen walls, Marble Matt Emulsion, class 1 washable, is right above the units.
The colours
A kitchen colour is chosen with the worktop and the floor, which stay. Six proven pairings, each with its wall colour. The guide Colours for kitchen cabinets offers more.
01
With an oak worktop and brass handles: the English classic that does not date. Walls in a stone white.
02
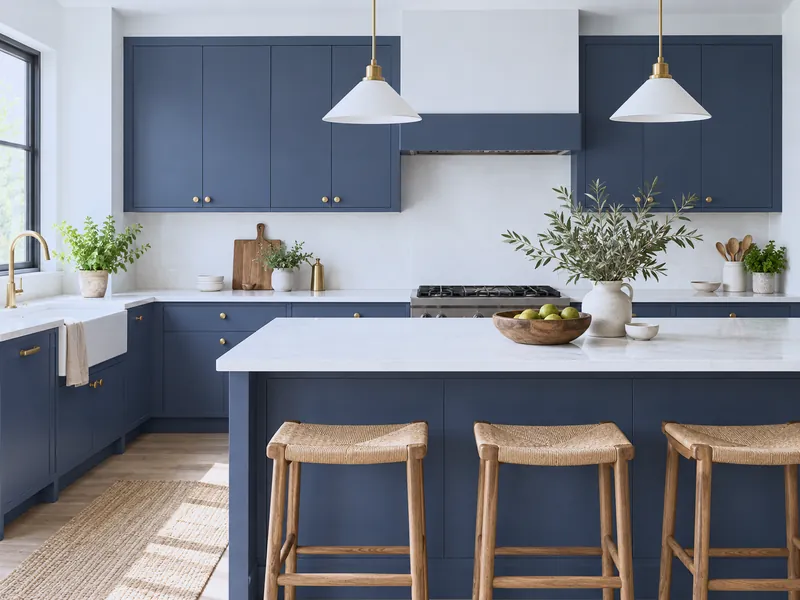
On flat doors, with a pale worktop and a white splashback: deep, crisp, apparently unforgiving, in fact very easy to live with.
03
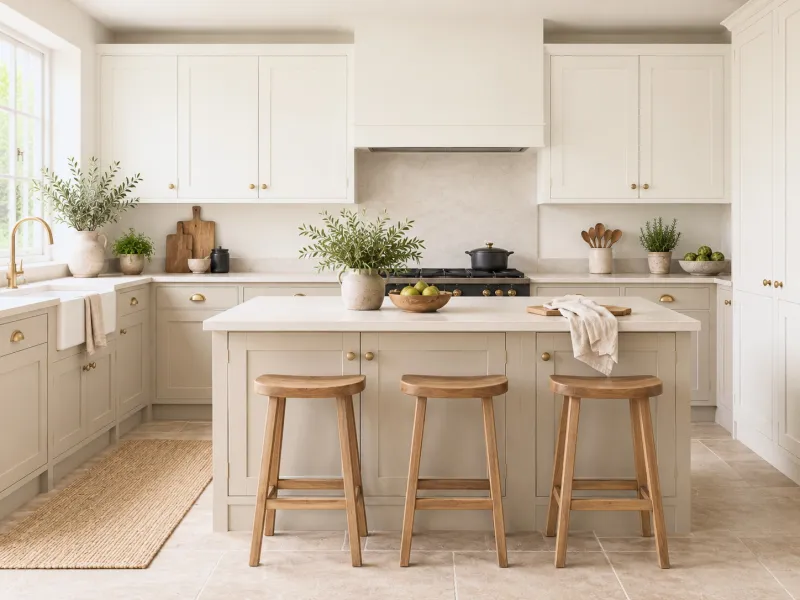
Wall units in a warm white, base units in a stone one tone deeper: the kitchen looks taller and calmer.
04
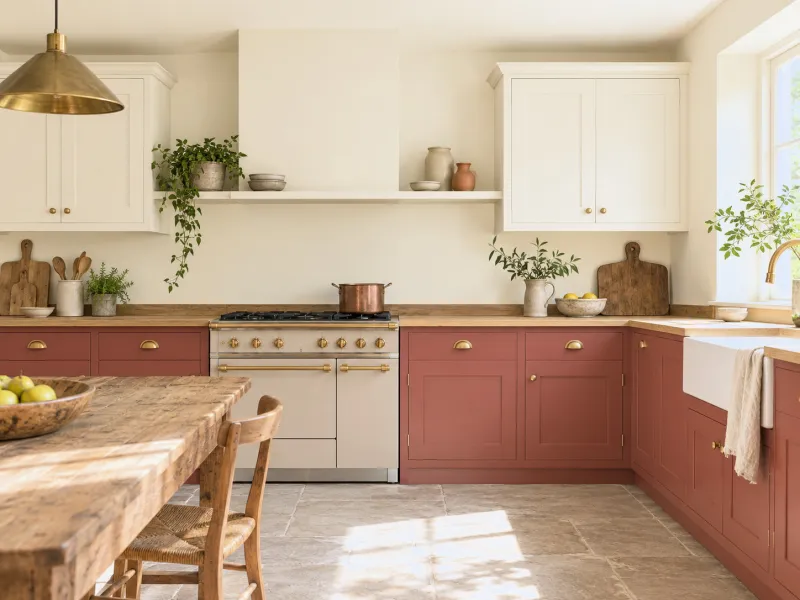
A brown-red on the base units only, wooden worktop, warm walls: a farmhouse kitchen, modern because restrained.
05
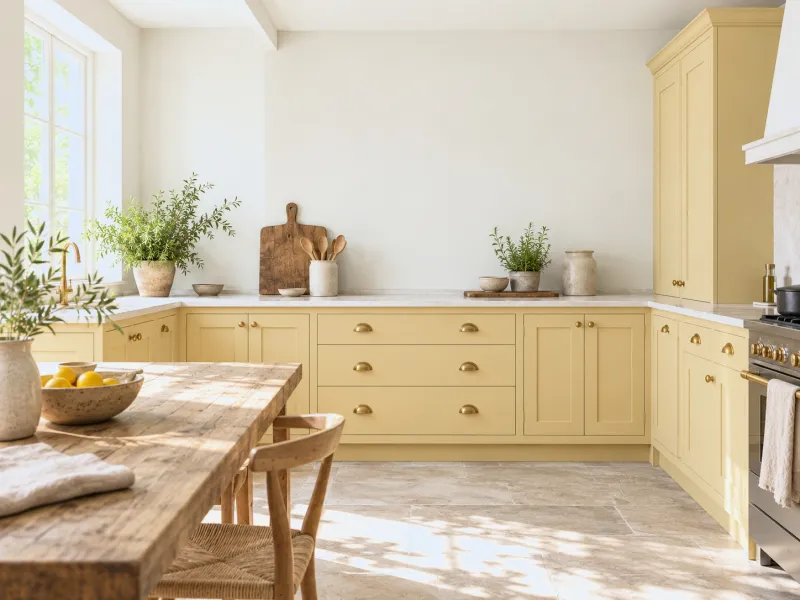
A desaturated honey yellow on every door, off-white walls: southern light in a north-facing kitchen.
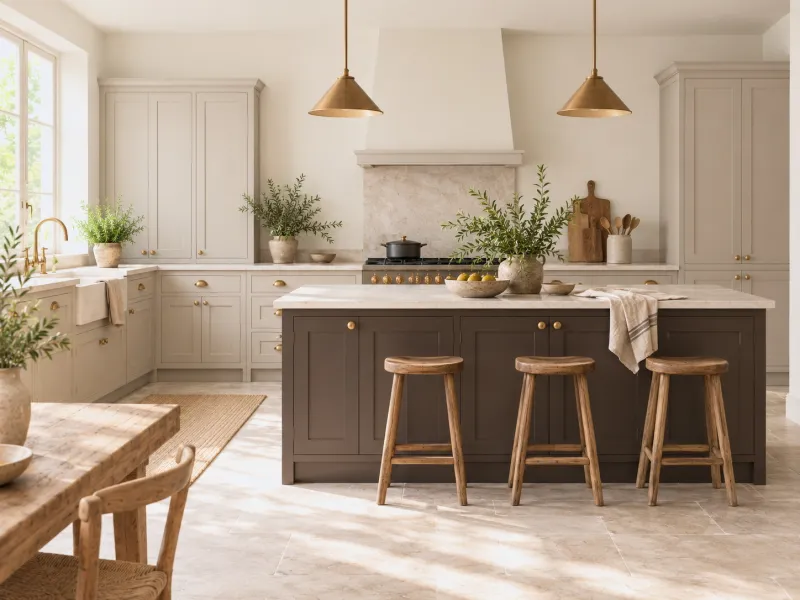
06
Doors in a soft grey-beige, island in a brown-black: the contrast gives a large open kitchen its structure.
To avoid
Frequently asked questions
If the old paint is sound, well degreased and sanded, and the new colour is close, two coats of finish are enough. For a big jump — white to midnight blue, or the reverse — one coat of Multi-Surface Primer saves a third coat of finish and evens everything out.
Satin if the kitchen is heavily used, with children, or if the fronts are flat and smooth: it is the most resistant. Eggshell if you want more matt fronts, softer under the light, on moulded doors or in a kitchen open to the sitting room. Both wash.
Yes, the multi-surface finishes can be sprayed with a low-pressure gun, thinned as the technical sheet says, in a booth or an empty, sheeted room. The result is a factory front. For ten doors, brush and small roller give a very close result without the equipment.
A kitchen of ten doors and four drawers is about 6 to 8 m² per face; allow 1 litre of finish for two coats on the visible faces, 2 litres if you paint the insides too, and 0.5 to 1 litre of primer. The calculator refines it.
Soft sponge and mild detergent, after the three weeks of curing; never scouring powder or the abrasive side. A grease mark comes off with diluted washing-up liquid. Mylands multi-surface finishes are washable; they do not polish up.
See also
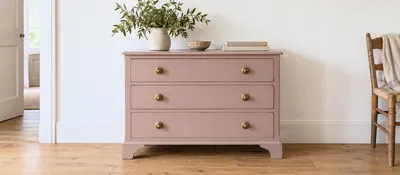 Paint, wax, oil or stain? The method for giving a chest of drawers, a sideboard or a chair a second life.
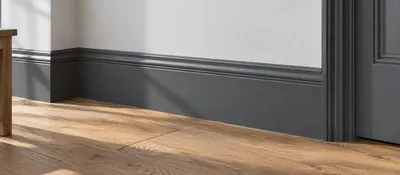 The smallest surface in the room, and the one that finishes it: the colour, the finish, the movement.
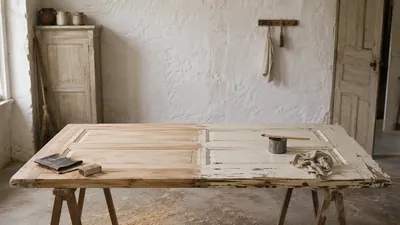 How to prepare your woodwork before painting, for a flawless, long-lasting finish.
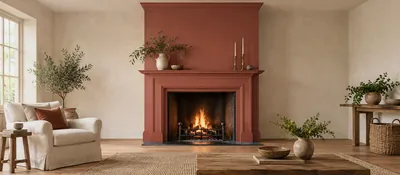 The place the eye lands on walking in: seven ways to make one with a tin of paint, and not a feature wall.
“A kitchen repainted with method lasts ten years; one repainted in a hurry lasts ten months.”
Thanks for signing up to our newsletter!
Sign in to save items to your wishlist. Sign in to save your basket, so you can continue shopping later.
Don't have an account? Create one
Share this link and friends can buy items from your list. Anything bought disappears from it automatically. Anyone with this link can see your selection.
Moving in, redecorating, or dropping hints? A free account turns this selection into a gift list — add or remove colours whenever you like, and we'll email you when someone buys something from your shared list.
Free · Delivered to your door
Get a free colour card posted to you, showing our complete Colours of London range, with swatches made from the real paint for a true representation of our award-winning colours.