
Help with paint How-to guides
Preparing a room for painting: the checklist
Prepare the day before, in eight steps: clear and protect, remove sockets and hardware, scrape what is loose, fill, sand, dust and wash, mask, then prime where the surface asks for it. Allow a day for a 15 m² room. It is the preparation, not the paint, that makes a flawless wall: a deep matt like Marble Matt Emulsion forgives small irregularities, never dust or grease.
Page updated September 2026 · by the Mylands France colour team
Why the day before
One day of preparation, one day of painting
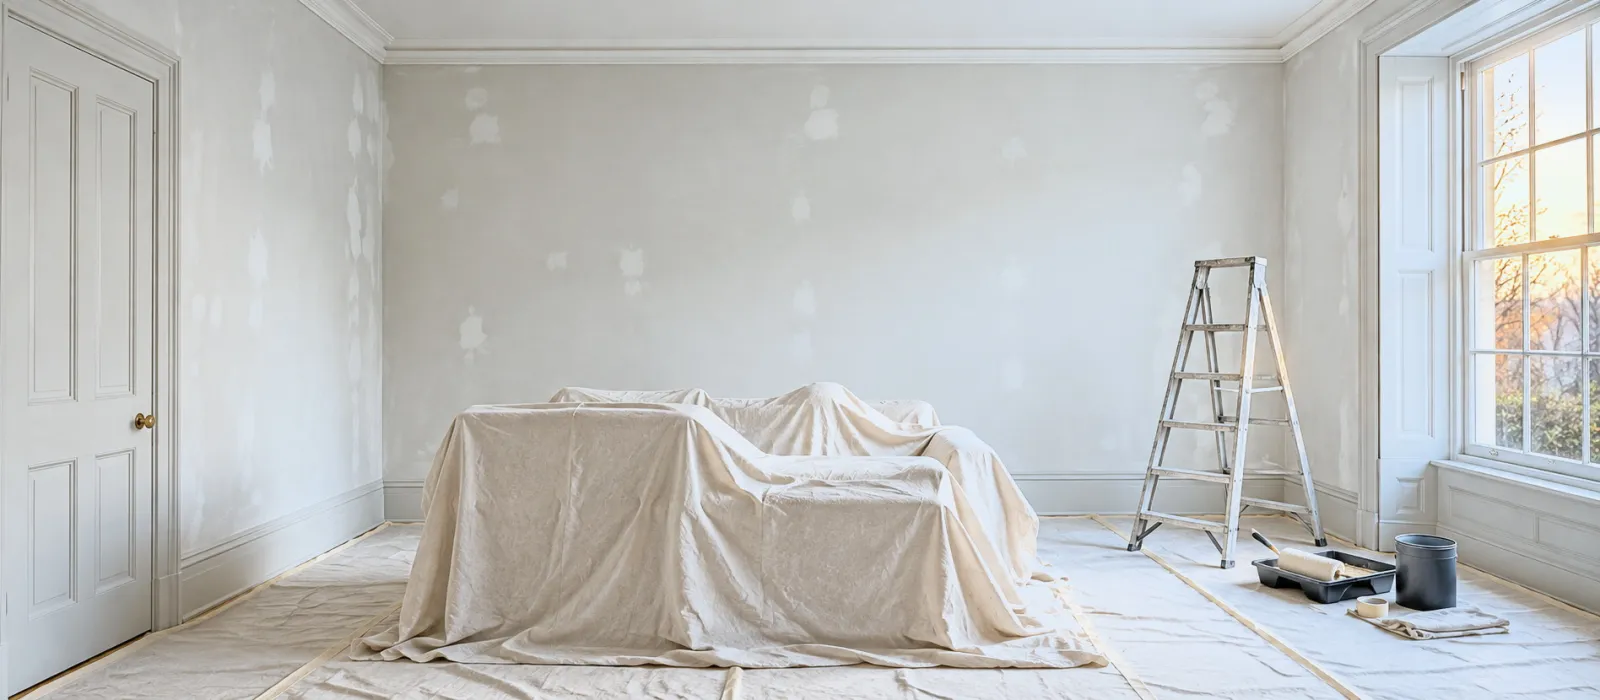
The decorators' rule fits in one sentence: prepare one day, paint the next. The two coats of Marble Matt Emulsion of an average room fit into a day — touch-dry in 1 to 2 hours, recoatable after 3 to 4 — provided you start in the morning with walls ready and tools out. Preparing and painting on the same day means finishing the second coat by head-torch, and the next day's raking light will show you why that was a bad idea.
Preparation has a hidden advantage too: it makes you look at the walls up close. A running crack, a trace of damp, an old paper badly stuck are found at the filling stage, not with the roller. What you find the day before is fixed in an hour; what you discover under the first coat costs a day.
- Dust sheets or old sheets for the furniture, paper or sheeting for the floor
- Good masking tape, 25 to 38 mm
- Filler (cracks) and skim filler (surfaces)
- Abrasive paper, 120 for repairs, 180 for smoothing
- Sponge, bucket, mild detergent or sugar soap
- Screwdriver, filling knife, sanding block, vacuum cleaner
The method
The eight steps
-
01
Clear the room, or group everything in the centre
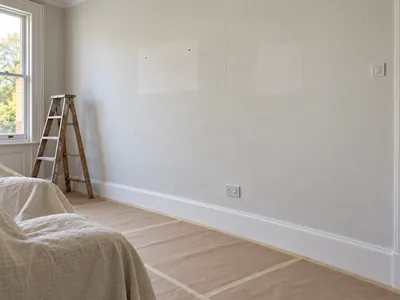
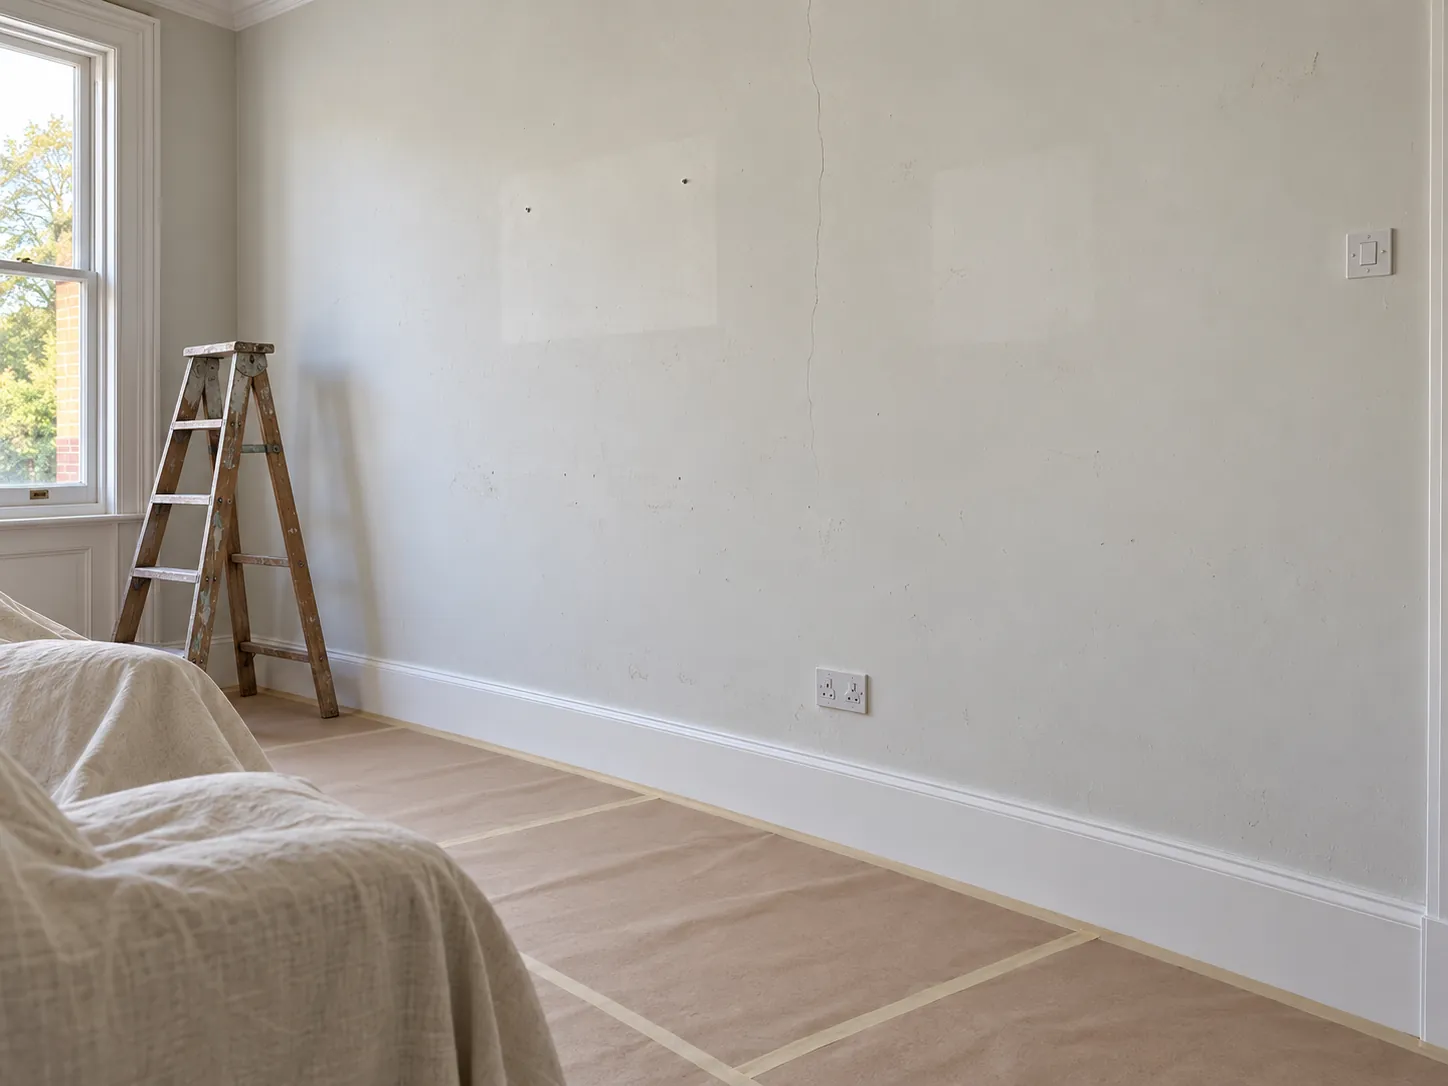
Take out rugs, curtains, pictures and small furniture. Push the large pieces to the centre, a metre from the walls, under a sheet. Cover the floor completely — sheeting, cardboard or paper — and tape the edges down: a drop of paint washes off, a drop walked on turns up in three rooms. Take down the light fittings you can, and switch the radiator off: you do not paint a warm wall.
-
02
Remove sockets, switches and hardware
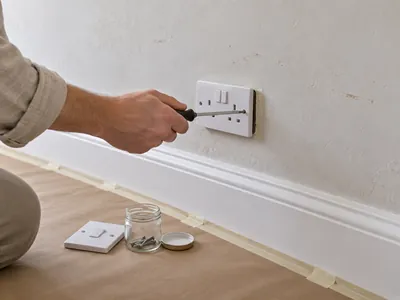
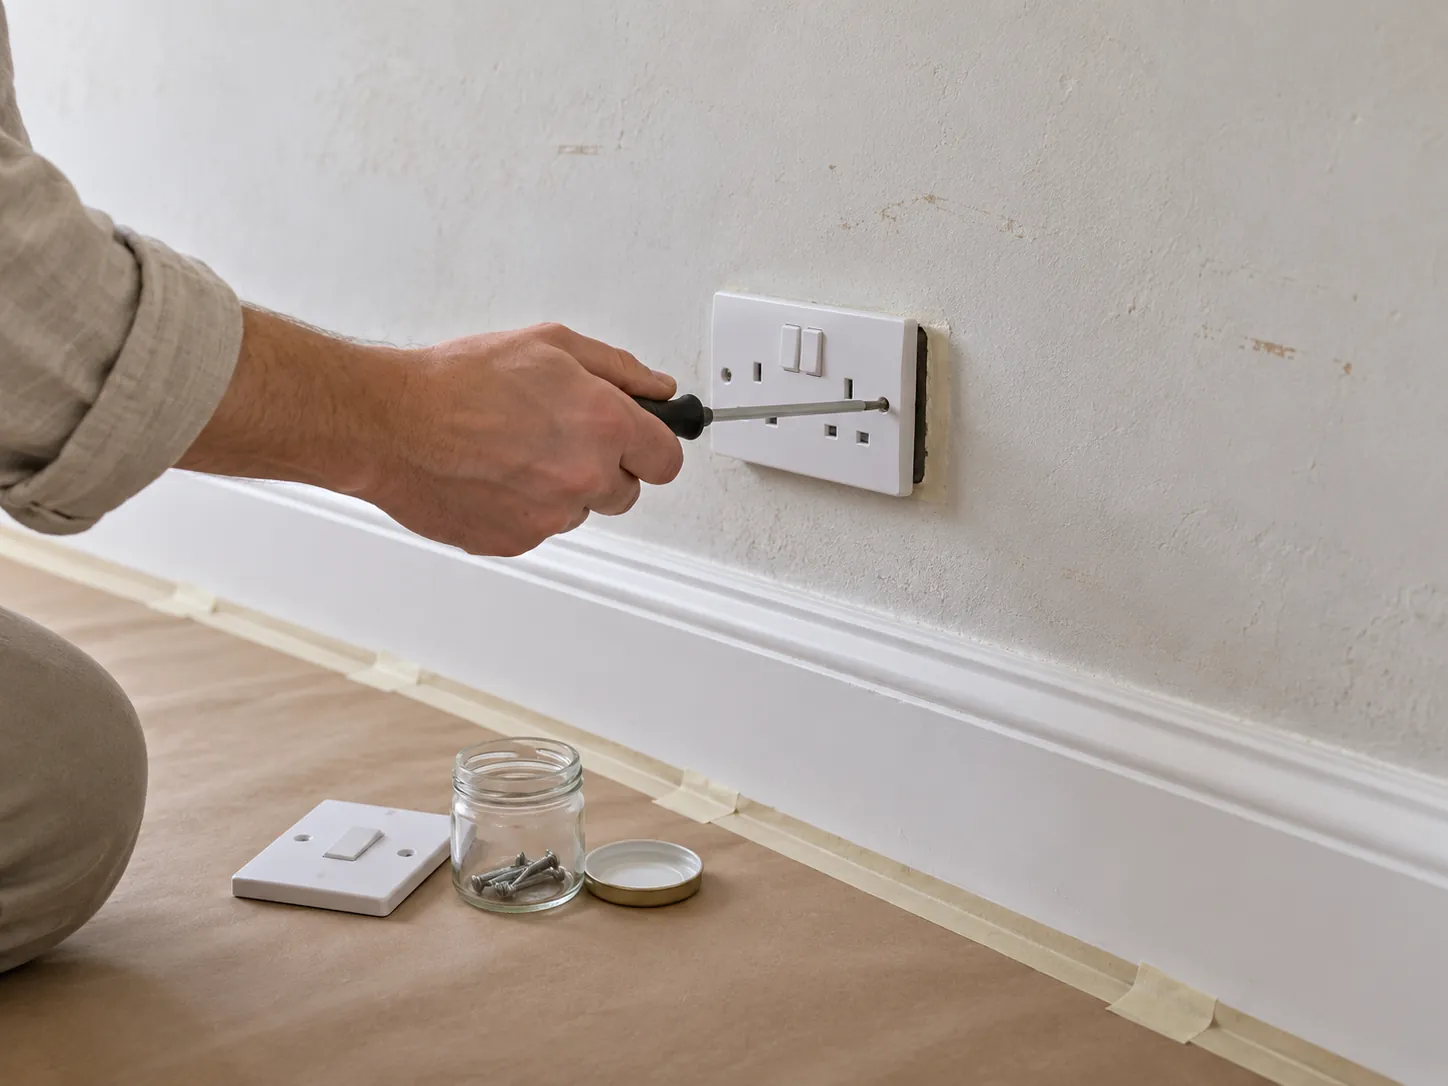
Turn the power off at the board, unscrew the socket and switch plates (one turn of the screw and they come away), take off handles, hooks and pegs. Painting around a plate leaves a ring; painting under it takes a minute with a screwdriver. Keep the screws in a closed jar.
-
03
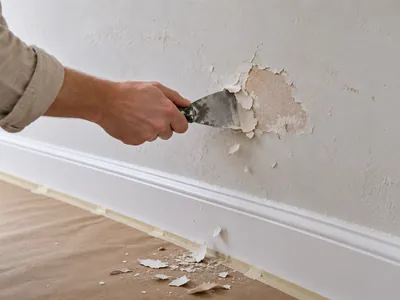
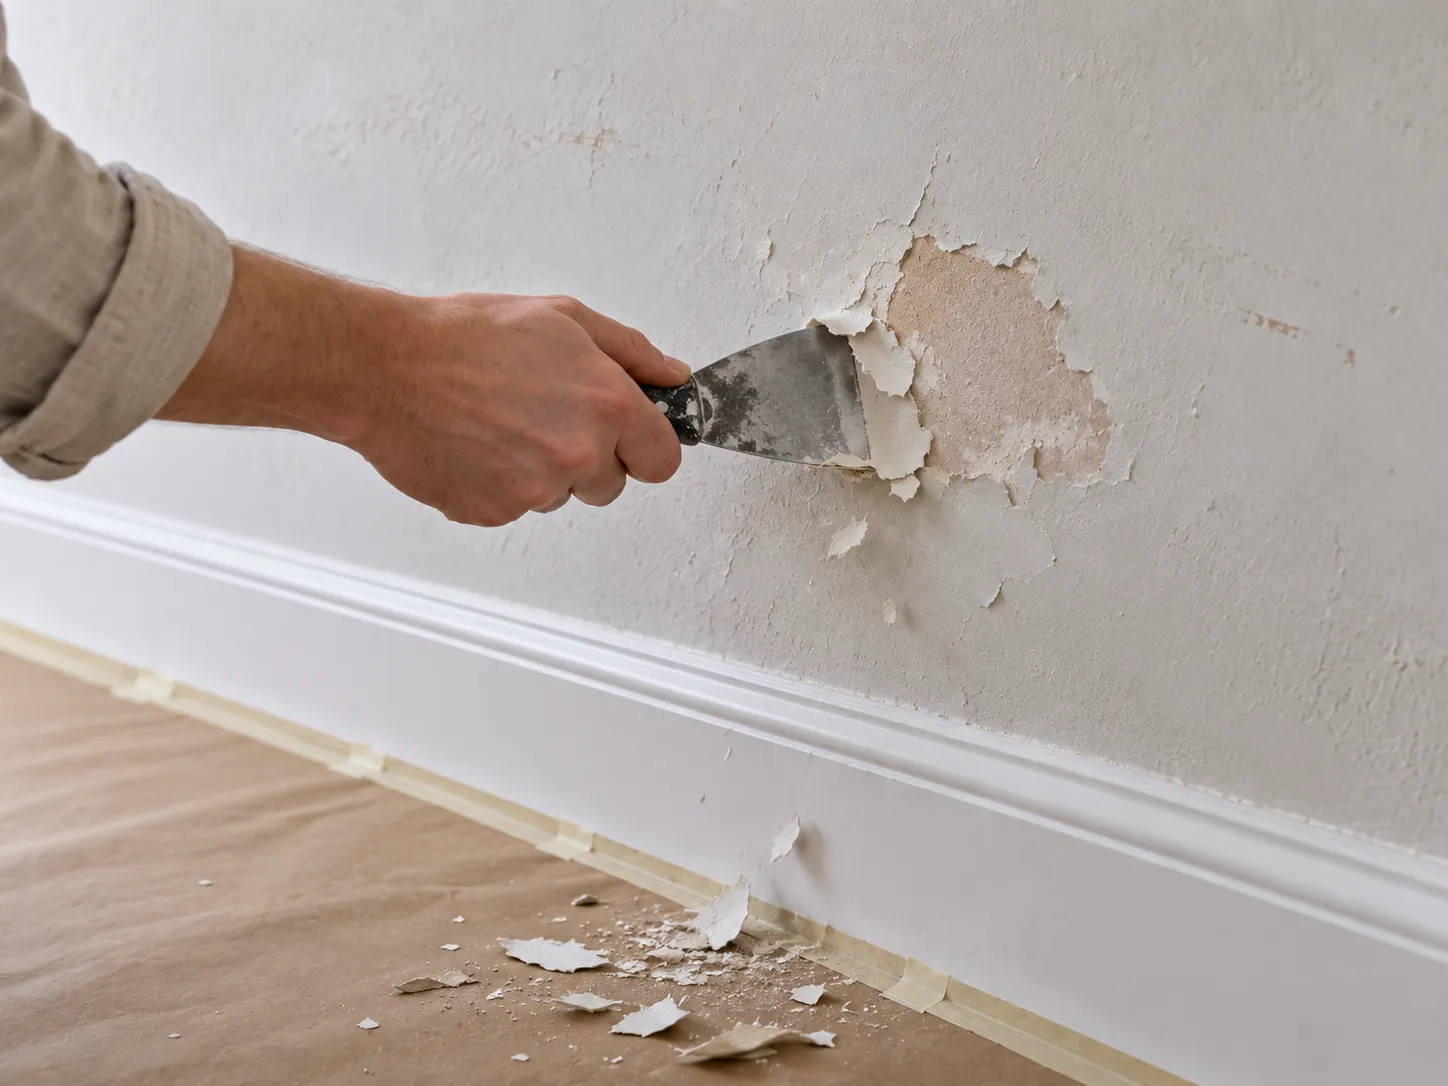
Scrape what is loose
Run the filling knife over any surface that blisters or flakes: new paint never holds better than the coat beneath it. On old wallpaper, check the seams; a gaping seam gets re-glued, a paper coming away in sheets comes off entirely. If the surface chalks — a finger run over it comes away white — it will need a stabilising primer before anything else.
-
04
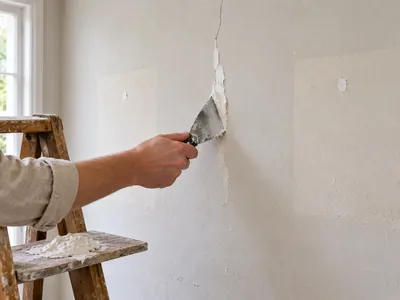
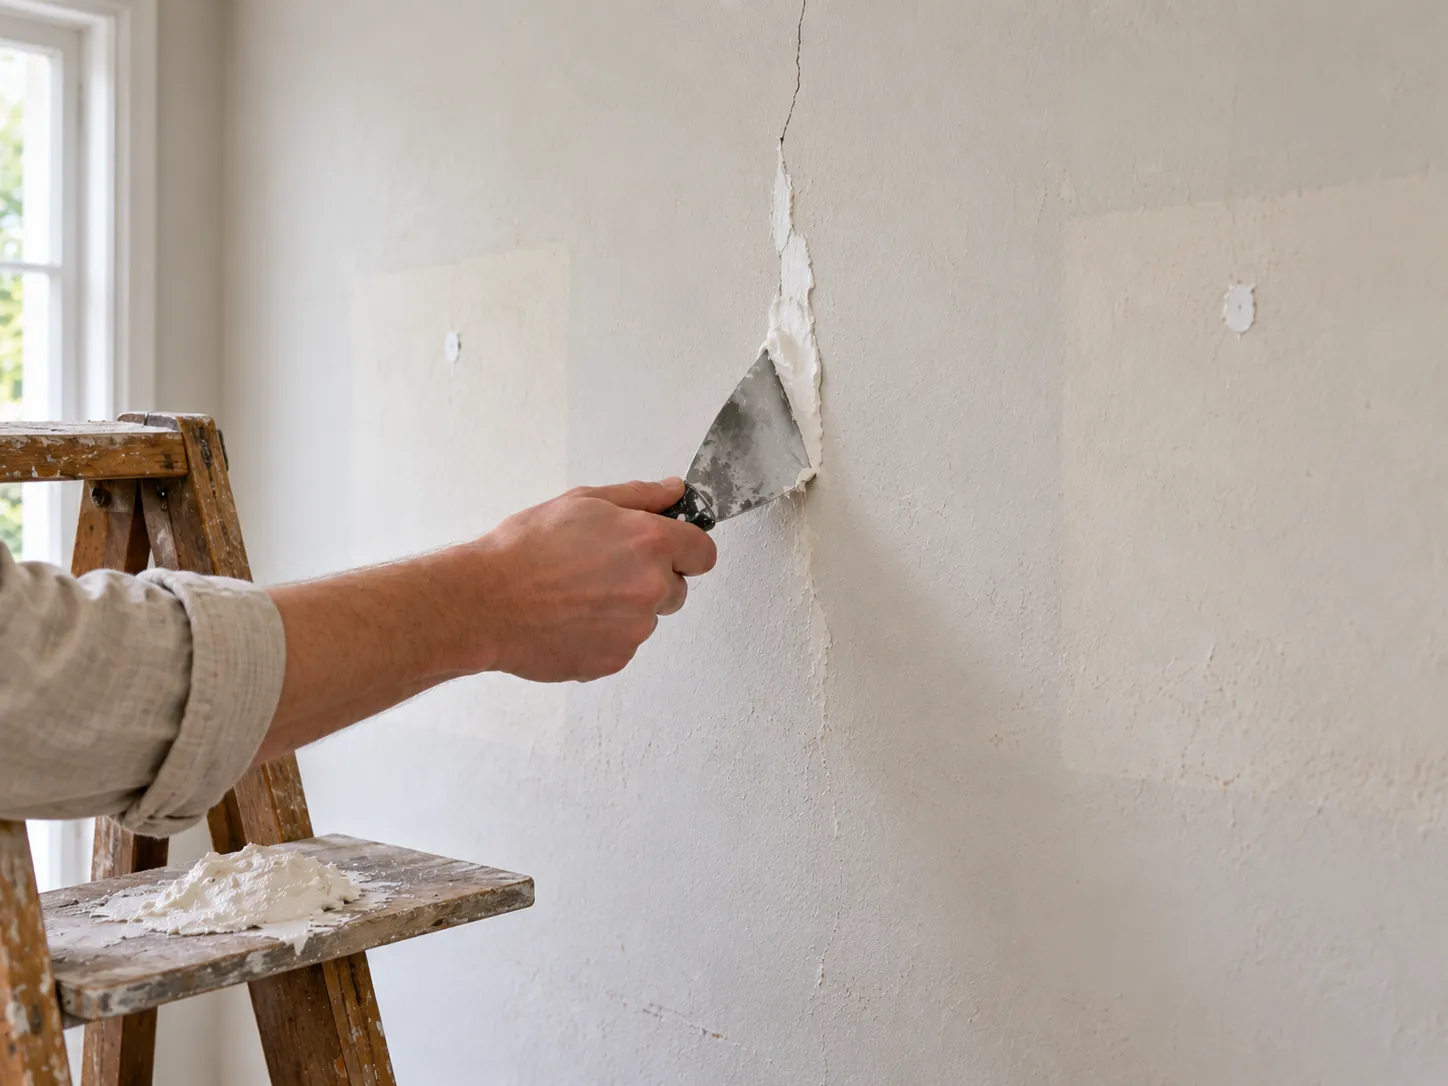
Fill cracks, holes and joints
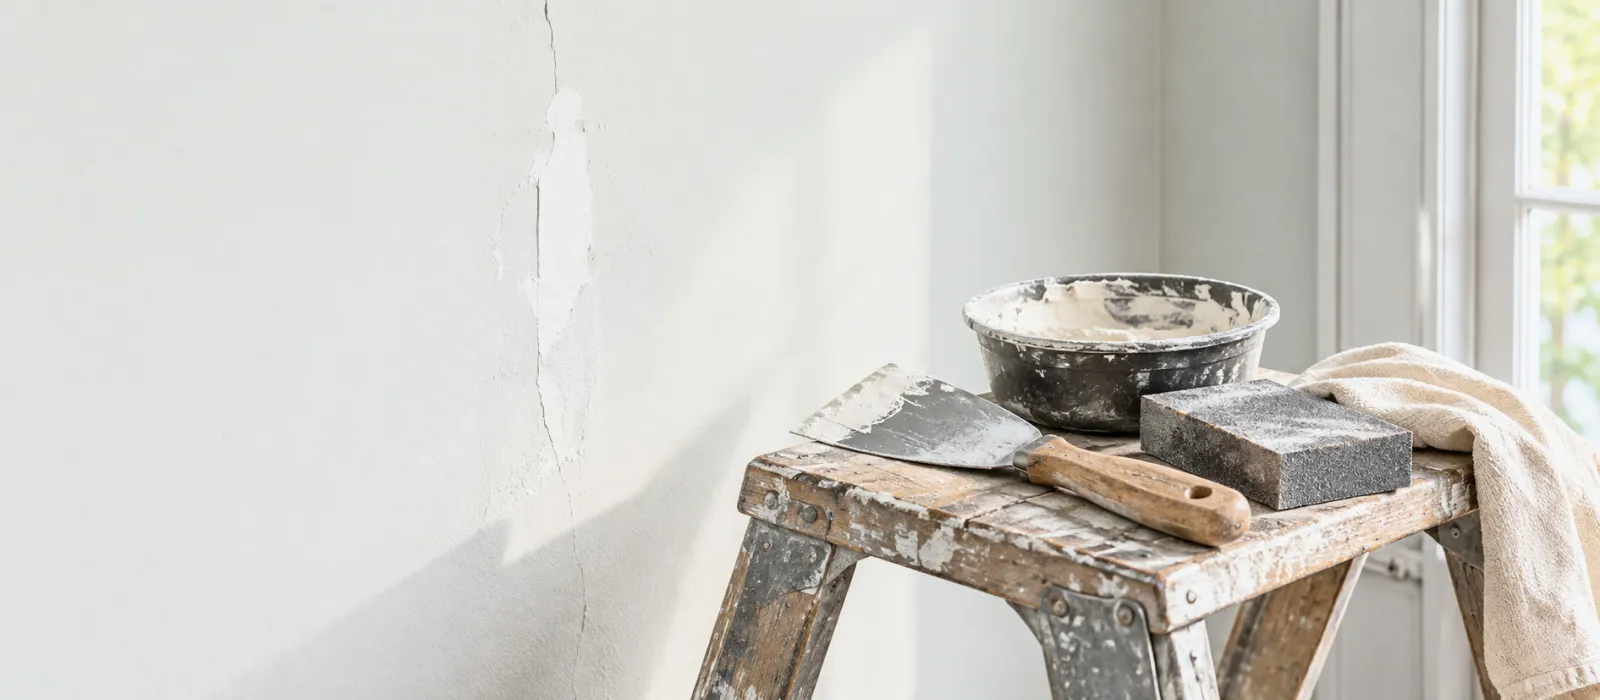
Cracks opened into a V with the knife, plug holes, the joint between skirting and wall: filler, slightly proud, then complete drying — respect the stated time, often longer than you think on a deep crack. Filler still damp under the paint gives a matt patch or a blister. For a badly damaged wall, a skim over the whole surface beats a hundred repairs.
-
05
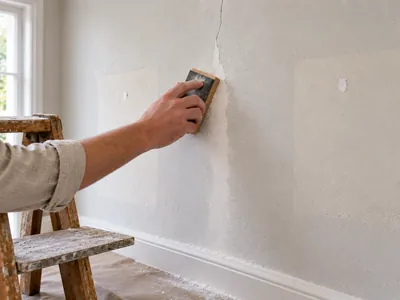
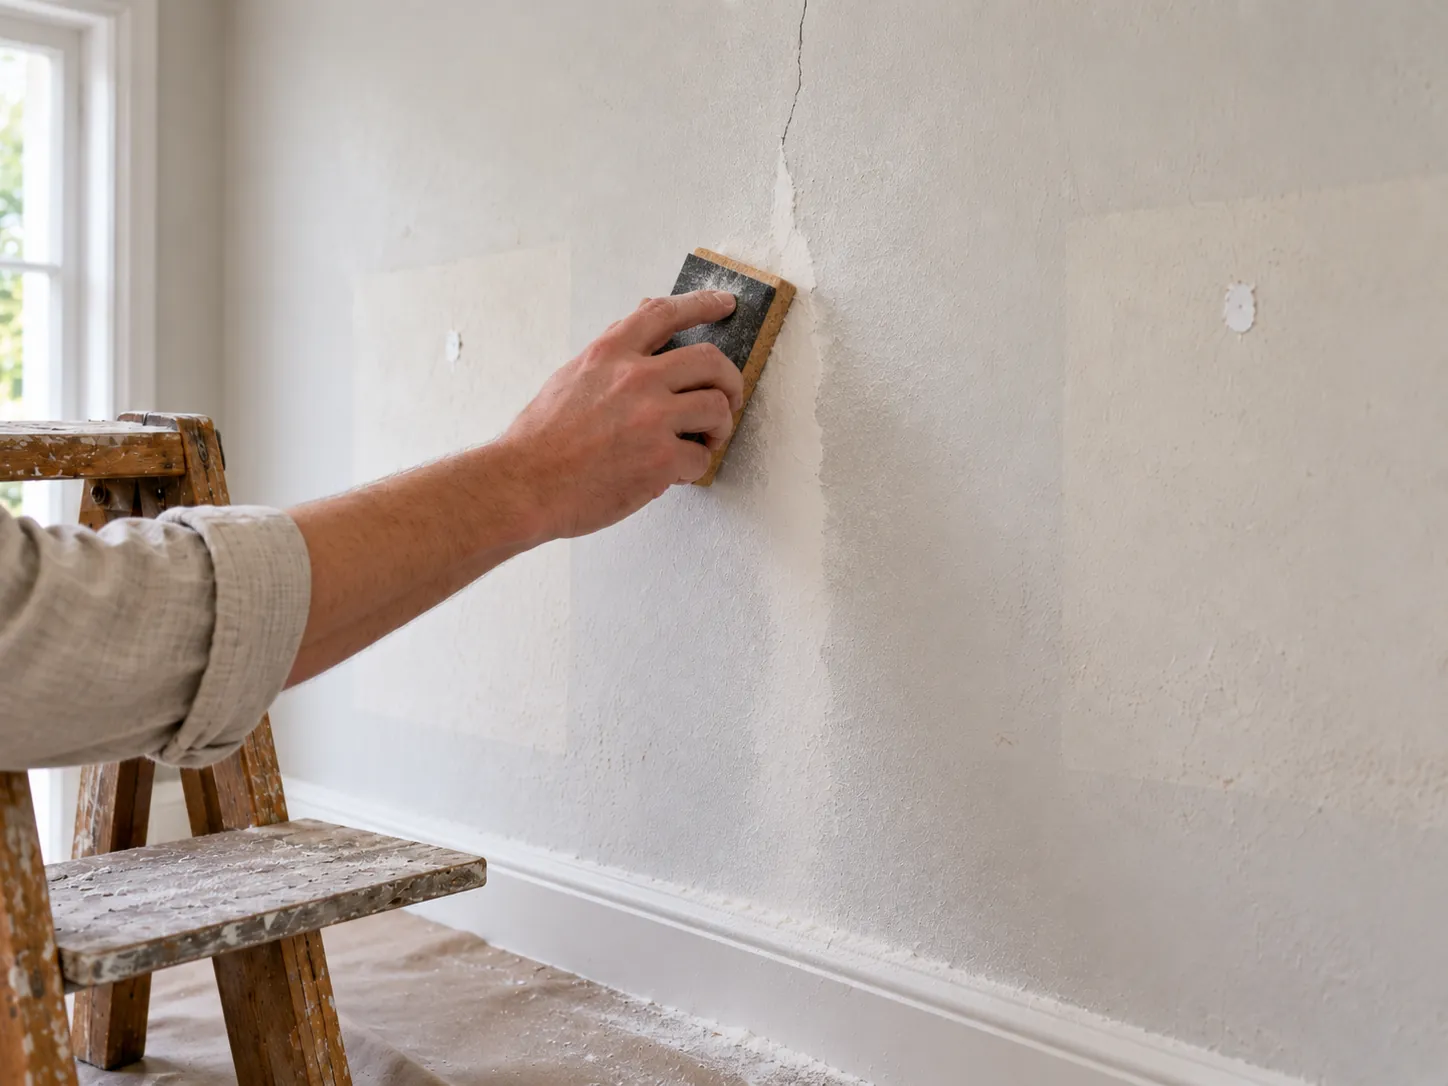
Sand lightly, everywhere
The repairs with 120 grit to bring them flush, then the whole surface with 180, on a block, without pressing: the aim is to break the sheen of the old paint and even out the grain, not to bare the plaster. On an old satin or gloss paint this sanding is compulsory — it is what gives the key. Woodwork follows the same rule: see Wood finishes preparation.
-
06
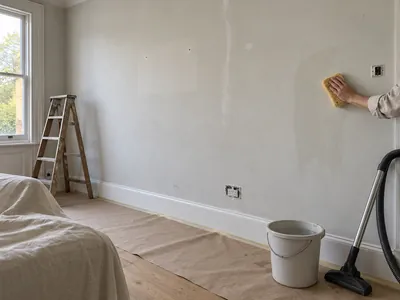
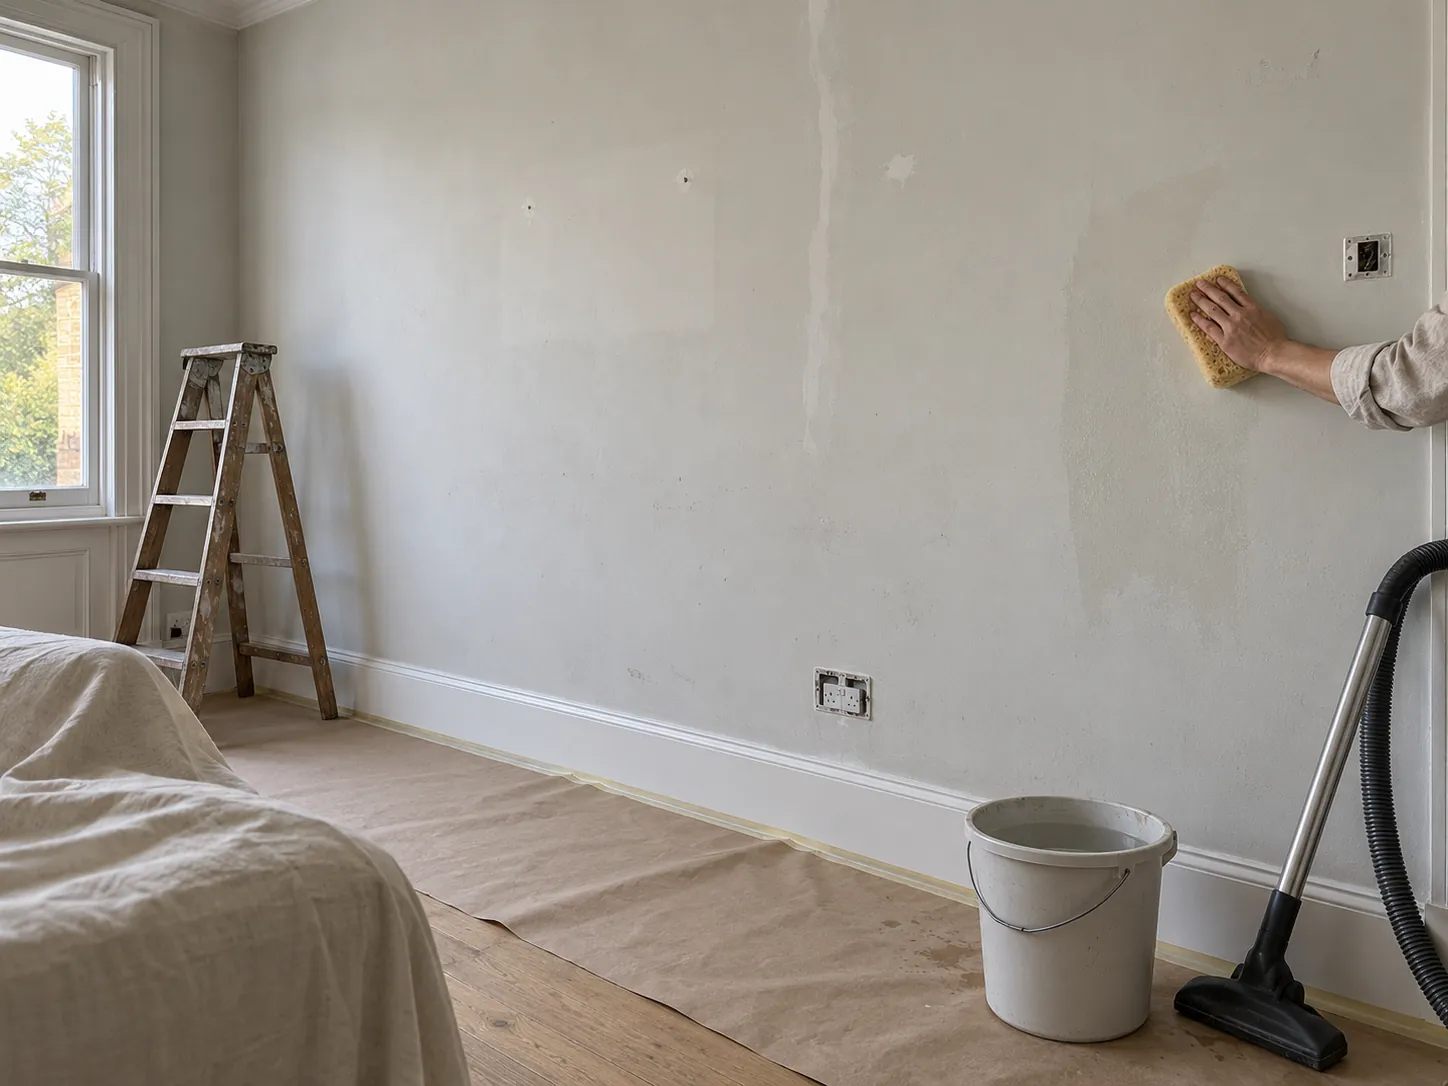
Dust down, then wash
Vacuum walls, skirting and floor, then go over the whole surface with a damp sponge. In a kitchen or near a radiator, wash with mild detergent and rinse: grease and nicotine repel water-based paint. Let it dry for an hour. A clean wall is half the job.
-
07
Mask what will not be painted
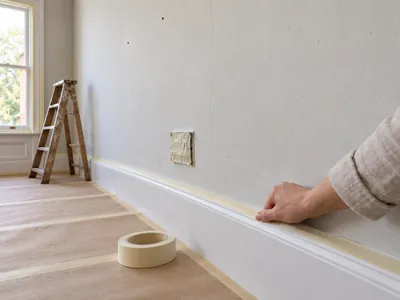
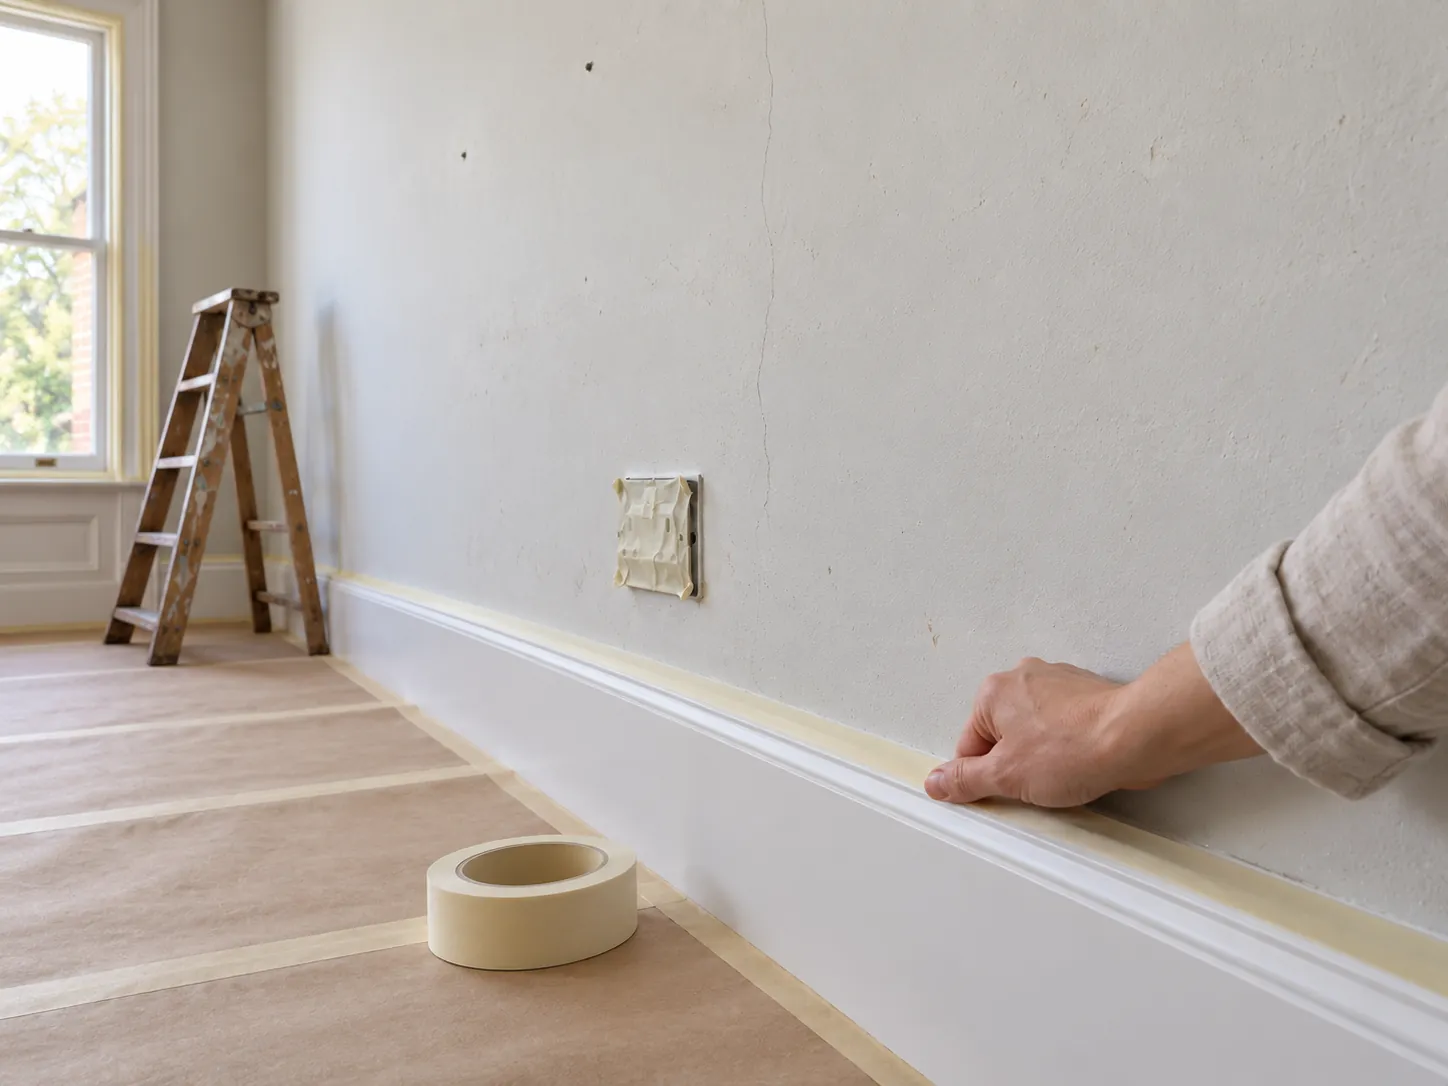
Masking tape along the top of the skirting, around the windows, along the edges of already-painted woodwork; press the tape's edge down with a nail or a card so paint cannot creep under. On carpet, tuck the tape between the skirting and the pile with a filling knife. Remove the tape while the last coat is still slightly damp, pulling at an angle, for a crisp line.
-
08
Prime where the surface asks for it
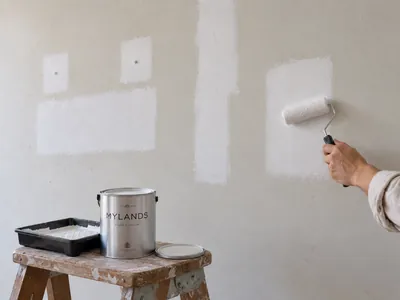
New plaster, skim filler, a porous or strongly contrasting surface: a primer evens out absorption and saves a coat of finish. On a sound, already-painted surface in a similar shade, two coats of finish are enough. The table below says which. Then put the tools away, close the door and sleep: tomorrow, the wall.
Reference
Which primer for which surface
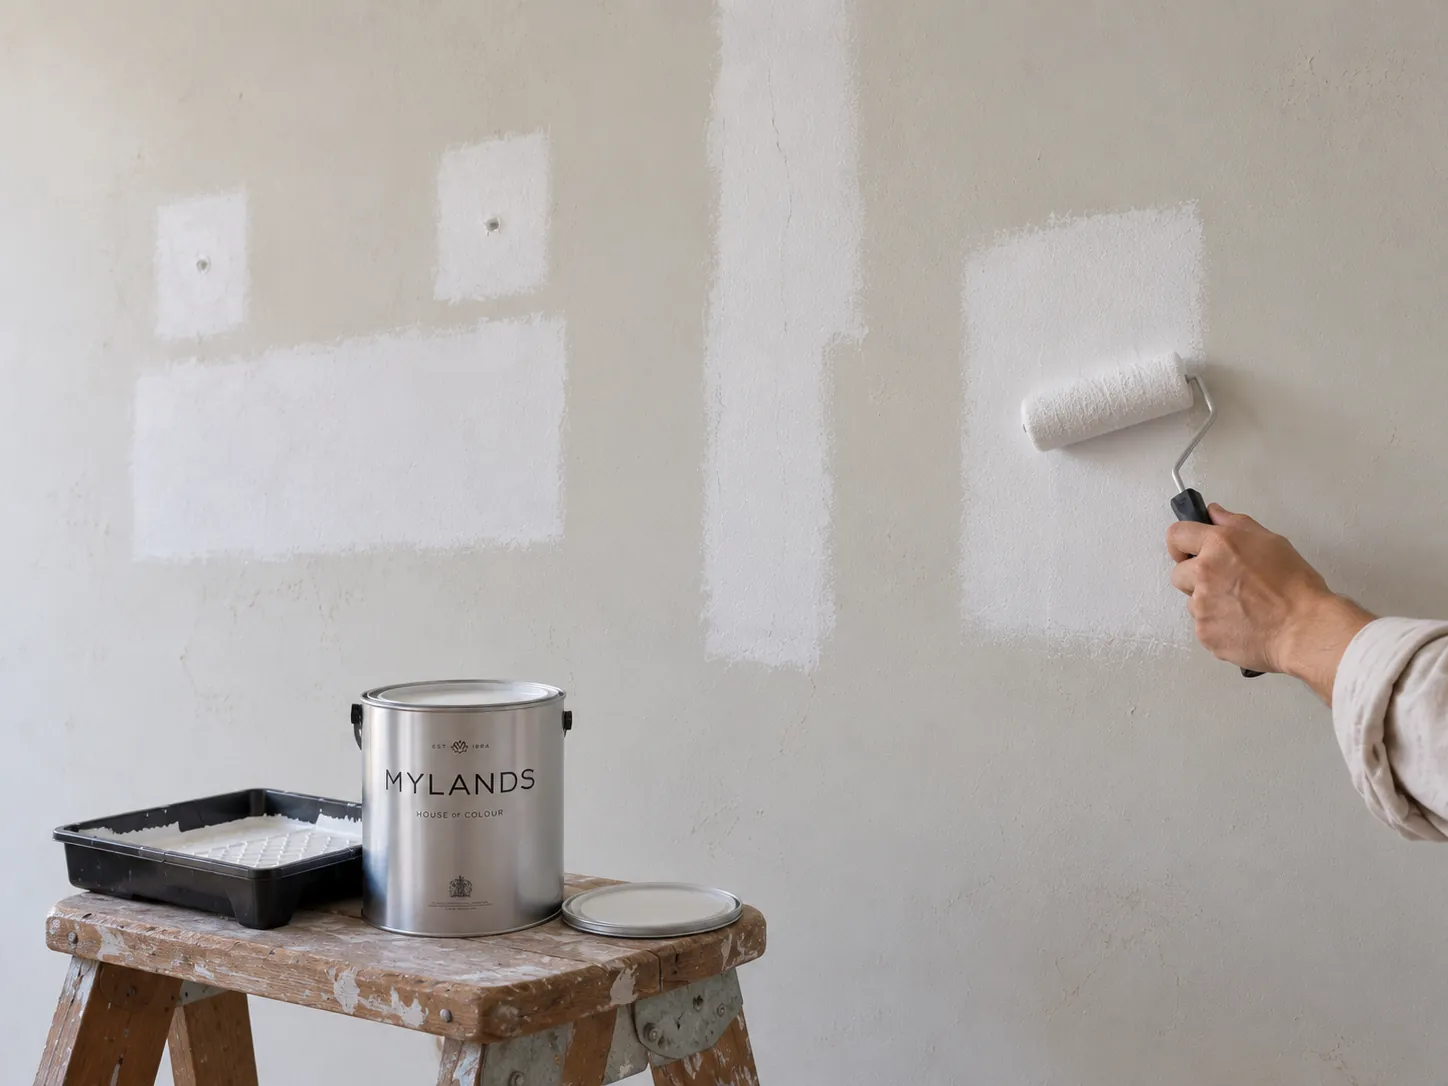
Allow about half a litre of primer per litre of finish. Every Mylands primer is water-based and recoatable after 3 to 4 hours.
| The surface | What it needs | Why |
|---|---|---|
| Already-painted wall, sound, similar shade | No primer | Two coats of Marble Matt Emulsion cover |
| New plaster, skim filler, plasterboard | Wall Primer | Seals the surface, evens absorption, avoids dull patches |
| Dark wall to be repainted light | Wall Primer, or Primer & Undercoat in the finish's tone | One coat of primer replaces a third coat of finish — see How to paint a dark wall white |
| Deep or highly saturated colour | Tinted Primer & Undercoat (dark grey, red, blue…) | The tinted base gives the colour its depth in two coats |
| Chalking surface, old distemper | Stabilising Primer, then Wall Primer | Binds the mineral dust the paint cannot hold on to |
| Woodwork, doors, metal | Multi-Surface Primer on bare wood and bare metal | The multi-surface finishes hold on the primer, not on raw wood |
| Old, dried damp stain | Treat the cause, then a stain-blocking primer | Without a blocker the stain bleeds through water-based paint |
An active damp patch, mould or a weeping wall are not painted: repair first. The other defects and their remedies: Paint problems, causes and fixes.
To avoid
The five shortcuts that show
- Painting around socket plates. A ring of the old colour at every switch, to save three minutes.
- Filling and painting on the same day. Damp filler makes a matt patch under the coat and blisters in the first sun.
- Not sanding an old satin. The new paint slides and flakes under a fingernail six months later.
- Skipping the wash in a kitchen. Invisible grease makes water-based paint bead.
- Removing the tape the next day. Dry paint bridges the tape and tears away with it: remove it damp.
Frequently asked questions
Your questions, our answers
Do walls always need washing before painting?
In a kitchen, a bathroom, a room where people smoke or near a radiator, yes. In a clean bedroom, a damp sponge after vacuuming is enough. The test: wipe with a damp white cloth; if it comes away grey or yellow, wash.
Can I paint over wallpaper?
Over a smooth, well-stuck, sound paper, yes, after a wall primer: it blocks the paste and evens the surface. Over a vinyl, embossed or peeling paper, no: strip it. A paper seam will always show under matt paint in raking light.
How long does filler take to dry?
A thin repair, two to three hours; a deep crack or a plug hole, often overnight; a skim over the whole surface, 24 hours. The maker states a time; add half again in a cold or damp room.
Is the ceiling prepared the same way?
Yes, and first, since you paint from the top down: dusting, filling the cracks, light sanding. An old water stain on a ceiling needs a stain-blocking primer or it will bleed through. Which white to choose: which white for a ceiling.
When can the furniture go back?
The day after next for pieces that do not touch the walls, a week for those that lean on them. Paint is dry in a few hours and hard in two to four weeks: a sofa back against yesterday's wall leaves a shiny mark.
See also
Going further
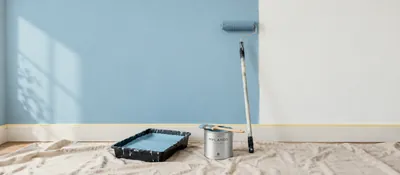 Preparation, primer, cutting in, vertical bands, wet edge, laying off in one direction: the Mylands method for...
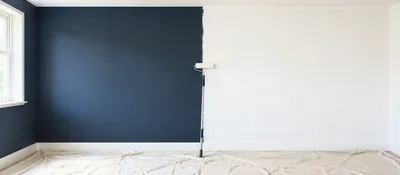 From midnight blue to white in three coats, not ten: the primer that does it all, and the white to choose for...
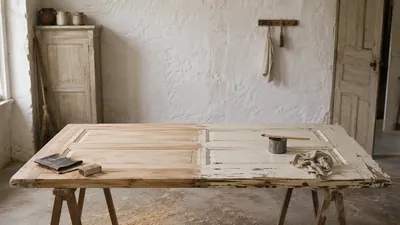 How to prepare your woodwork before painting, for a flawless, long-lasting finish.
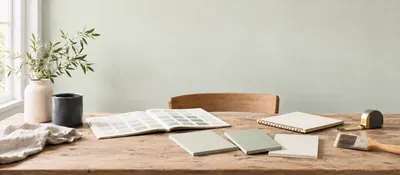 From the first idea to the last stroke of the roller: the six steps that make a painting project go well.
“What you see on a finished wall is the preparation. The paint only reveals it.”